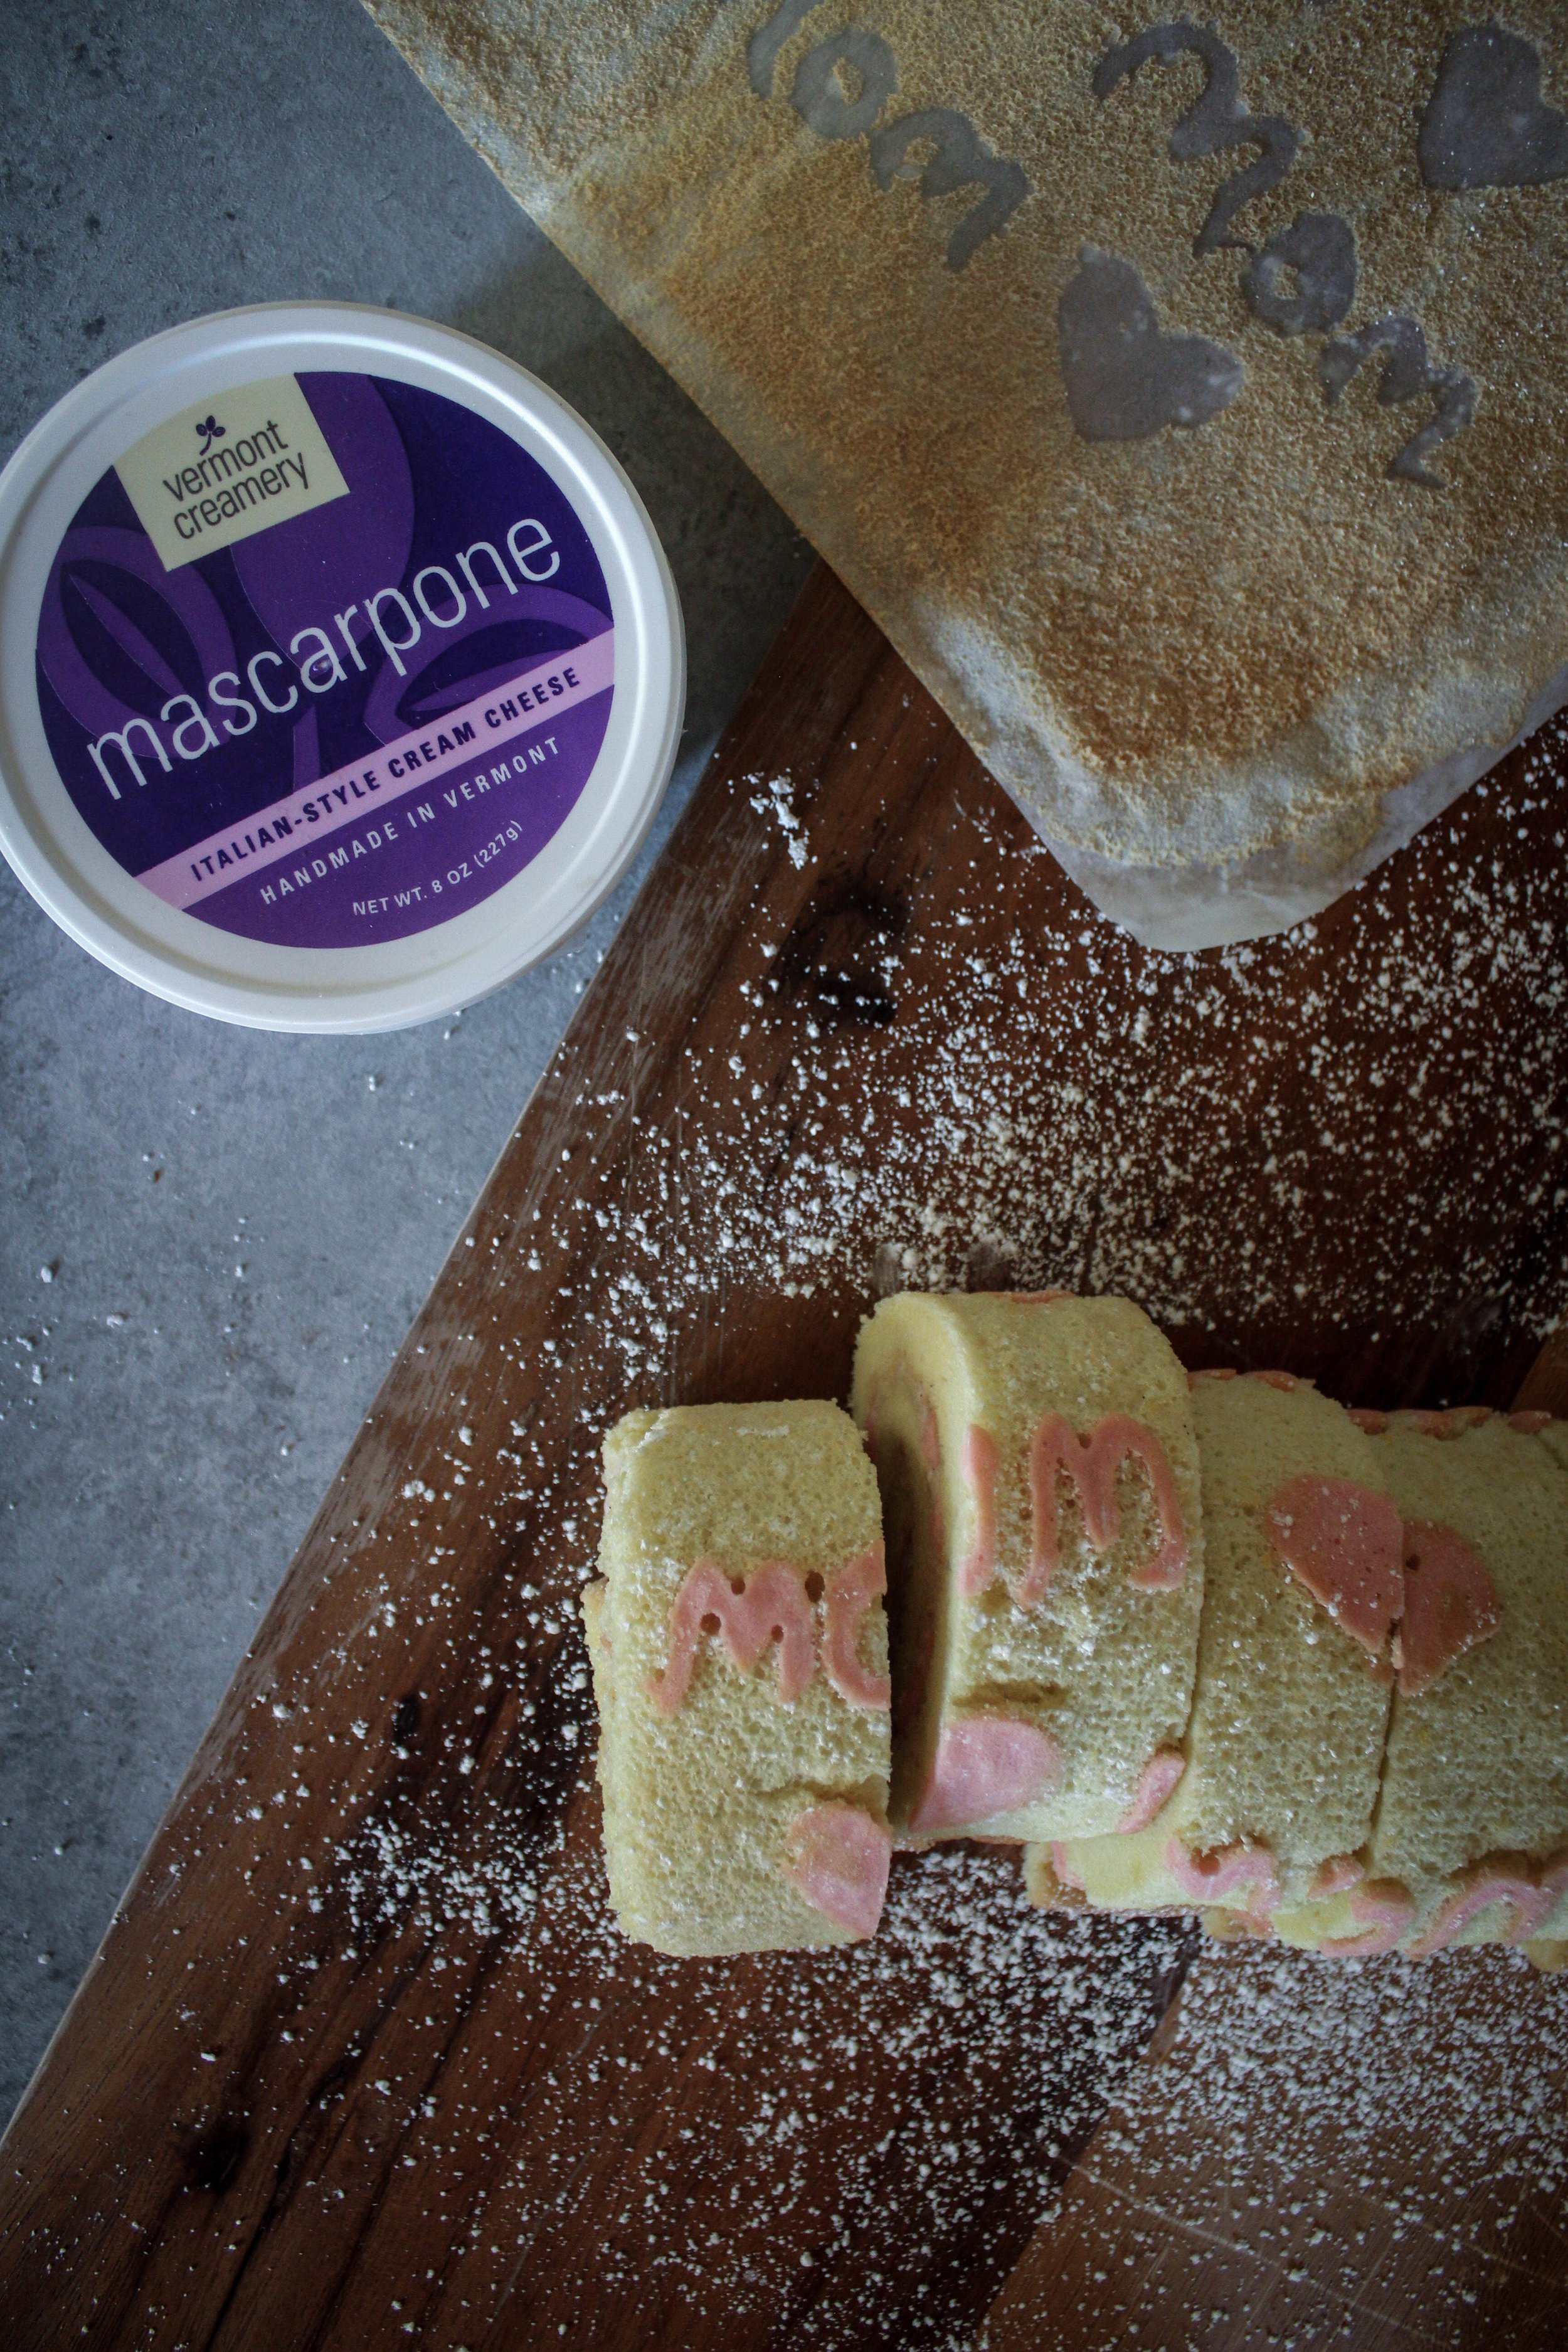
Mother's Day! Tattooed Swiss Roll with Vermont Creamery Filling!
Mother's Day is tomorrow and my mother is down at my parents' vacation home in North Carolina, having offered to babysit my nephew down there. Over the last year, I have seen more of my mother than I did in the whole of years since graduation. I learned to appreciate her more, but in that balance was frustrated by her all the same. Quick witted, quick tempered, and so much like me.
I wouldn't trade her for the world, this mother of mine. I used to resent her for all the mistakes she made when we were growing up, but that stuff doesn't matter much now. I'm learning to understand that love is hardly ever about the end result, but about the thousands of attempts we make to make another person happy. Sometimes we fail, sometimes we don't. But it's the effort that's supposed to matter, and I never realized that until I stood away from her and began to know her as a stranger would, having been gone for seven years when I moved back to Pennsylvania last January.
I will not see my mother this year to celebrate her, but I will see her in June and that is a long enough wait for me. In the meantime, I made this cake as my own attempt. As my own way of showing her my love. I have bad penmanship and even worse decorative skills, but it tastes good and you'll do fine if you have nothing else to give her tomorrow.
Mother's Day Decorated Swiss Roll
Ingredients for Pattern Icing:
- 1 egg white
- 1/3 cup AP flour
- 2 TB sugar
- 2 TB melted butter, cooled
- 1 or 2 drops of gel coloring (best quality)
Ingredients for Swiss Roll cake:
- 3/4 cup AP flour
- 5 large eggs, separated
- 1/3 cup white sugar
- 1/2 cup confectioner's sugar + extra for covering a tea towel
- 3 tablespoons oil
- ½ teaspoon baking powder
- ⅛ teaspoon salt
- 1 teaspoon vanilla extract
- 1/4 cup water
Ingredients for Filling:
- 6 oz strawberry jam
- 8 oz mascarpone (I am very loyal to Vermont Creamery's mascarpone--it's the best)
- 1/2 TB vanilla
- 3 TB confectioner's sugar
Directions for Pattern Icing:
- With a fork, mix all ingredients in a bowl until you have a smooth consistency
- Transfer into your piping bag
- Lay out a sheet of parchment paper on an 18x13" baking sheet and free-hand write your desired pattern (I did MOM surrounded by hearts, but you can do anything!*)
- Allow to sit in fridge for 30 minutes or so to cool and harden
Directions for Swiss Roll cake:
- Preheat oven to 400*F
- Take out three bowls: One medium bowl for sifting your dry ingredients, one large bowl for mixing your batter, and one bowl that fits into your stand mixer for the egg whites
- Sift together AP flour, salt, and baking soda
- In your largest bowl, mix together egg yolks, white sugar, oil, vanilla, and water. Whisk this for a couple minutes until full incorporated and a very pale yellow
- In your stand mixer, whisk egg whites on high until soft peaks form (will take a few minutes), add confectioner's sugar and mix for an additional minute or two, just to incorporate the sugar
- Now, alternate in thirds between adding the flour mixture and the egg whites to the yolk mixture, folding gently but ensuring all batter is fully mixed properly
- Take pan out of oven and pour batter directly on top of designs and parchment paper, flattening out to edges with a rubber spatula
- Bake for about 8-10 minutes or until just golden and bouncy in the center
- While this is baking, cover a tea towel with confectioner's sugar and lay flat on your work surface
- Remove from oven and immediately flip onto the tea towel
- Turn over, covering other side with confectioner's sugar in doing so, and position cake directly in middle of towel
- Roll up into a tight swiss roll, with the towel being in the middle -- this will act as a sort of "muscle memory" for the cake when you roll it back out
- Allow to rest for a half hour or until cool to add your filling
Directions for Filling:
- Mix all ingredients together until you have a pale pink, slightly sweet creamy filling
- You may need to adjust flavors if you so desire
- To fill--unravel your swiss roll, removing the tea towel
- Using a rubber spatula, spread a thin layer on the cake
- Now, gently fold the cake as you go. While not ideal, cracks are inevitable and just take your time on these
- Place on a tray and refrigerate for an hour or so before slicing into it
- When ready to serve, sprinkle confectioner's sugar and enjoy!
*A couple notes - When piping, be aware that the image you want will be a mirror on the actual cake! And also, don't get too close to the edges with your design, in case you have to cut a little to even it out


