Your Custom Text Here
Macarons with Silpat!
Baking is the collision of precision and accident. I think that's why I love it so much. I feel the same way about myself. I'm full of opportunity, but I never seemed to have gotten it right. And that's okay. I'm learning to be okay with that.
The small bumps on the tops of the macarons make me smile. I've got a few, too. And I think about the beauty of these imperfections and the small cherry moles that creep on my arm and the crooked teeth of our dogs and I love these small details that make them so much more worth savoring.
I've never made macarons before. I wasn't scared, but I was unsure. My best friend got me a kit maybe four years ago and it sat, unused. I used to be afraid of failure, so I think that's why I never opened it. But when Silpat asked me to use their mats to try again, I held off until I had the time. I thought it would take hours, maybe a day even. But it took maybe 60 minutes from start to finish. And they were perfect in their airy way, brittle and fragile and broken around the edges. It made it so much more worth savoring that way.
Macarons!
Ingredients:
- 1 cup confectioner's sugar
- 1 cup fine-ground almond meal
- 3 egg whites, room temperature
- 1 lemon wedge
- Pinch of salt
- 1/4 cup white sugar
- Extracts and dye of your choice (see notes)
Directions:
- Prepare a 13"x18" cookie sheet with your Silpat Macaron Mat or parchment paper
- Sift together confectioner's sugar and almond meal 4 times until well aerated
- In the bowl of a stand mixer, rub your lemon wedge on the inside
- Whisk eggs on high until peaks begin to poke up
- Add salt and sugar and mix until stiff peaks form
- Add extracts and dye, mix for 15 or so seconds until fully incorporated
- Using a rubber spatula, fold meringue into dry mixture (make sure to be gentle so not to deflate the mixture more than you have to)
- Transfer batter to a piping bag and pipe into center of the circles (if using macaron mat). Keep bag straight up and apply an even amount of pressure. Leave about a centimeter perimeter, as batter will expand as it settles and as it bakes
- Allow batter to rest for 30 minutes at room temperature
- Preheat oven to 300*F
- Bake for 25 minutes, opening at the 15 minute mark to release a little steam and to check on edges
- When done, tops will be hard and a little glossy and bottoms will have a crust
- Let rest on mats before transferring for a couple minutes
- Allow to cool completely before assembling with your filling (see notes)
- Enjoy!
Notes:
- Extract and dye amounts will vary a lot based on the potency of both products. I used 2 teaspoons of vanilla extract for one batch below, and a 1 teaspoon of lemon extract. Play around a bit, but be on the conservative side if you're nervous! I've also read that gel dyes incorporate better, so I opted for that in the batches below.
- For my filling, as you can see from my photos, I used a very simple buttercream made with 1:1:8 ratio of shortening, softened butter, and confectioner's sugar (this made enough for 2 batches with some to spare!), and then a little salt, extract, and a touch of milk to thin it out
- I think these macarons were a great size for guests or an event, but for me, I also eyeballed them and made smaller ones (about half the size) with some extra batter we had and they were wonderful, too. This recipe is very versatile, but just cut the baking time down a couple minutes for smaller ones!
Giveaway! Head on over to my Instagram for your chance to enter to win a macaron mat, too!
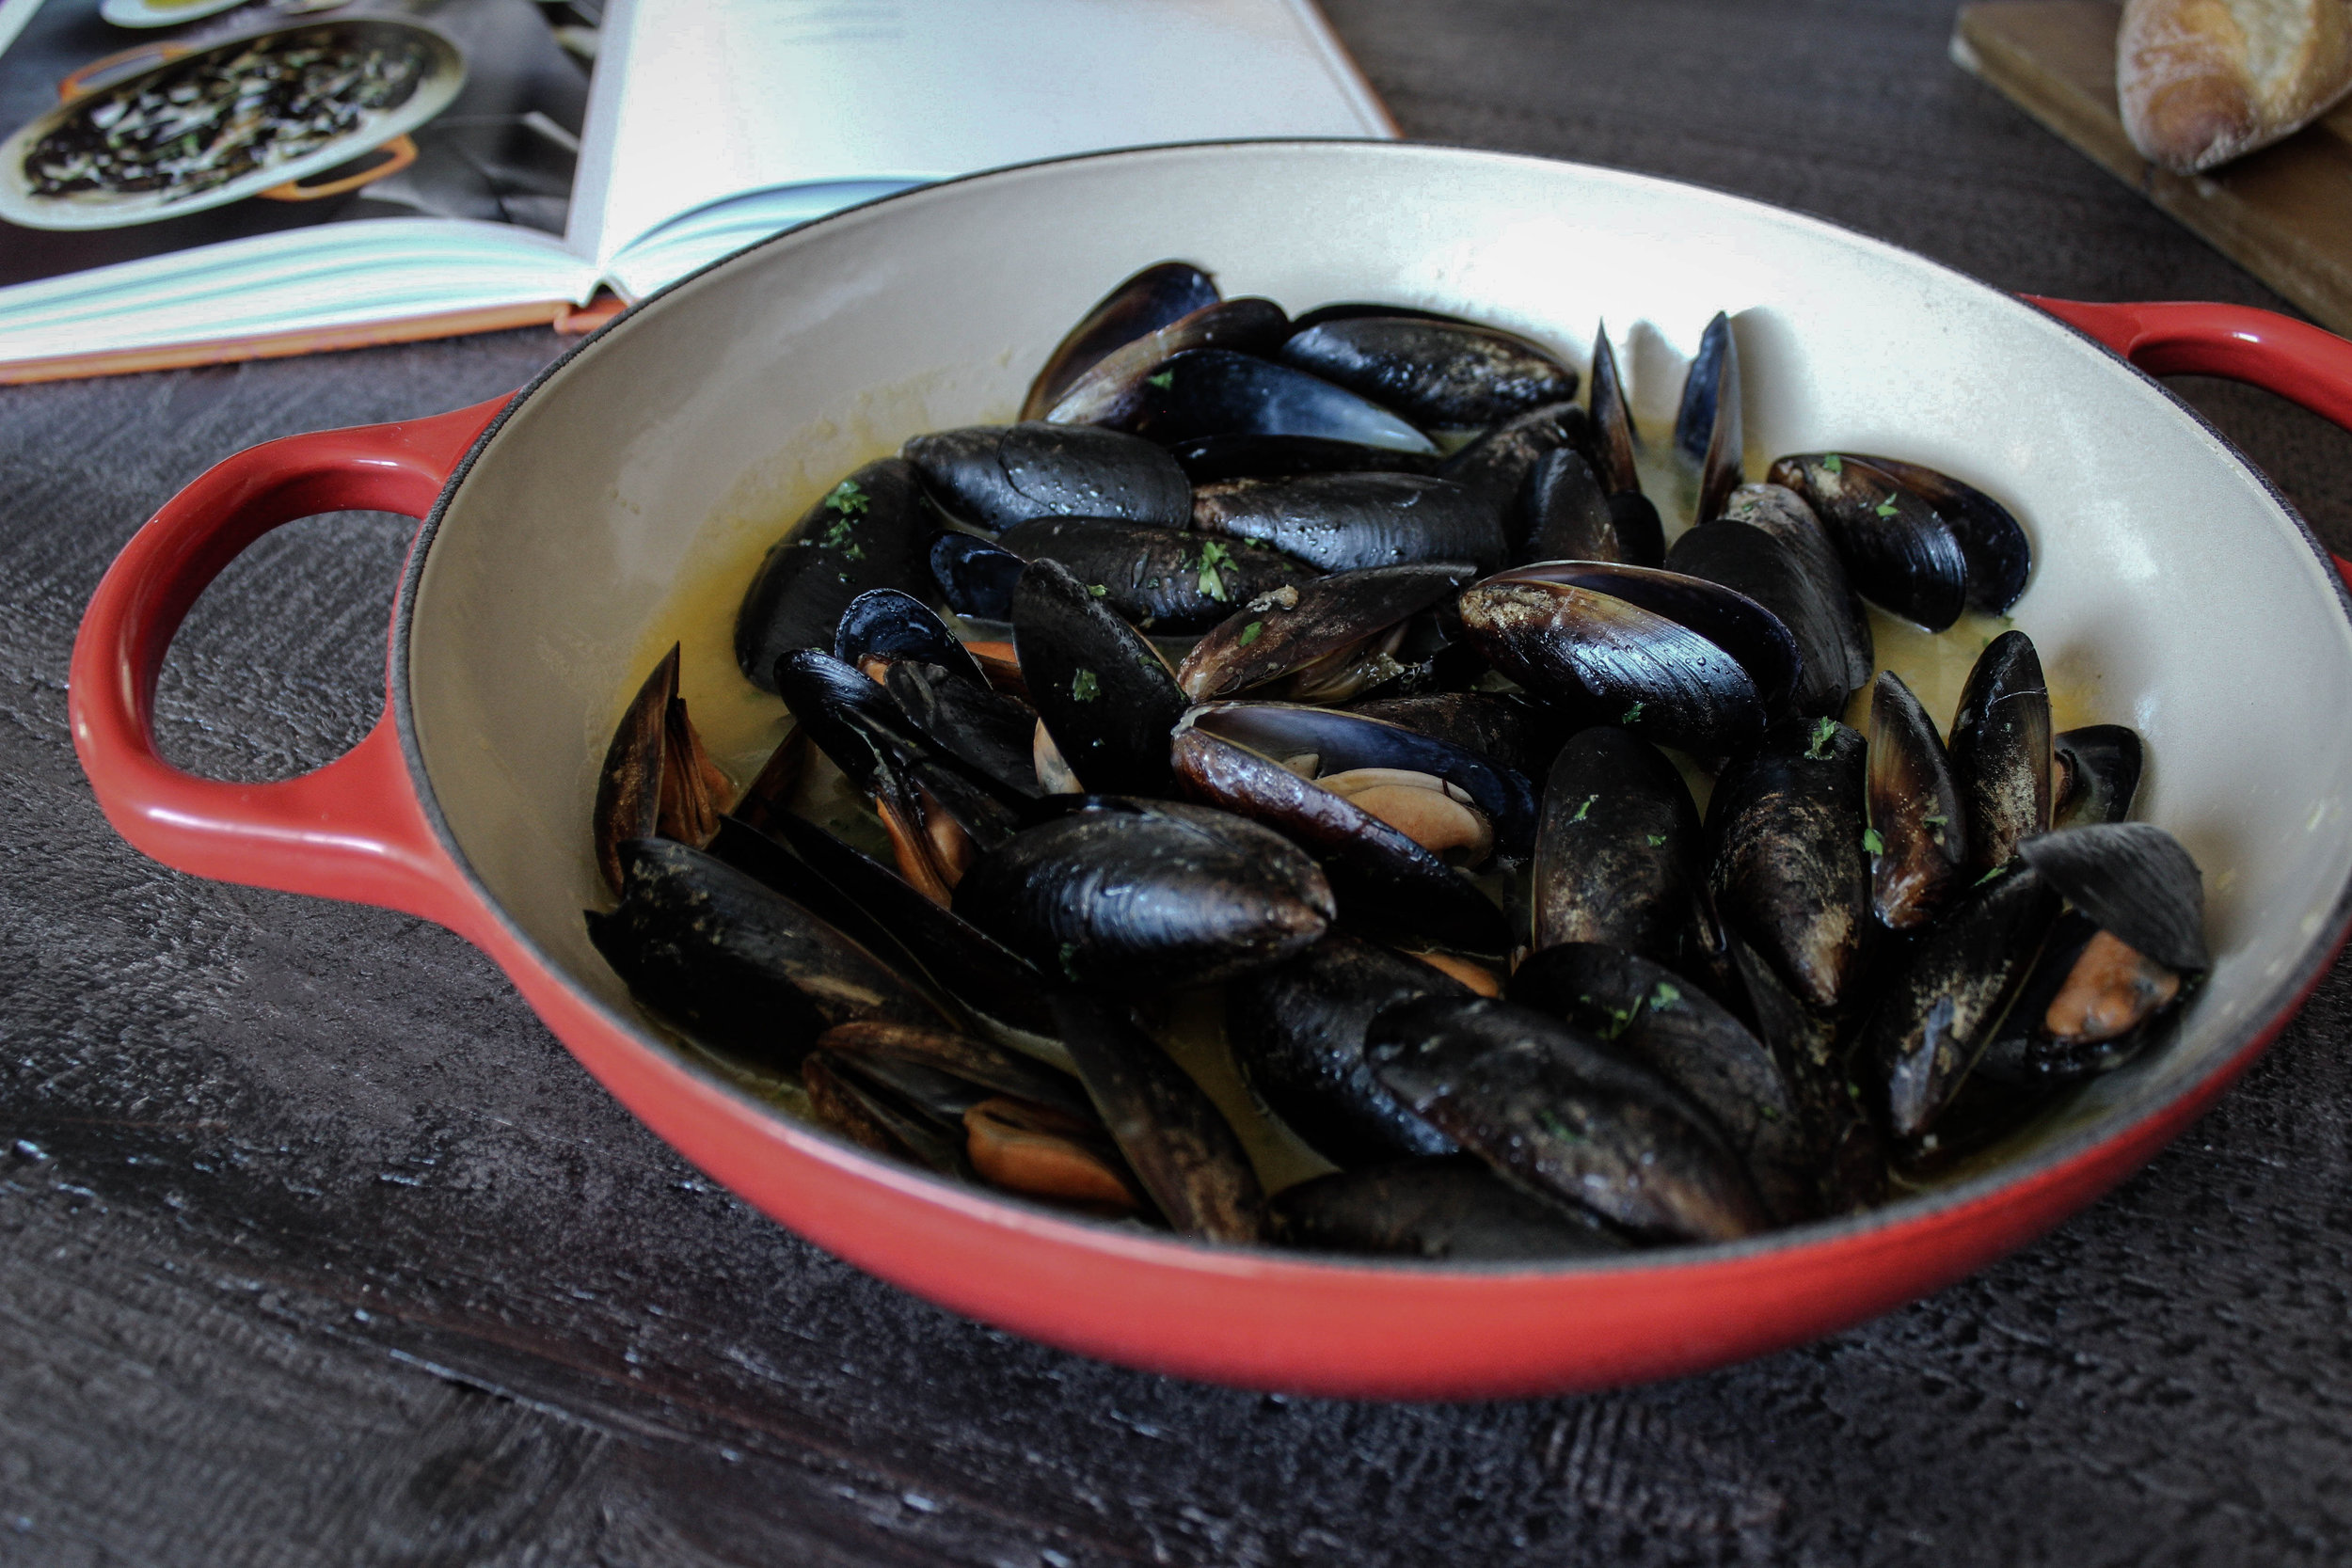
GIVEAWAY WINNER - LeCreuset's Cookbook - and Mussels!
I think I'm really made for winter. I spent all of my long weekend in pajamas, with the bed pulled out of our sofa bed, a tray of drinks and books propped up, and the dogs by my side. It was heaven. The way the light scattered in to wake up. I could hear the crunch of deer on the snow and ice and photographed them from my window. I drank a lot of tea and ate a lot of junk food and it was exactly what I needed. A good way to remember that the holidays aren't a season, but all of Winter is.
After the long weekend of eating soups, chips, burritos, and eggs (lots of eggs--the chickens are still producing at 85%!), I wanted something light. Something filling. Aromatic but soft, no sharpness to ruin the pleasant dullness of relaxation. Lazily, gratefully, I knew what I wanted to make - mussels. I know it's not the most relaxing food in the world, but it is probably one of the least fussy and most delicious dishes I can think of. And it was heaven to pinch the meat out between a used shell and to press the warmed, iridescent shell to my lips. To have the broth of wine and garlic slide down the corners of my lips. To toss the used bivalve into the awaiting mouth of the white bowl and to soak the baguette in the small dredges left in the bowl. It was, and will always be, my favorite meal.
Le Creuset wrote a cookbook and it's where the recipe is from below. I feel grateful to have this book, as I am always looking for the path of least resistance when it comes to French food, and this book has it all. Beautiful photographs, easy instructions, no fuss or worry. My absolute favorite way to cook. And with one pot to clean, it made my relaxing weekend all the more stress-free.
I'm excited to also share this book with a lucky winner who participated in my Instagram giveaway. Congratulations to Brandice!
Steamed Mussels
Serves 2 or 4
Ingredients:
- 1/4 cup extra-virgin olive oil
- 2 medium shallots, finely chopped
- 3 large garlic cloves, finely chopped
- 1 cup dry white wine
- 1 cup heavy cream
- 4 tablespoons unsalted butter
- 2 tablespoons chopped tarragon
- Kosher salt
- 2 pounds fresh mussels, scrubbed and de-bearded
Directions (as shared in Le Creuset's Cookbook):
1. In a large pot over medium-high heat, warm the oil. Stir in the shallots and cook until tender, about 3 minutes. Stir in the garlic and cook until fragrant, about 30 seconds. Stir in wine, cream, butter, tarragon, and season with s salt.
2. Add the mussels, cover, and cook for 2 minutes. Stir the mussels, cover and continue cooking until they open, 4 to 6 minutes. Discard any mussels that do not open. Sprinkle with parsely and serve at once with the broth and some crusty bread.
Pumpkin Madeleines with Dark Chocolate and Sea Salt
Still hot. Still dry. Still a confusing pattern of crisp morning and blazing afternoons. We're adapting to this weather. It's hard to adapt when it's so unpredictable. A swaying and perching of temperature highs and lows that vary by twenty degrees within just a few hours.
I'm bitter. I'm antsy. I want it to be cold so I can savor the mornings a bit more than I do right now. The artificial chill of the air conditioner can only give us so much comfort. I want both warm coffee and the shivering hand that holds it. Give me this. Give me turtlenecks and rain boots. I will take it all right about now.
Is there a word for weather that has overextended its welcome? It's not an anachronism, but it feels kind of the same. It's jolting to be looking at Christmas trees made out of wood at a local craft fair when there are rivulets of sweat trickling down my side.
Our yard, our house, our land - they do not like the extended heat. The grass is dead in the patch we reserved for the dogs to play, and shaggy in the field. Overrun, the way I like it. A tamed kind of chaos, the way I like it. It's nearly completely razed in the chicken run, but they don't mind. They'll get to laying soon, I hope.
But I'm optimistic. I want it to be winter, if we are forced to bypass Fall. But in the meantime, I'll bake up something beautiful. In the meantime, I'll kill off the chocolate that's been in the cabinet for a while. I'll use the last can of pumpkin I had sitting around. I'll keep busy, waiting for the daylight to get shorter and shorter and shorter.
Pumpkin Madeleines, with Dark Chocolate and Sea Salt
Recipe notes: This madeleine recipe is taken from my adaptation of Ruby Tandoh's Crumb. These were the following changes I made: I used 6 TB butter instead of 1/2 cup (I did not brown, just melted), 3 TB pumpkin puree, and 1/2 TB orange zest, 1 TB molasses. They bake a little longer at 12-15 minutes. Dipped in 12 oz of melted dark chocolate and a sprinkle of sea salt.
One Dough, Two Ways: Pizza and Donuts!
After two years here, I do not claim to be a healthy blog. I eat how I grew up - things that are quick, things covered in fat, things in moderation because my parents had to feed five. I eat what I like. I eat what I want Nolan to come home to - things that are warm, fragrant. Things that make it worth coming home for. It's the easiest part of building a home. Thank God it's my favorite, too.
I do not claim to be a good cook. I'm an average baker when I put the energy into it. But I have my favorites down--roast chicken, kale, eggs, and pizza. We rotate. We sometimes just have cereal when neither of us want to cook. We hardly ever eat out anymore. It's so different than California, when our one bedroom was scattered with paper napkins and plastic forks. But, then again, we are different, too. A year can be a lifetime and thank God we've had a few to learn and try to get this thing right.
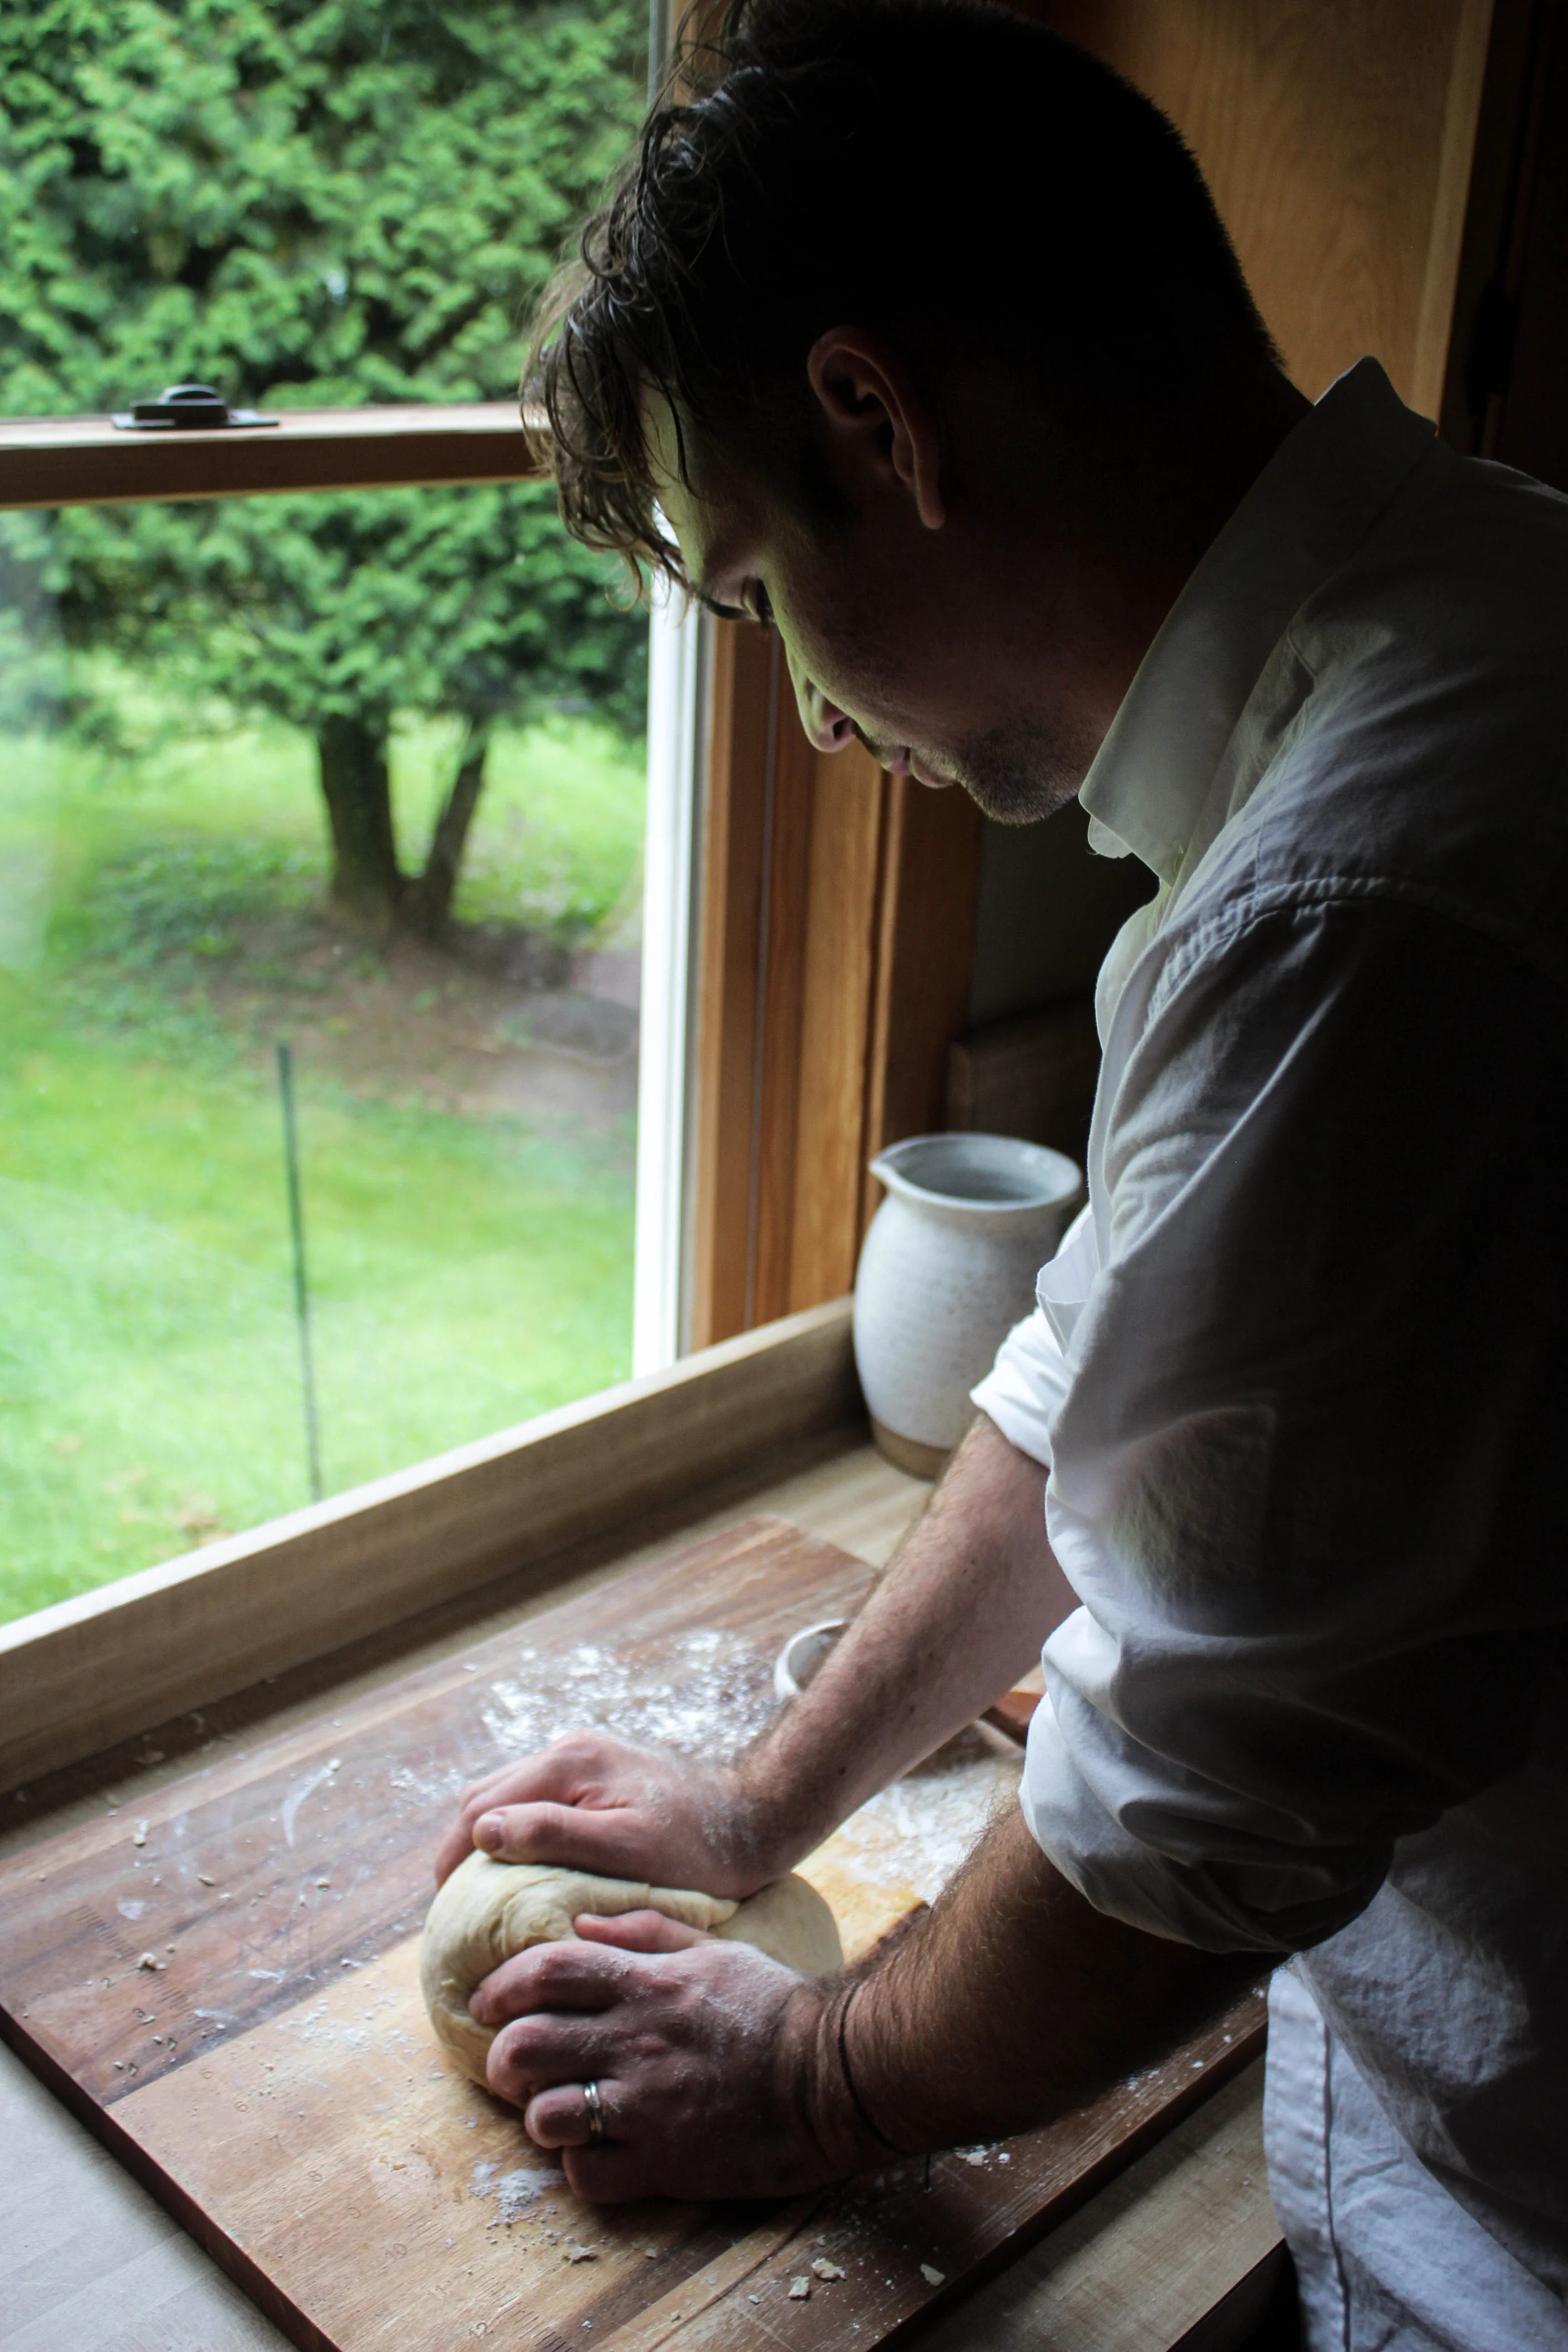
Our dogs know the routine now for when it's pizza night, they begin following me around the kitchen when the oven is still preheating. When the yeast is blooming. When the dough is punched and my hands are too floured to pet their needy heads. They always get the end pieces, the burnt edges, the marinara off our plates. We don't mind. Thank God for them.
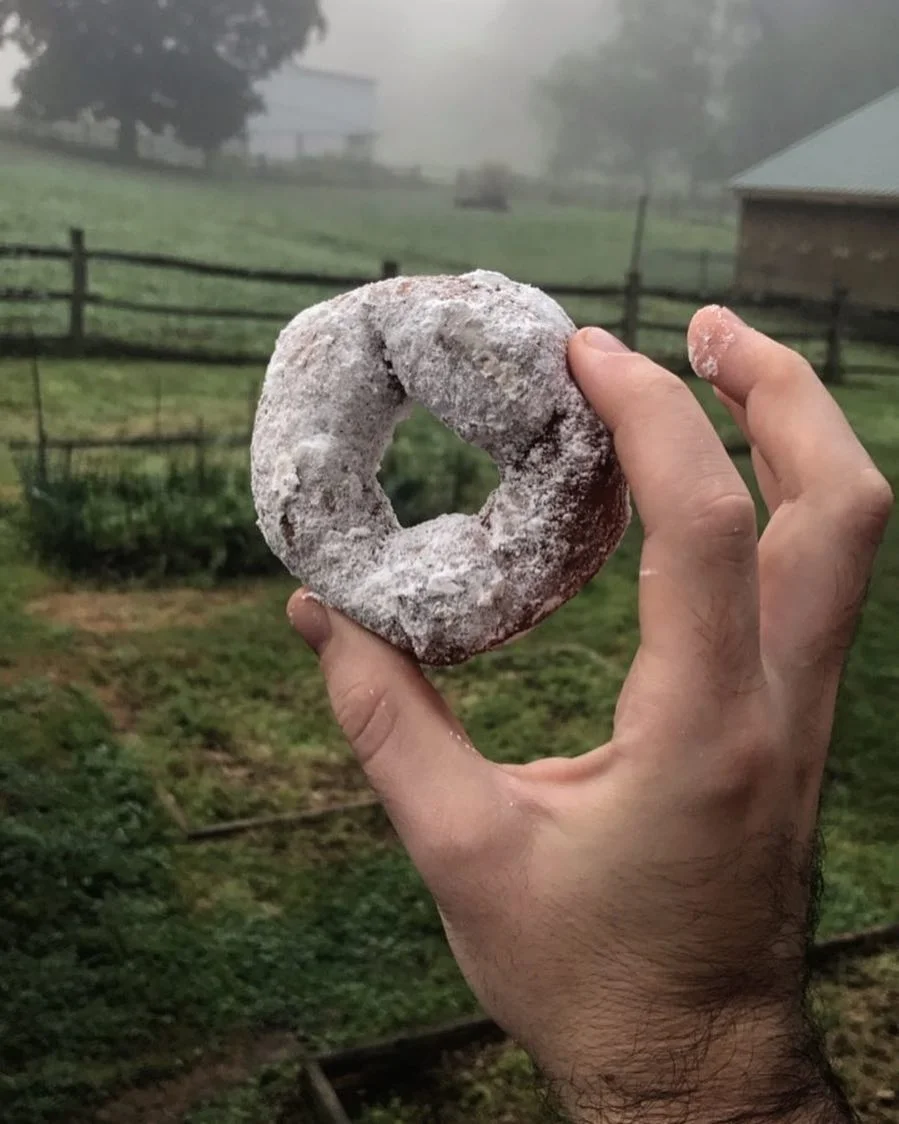
A few weeks ago, I posted on Instagram a photo of some leftover dough turned into a donut. Using my favorite dough recipe and adapting it to a sweetened donut has become a ritual now for us. I make extra, I put it in a cake stand for the morning. I cover them in powdered sugar like I did for my other donut recipe. We wake up to these and a warm cup of coffee. And thank God for that.
One Dough, Two Ways!
Basic Dough Recipe:
- 2 teaspoons active dry yeast (of course, Red Star is my preferred)
- 1 teaspoon white sugar (additional 1/3 cup if making donuts)
- 1 cup water, warmed to 105*F
- 2 1/2 cup AP flour
- 1 teaspoon sea salt
- 1 tablespoon butter, melted
- 1 tablespoon olive oil
Basic Dough Instructions:
- In the bowl of a stand mixer, mix together yeast, sugar, and water
- Allow to sit for 10 minutes or until water is foamy and yeast is activated
- While yeast is blooming, sift together flour and salt (and sugar if making a sweet dough)
- With mixer on low and a dough hook attached, begin to slowly add in a bit of flour at a time
- A dough will begin to form, but it will be dry. Add your butter and oil to wet dough slightly
- Roll out onto a floured work surface. Refer to the below instructions for further direction on making your pizza or donuts!
For the pizza: Use the above recipe. Preheat oven to 450*F. Using a Silpat or parchment paper, roll your dough out on top of it. Cut out excess dough on the edges to avoid too much crust. Add your desired toppings. Once you have the pizza assembled, bake for 20 minutes and enjoy!
For me, I made a Flammekeuche (tarte flambée), which is a traditional Alsatian dish that is honestly delicious. I used a half cup sour cream, and half a yellow onion (sliced) and 6 slices of bacon (make sure you cook the bacon fully before baking the pizza).
For the donuts: Roll out dough onto a floured work surface to about 1 inch. Cut out your donuts shapes. Allow to rest for five minutes. While dough is resting briefly, heat 1 inch of vegetable oil to 325*F in a Dutch oven. Prepare a plate with a paper towel. Fry two donuts at a time, turning once and allowing each side to fry for about 15-20 seconds or until browned. Transfer to your prepared plate to drain any excess grease. Repeat with remaining dough (and donut holes!). Shake in confectioner's sugar. They're good for about 2 days!
Thank you to Red Star Yeast for sponsoring this post. I believe in using quality products when it comes to baking and I am always confident my dough will rise beautifully with Red Star! Check out the active dry yeast I used for this recipe and others on their website, follow them on instagram and like their Facebook!
And while you're at it...like my Facebook and Instagram too!
French in the morning: Oeufs au Plat
I'm still learning about the land we bought, the restless five acres that house hidden deer on the hill and raccoons behind the garage. We came back from Iceland this week, a six hour flight and a two-hour drive home. When we made the turn that led to our house, the expansive reality of our ownership surprised me. Five acres looks so much bigger when you've been staring at nothing but the mindlessness of an airplane cabin.
There are many things I didn't realize about the land. How much effort it takes to maintain it and how effortless it is to respect it. How cautious I am to burn anything. How fearful I am of giving our chickens anything that isn't first corroborated between two websites. How quiet it can be, home alone all day with lazy, dozing puppies. How lonesome the night feels sometimes when the sky, coquettish, hides behind sheets of moonlit clouds.
This is our first autumn at this house of ours. There are four bushes that are in our backyard. I ask Nolan what kinds they are, as they haven't yet blossomed or changed color. I know so little about these types of things. And, because of this, I am able to be surprised in the resolute sense that this world will shift forward without my incessant question-asking.
The chickens will lay on their time.
The dogs will bark in the nighttime.
The bees continue to build their ruddy nests in places we haven't yet discovered.
And we may find a deer, broken and flattened, on the side of our driveway. This is through no fault of our own. None of it is, really.
I am beginning, just beginning, to find peace in acquiescing. To hold so little responsibility, to become a steward of our animals and this homestead I am responsible for, versus a master of anything. I hold no ego the way I once did. I hide behind no fantasy, the way I once did. Sometimes I cannot tell if I am exhausted from years of trying so hard to keep everything together, or if it was all in my head for nothing.
Next year, I'll know a little more. And this recipe is in preparation for it. Herb and tomato and egg from our land; I'm waiting for the day when I can taste it.
Tarragon and Garlic Ouefs au Plat Bressanne
Adapted from this recipe, this dish is perfect for a simple Sunday meal for two. Feel free to adjust your garlic, seasoning, and even herb choice as you like. Adaptable French is key to how I like my meals, you could say.
Ingredients:
- 1/2 cup heavy cream
- 1 clove garlic, diced finely
- 1/4 teaspoon salt
- 1/2 teaspoon pepper
- 2 slices of quality bread, sat out to stale for a day or so
- 2 eggs
- 6-8 cherry tomatoes, halved
- 1 tablespoon tarragon
Directions:
- Preheat oven to 375*F and butter a small cake pan, baking dish, or skillet
- In a small saucepan, heat heavy cream, garlic, salt and pepper on medium heat until bubbles just begin to form on the edge of the pan
- Remove from heat and let steep
- Lay bread in prepared pan
- Pour cream mixture over top
- Cream a small well in the center of your bread to nestle the egg yolks
- Crack your eggs over the bread
- Add tomatoes
- Bake for 12 minutes, but begin checking at 10 to see how your whites have set. You can take out anytime after 10, depending on desired runniness of your eggs
- Sprinkle with tarragon and any additional salt and pepper
- Best if eaten immediately

