Your Custom Text Here
Macarons with Silpat!
Baking is the collision of precision and accident. I think that's why I love it so much. I feel the same way about myself. I'm full of opportunity, but I never seemed to have gotten it right. And that's okay. I'm learning to be okay with that.
The small bumps on the tops of the macarons make me smile. I've got a few, too. And I think about the beauty of these imperfections and the small cherry moles that creep on my arm and the crooked teeth of our dogs and I love these small details that make them so much more worth savoring.
I've never made macarons before. I wasn't scared, but I was unsure. My best friend got me a kit maybe four years ago and it sat, unused. I used to be afraid of failure, so I think that's why I never opened it. But when Silpat asked me to use their mats to try again, I held off until I had the time. I thought it would take hours, maybe a day even. But it took maybe 60 minutes from start to finish. And they were perfect in their airy way, brittle and fragile and broken around the edges. It made it so much more worth savoring that way.
Macarons!
Ingredients:
- 1 cup confectioner's sugar
- 1 cup fine-ground almond meal
- 3 egg whites, room temperature
- 1 lemon wedge
- Pinch of salt
- 1/4 cup white sugar
- Extracts and dye of your choice (see notes)
Directions:
- Prepare a 13"x18" cookie sheet with your Silpat Macaron Mat or parchment paper
- Sift together confectioner's sugar and almond meal 4 times until well aerated
- In the bowl of a stand mixer, rub your lemon wedge on the inside
- Whisk eggs on high until peaks begin to poke up
- Add salt and sugar and mix until stiff peaks form
- Add extracts and dye, mix for 15 or so seconds until fully incorporated
- Using a rubber spatula, fold meringue into dry mixture (make sure to be gentle so not to deflate the mixture more than you have to)
- Transfer batter to a piping bag and pipe into center of the circles (if using macaron mat). Keep bag straight up and apply an even amount of pressure. Leave about a centimeter perimeter, as batter will expand as it settles and as it bakes
- Allow batter to rest for 30 minutes at room temperature
- Preheat oven to 300*F
- Bake for 25 minutes, opening at the 15 minute mark to release a little steam and to check on edges
- When done, tops will be hard and a little glossy and bottoms will have a crust
- Let rest on mats before transferring for a couple minutes
- Allow to cool completely before assembling with your filling (see notes)
- Enjoy!
Notes:
- Extract and dye amounts will vary a lot based on the potency of both products. I used 2 teaspoons of vanilla extract for one batch below, and a 1 teaspoon of lemon extract. Play around a bit, but be on the conservative side if you're nervous! I've also read that gel dyes incorporate better, so I opted for that in the batches below.
- For my filling, as you can see from my photos, I used a very simple buttercream made with 1:1:8 ratio of shortening, softened butter, and confectioner's sugar (this made enough for 2 batches with some to spare!), and then a little salt, extract, and a touch of milk to thin it out
- I think these macarons were a great size for guests or an event, but for me, I also eyeballed them and made smaller ones (about half the size) with some extra batter we had and they were wonderful, too. This recipe is very versatile, but just cut the baking time down a couple minutes for smaller ones!
Giveaway! Head on over to my Instagram for your chance to enter to win a macaron mat, too!
4 Looks for Winter: A Partnership with WoolOvers
It's warmed up here the last few days. The snow is melted and I've heard that ticks are waking up from their Persephonic slumber. There is a black cat that slinks around the yard. I had a feeling he would turn up sooner or later. We greeted him like an old friend from our bedroom window this morning. It is not how I wanted to greet the in-between of Winter and Spring, but I sit at the open door and breathe in air that tastes like mud and I know it's happening whether I want it or not.
I've adapted to living back in Pennsylvania. Unexpected ways, like waking up early to make the coffee. Unusual ways, like tending for 10 chickens. Thoughtful ways, like trying to learn how to say that I am sorry more. And practical ways, like dressing for the weather. I kept old sweaters from college when we moved to San Diego. Never wore them; threw them out. When we moved back to Pennsylvania a couple years ago, it was a process to buy new, stay warm, be comfortable. In doing so, I realized how I was adapting to my environment, the way that moss grows on the North side of trees.
I'm fortunate to be working with WoolOvers on this post to showcase how I dress for life on the farm - from working to playing to baking to dressing up. I'm often inspired by rural English style, and I see this has evolved into the way I dress daily. So many facets of me seem lost behind the camera, so hopefully here is a peek at who I am in front of it.
Look One: Keeping Warm in the Barn
An upcoming post will highlight a small barn renovation that I completed over the holidays. Bitterly cold, I converted an adjacent coop into a sort of recreational room for the hens. Three layers of wool, I was still frozen. Since then, I have been wearing large, chunky, wool sweaters almost daily. Paired with a some overalls and comfortable work boots, I am most comfortable in an outfit like this. The added bonus of a few minutes with one of the girls was a bonus for me, too.
Look Two: Walking with Milo
As you have probably been able to ascertain from my Instagram, I am dog-obsessed. On days where it's no snowing, we try to make sure that we spend time with our three bubs - Murphy, Elsa, and Milo. The sweater is a little nod to another one of my loves, the Duchess of Devonshire, by paying a small homage to her book, in the embroidered style of her husband's custom sweaters. Paired with some Levi's and a Harrington jacket, this is my usual style if I'm wanting to get a little dirty with the pups.
Look Three: Baking
Since my day job allows for me to work remote, I oftentimes force myself to dress up a bit so that I don't always feel like I'm a slob. For me, baking is a performance, a ritual, something that I do for myself, so I thought it would make sense to share a moment in time with you - something so simple as cracking some eggs. Pairing the Woolover's cardigan with a vest that came with a suit I got on Amazon, it's an outfit I've worn around the house, but also to a Christmas party this year--and its simple, subtle pattern is perfect for both.
Look Four: Packed for a Trip
I'm happy here, in our new hometown. But that doesn't mean that the winter hasn't made me want to travel a bit to somewhere warmer. I picked up this ancient suitcase at a Goodwill maybe 10 years ago and it is my go-to overnight bag. Paired with a thin, comfortable cashmere v-neck and the rest of the suit mentioned above (I had it tailored to fit once I got it), I feel that this is the type of clothing that's meant for travel - classic, warm, and most of all comfortable.
Guide:
Look one: Sweater / Overalls / Boots (not pictured)
Look two: Sweater / Jeans / Shoes / Jacket
Look three: Cardigan / Vest
Look four: Suit / Sweater
GIVEAWAY WINNER - LeCreuset's Cookbook - and Mussels!
I think I'm really made for winter. I spent all of my long weekend in pajamas, with the bed pulled out of our sofa bed, a tray of drinks and books propped up, and the dogs by my side. It was heaven. The way the light scattered in to wake up. I could hear the crunch of deer on the snow and ice and photographed them from my window. I drank a lot of tea and ate a lot of junk food and it was exactly what I needed. A good way to remember that the holidays aren't a season, but all of Winter is.
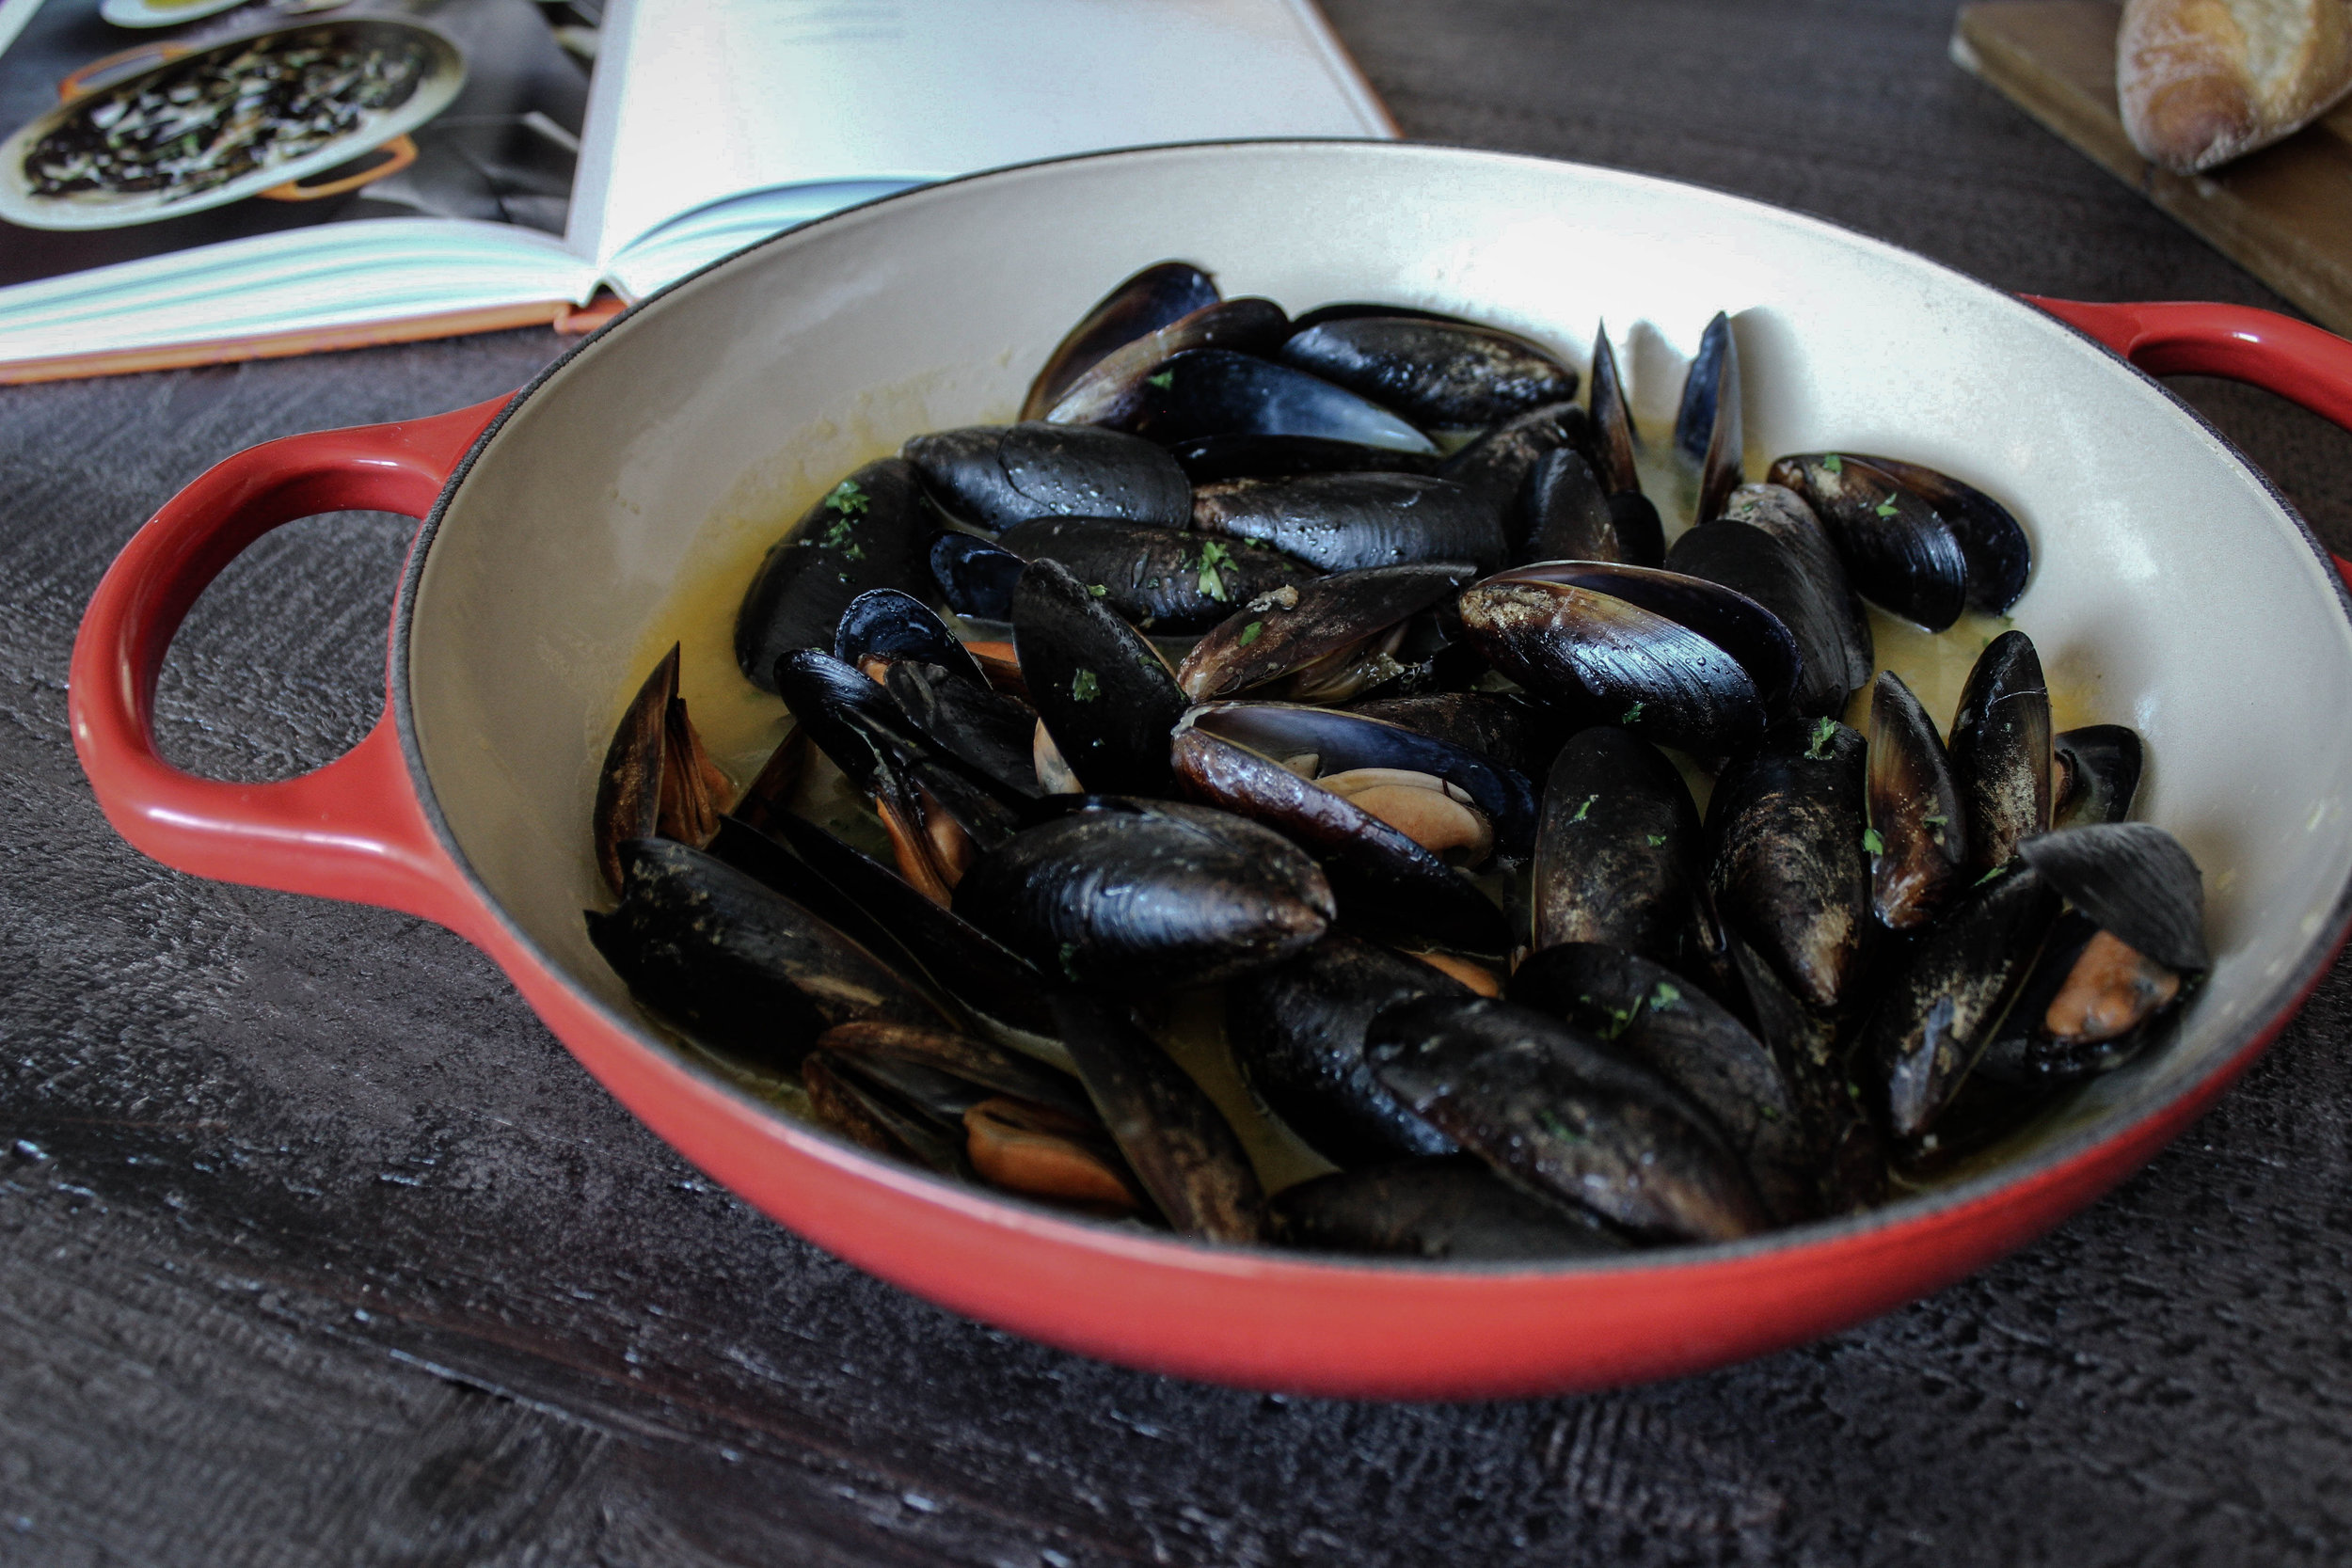
After the long weekend of eating soups, chips, burritos, and eggs (lots of eggs--the chickens are still producing at 85%!), I wanted something light. Something filling. Aromatic but soft, no sharpness to ruin the pleasant dullness of relaxation. Lazily, gratefully, I knew what I wanted to make - mussels. I know it's not the most relaxing food in the world, but it is probably one of the least fussy and most delicious dishes I can think of. And it was heaven to pinch the meat out between a used shell and to press the warmed, iridescent shell to my lips. To have the broth of wine and garlic slide down the corners of my lips. To toss the used bivalve into the awaiting mouth of the white bowl and to soak the baguette in the small dredges left in the bowl. It was, and will always be, my favorite meal.
Le Creuset wrote a cookbook and it's where the recipe is from below. I feel grateful to have this book, as I am always looking for the path of least resistance when it comes to French food, and this book has it all. Beautiful photographs, easy instructions, no fuss or worry. My absolute favorite way to cook. And with one pot to clean, it made my relaxing weekend all the more stress-free.
I'm excited to also share this book with a lucky winner who participated in my Instagram giveaway. Congratulations to Brandice!
Steamed Mussels
Serves 2 or 4
Ingredients:
- 1/4 cup extra-virgin olive oil
- 2 medium shallots, finely chopped
- 3 large garlic cloves, finely chopped
- 1 cup dry white wine
- 1 cup heavy cream
- 4 tablespoons unsalted butter
- 2 tablespoons chopped tarragon
- Kosher salt
- 2 pounds fresh mussels, scrubbed and de-bearded
Directions (as shared in Le Creuset's Cookbook):
1. In a large pot over medium-high heat, warm the oil. Stir in the shallots and cook until tender, about 3 minutes. Stir in the garlic and cook until fragrant, about 30 seconds. Stir in wine, cream, butter, tarragon, and season with s salt.
2. Add the mussels, cover, and cook for 2 minutes. Stir the mussels, cover and continue cooking until they open, 4 to 6 minutes. Discard any mussels that do not open. Sprinkle with parsely and serve at once with the broth and some crusty bread.
Nordic Ware Double-Whammy: Just in Time for the Holidays
Last year, I did a DNA test with Ancestry.com. I wanted to see where I was from, in the national sense. In the ethnic sense. In the cultural sense, having been so devoid and divorced from all the culture I grew up in. I wanted a summary, a percentage chart to tell me who and what and where I could be. It turns out, I'm European. German, and Irish and English. Those are my roots, in the proverbial sense. In the lackadaisical sense of a diaspora that have all culminated to the Eastern part of Indiana where I was born.
Midwestern, that's all you really need to know, at the end of the day, of who I am and what I am.
I thought about this as I perused the books that Nordic Ware sent me to review and bake from. I thought about how my ancestors on my father's side settled in the same county they live in now. How they looked at the expanse of field and the gentle, almost imperceptible slope of flat, flat earth and thought this was a place to raise a family. I thought about how their Protestant work ethic fed families of 8, 10, 12. I thought about how that has shaped the way I eat today - how these cookbooks, and so many more, are a reflection of inherited values and cultures and belief systems that I've lived at the very edge of my entire life, but never deep in their thickets.
Below, I made a bundt cake. I added mayonnaise as the recipe called for. It lasted for days, moist and tender and just the right amount of darkness to it. I also made Swedish pancakes. Lighter, they spread out paper thin on the griddle I used. A bit of fig jam or confectioner's sugar did the trip. They filled me up. They were made with simple ingredients. They told a story I'm still figuring out, about the place I'm from and who I am and how I got here.
Nordic Ware - Book Reviews
Earlier in the Fall, Nordic Ware asked that I bake from two books for them, in partnership with the Minnesota Historical Society. These books connected with their brand and heritage, which has always been a subject I've gone back to in my own writing.
Bundt Cake Bliss - find more info here.
When I got this book, I was curious to see if I would find a recipe that I would connect with. While I do not stray away from more down-home style cakes, I wanted my baking to feel authentic. What surprised me was, behind the cover, it read like a regular ol' spiral-bound church cookbook, complete with names and small suggestions for variations. It felt right at home.
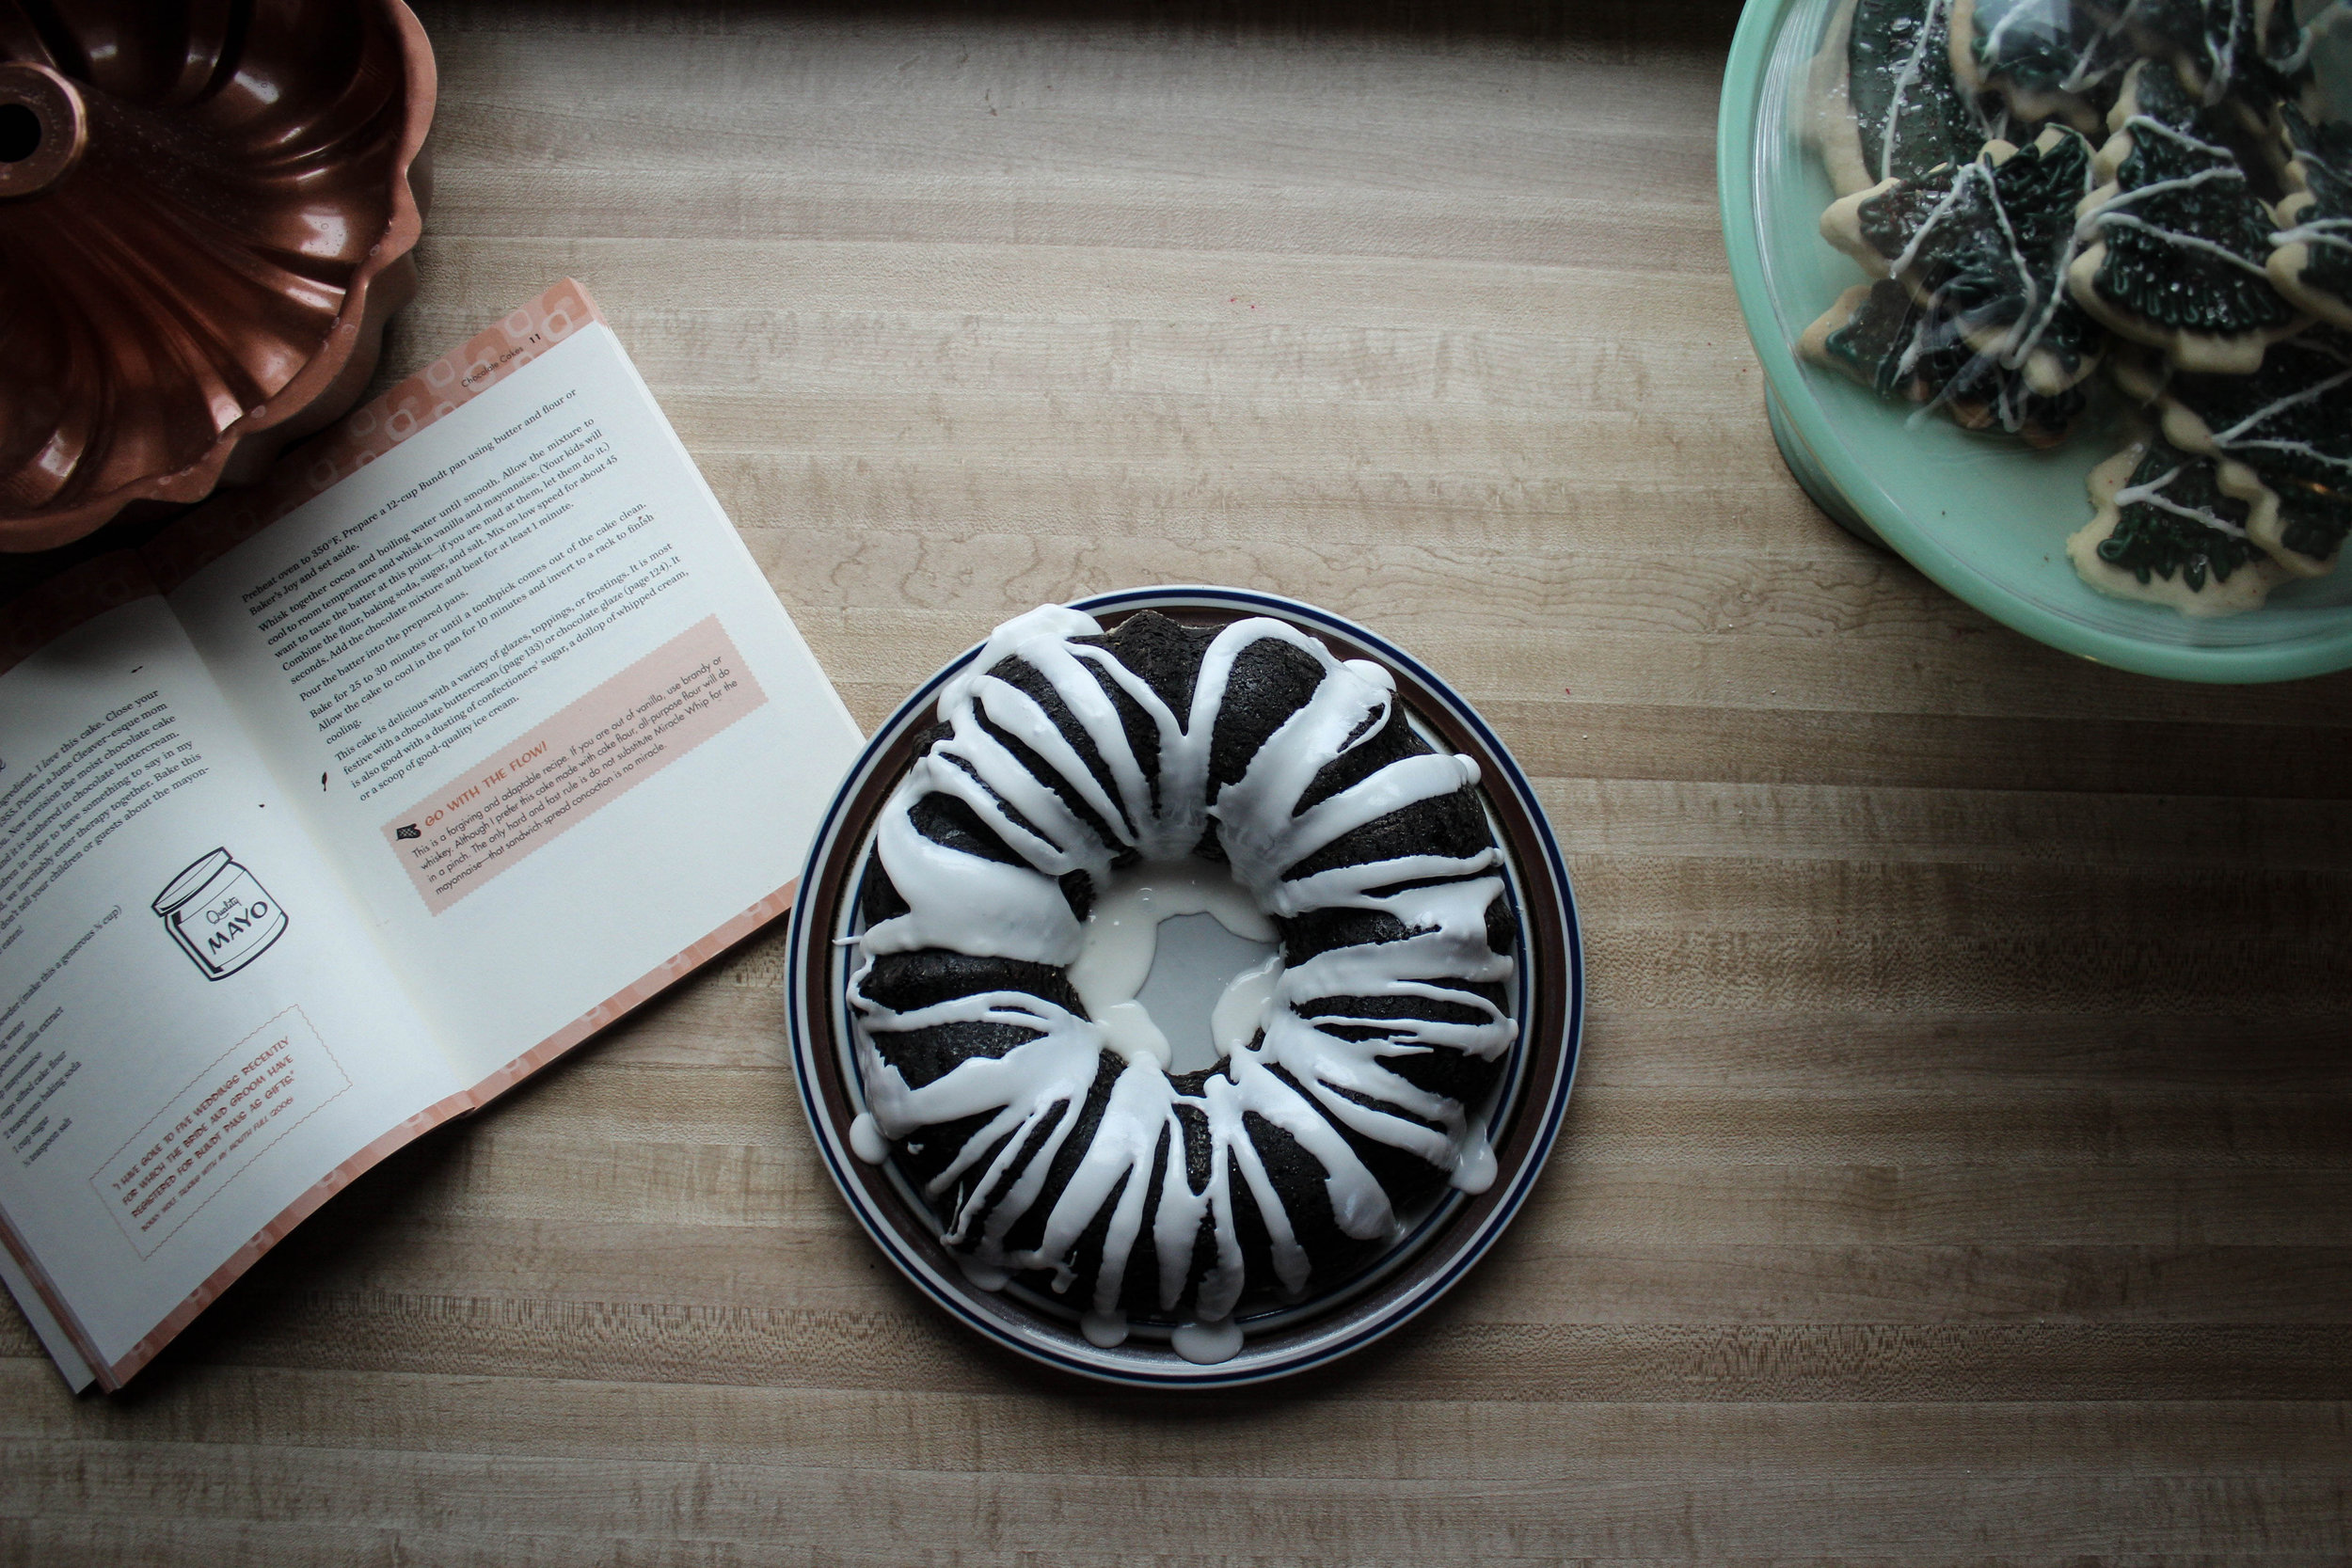
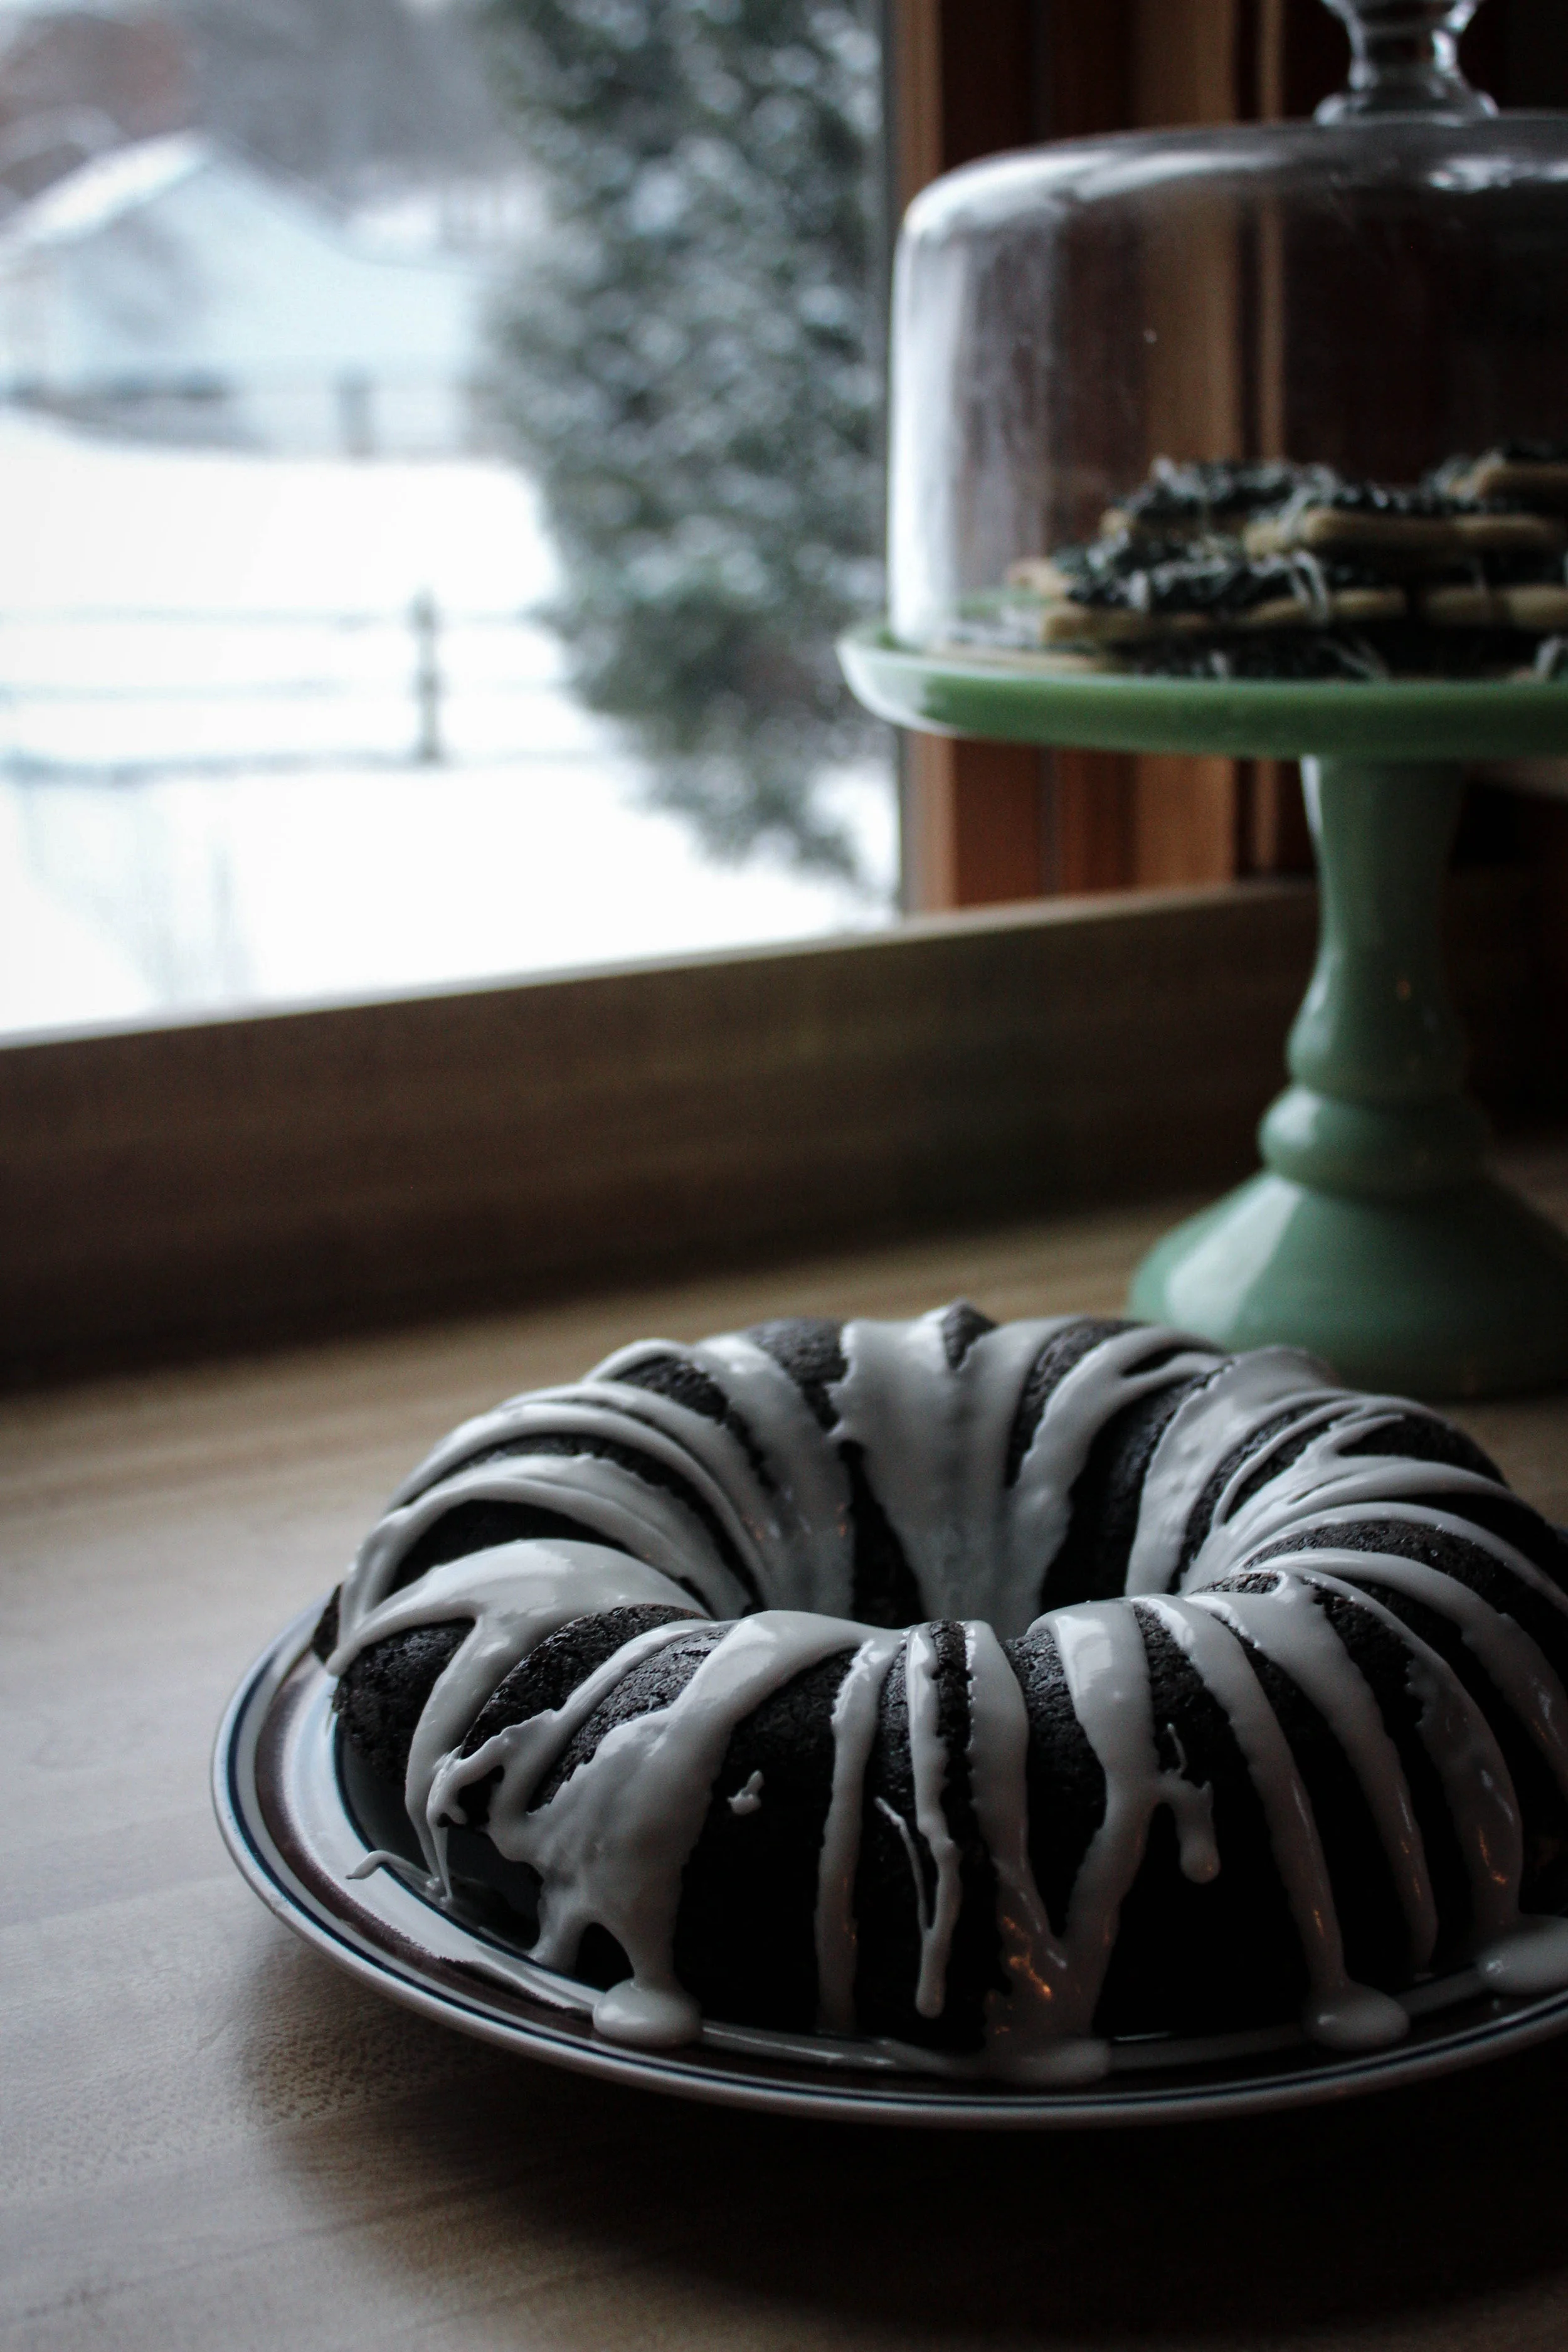
So, for this recipe, I baked a classic cake that I remember growing up with: a chocolate bundt made with mayonnaise. Because of the high oil content, I was worried this cake would fall to pieces when I took it out of the pan. Not a problem with with Nordic Ware's copper bundt pan.
You can find the recipe in Bundt Cake Bliss. The photos below show a drizzle I did of cream cheese and a bit of milk and confectioner's sugar.
Jul - find more info here.
For me, Nordic food is a new arena and not one that really played into the food I grew up on in the Midwest..or so I thought. It was exciting to see recipes that my own family had derivatives from--meatballs, Christmas breads, and even pancakes. The high quality of the pictures and easy recipes had me dreaming of how to incorporate a bit of Swedish food into my Christmas table this year.
I made a super simple Swedish Pancake recipe from Jul, using Nordic Ware's slim griddle. As mentioned, I topped mine with fig jam and a squeeze of lemon juice. It was perfect.
A special thanks to Nordic Ware for sponsoring this post. Nordic Ware has been producing quality kitchenware products in their 70 years and are now one of America's most beloved and iconic brands. For more information or products, check out their website!
Holiday Baking Continued: Goat Cheese-Stuffed Wheat Buns!
Nolan, my sister, her husband, and I are taking a trip to New York tomorrow. It's a bus trip, 10 hours riding on a coach bus for the sake for 8 hours in the city. We're going because we used to do this when we were younger. We're doing this to reignite some old traditions that will, most likely, never fit into the mold of our lives now; but, god damnit if we don't try.
But this week, I've done a lot of baking. A lot of testing. A lot of trying to make the house warm with the oven on. A lot of convincing myself to keep moving forward, a direction I've always considered to be the better of the the two options available. And, to keep this post as short as possible so I can finish packing, here is a recipe I made this week. Goat cheese-stuffed buns, made with wheat and studded with walnuts. A little bit of the warmest flavors I could find in the fridge to stave off the cold from coming too close to our kitchen.
Goat Cheese-Stuffed Wheat Buns
Ingredients:
- ½ cup whole milk
- ½ cup water
- 4 tablespoons unsalted butter
- 1 packet of Red Star platinum yeast
- 1 teaspoon salt
- 1 egg + 1 white, both room temperature (use extra yolk for egg wash, see directions below)
- 2 TB honey
- 1 ½ cup whole wheat flour
- 2 cups all-purpose flour
- 8 ounces goat cheese (I used Vermont Creamery’s Coupole, but any goat cheese will do)
- Walnuts, if desired
Directions:
- In a small saucepan, heat milk, water, and butter until butter is completely melted. Stir to combine and transfer to your stand mixer’s bowl. Let stand until temperature reaches 110*F
- Add yeast and salt
- Let stand for 10 minutes or until yeast is bubbling
- While mixture is resting, sift together flours
- Turn on stand mixer, fitted with a dough hook, and add your egg and honey
- With mixer still on, add your flour mixture, about a ½ cup at a time, until a shaggy dough forms (depending on your wheat flour used and altitude, you may require just a little less flour than this recipe calls for)
- Turn out onto a floured work surface and knead for about 6 minutes or until dough is springy to the touch
- Place in an oiled bowl and let rest for one hour at room temperature
- After your hour has elapsed, preheat oven to 400*F and grease a 9-inch pan thoroughly. Also, cut your goat cheese into 8 pieces or so
- Punch dough down and divide into 8 or 9 pieces
- Pat each piece of dough flat with the palms of your hands and place a piece of goat cheese in the center
- Form a ball with the dough, leaving the goat cheese in the center
- Place in your pan
- Repeat with remaining dough
- Now, whisk your extra yolk with a teaspoon of water to create your egg wash. Brush a bit on top of each dough ball
- Press a walnut in the center of each ball, if desired, as well
- Bake for 25 to 30 minutes, or until golden brown
- Serve immediately for a melt, delicious warm bun. But, these can keep and be reheated for up to two days in an airtight container
Thank you to Red Star Yeast for sponsoring this post. I believe in using quality products when it comes to baking and I am always confident my dough will rise beautifully with Red Star! Check out the active dry yeast I used for this recipe and others on their website, follow them on instagram and like their Facebook!
And while you're at it...like my Facebook and Instagram too!
