
Your Custom Text Here
Simple Apple Tart

It's been hovering in the teens all week and I cannot stop myself from sleeping in a little longer than I usually do. The dogs are allowed out for ten minutes at a time; I worry about colds and infection. They roam the fence and bark at a brown rabbit that has been in our back yard for a week. I worry the ground is too frozen for a burrow. I wonder how he got so lost.
And in the fog of steam from my coffee and steam from my breath, I bake to remember the fog of my childhood. Baked apples and Cinnamon Toast Crunch. Oatmeal cookies and sweetened rice with milk. It's winters like these, the kinds that are quick and silent as a dagger, that make me glad I'm back in Pennsylvania.
I'll wait out this Polar Vortex from the comfort of my kitchen, the yellow light of the oven glowing in the palest shade of orange I have ever seen.
Apple Tart with Oatmeal Crust

I used a 14" tart pan for this recipe and I do recommend you doing the same, both for presentation and ease. I adapted my crust from this one and found it super simple and delicious, bringing me back to cinnamon oatmeal Quaker packets along the way. Feel free to try any other type of fruit for this tart, though I am particularly partial to apple.
Ingredients for Oatmeal Crust:
- 3/4 cup quick cooking oats
- 1/2 cup AP flour
- 1/2 cup dark brown sugar, packed
- 6 TB butter, cold and cut into cubes
- Pinch of salt
- 1-2 TB ice water
Directions for Oatmeal Crust:
- Prepare your pan and preheat oven to 350*F
- In a food processor, combine all ingredients except the water
- Pulse until fat is pea-sized
- Turn motor on and add ice water until a dough just barely forms from the liquid
- With floured hands, press crust into your tart pan
- Bake for 12 minutes
- Turn oven up to 400*F
Ingredients for Filling:
- 6 TB light corn syrup
- 2 TB molasses
- 1 egg + 1 yolk
- 1/2 teaspoon salt
- 1/2 TB cinnamon
- 2 TB butter, melted
Directions for Filling:
- Whisk all ingredients
- Pour over par-baked oatmeal crust
Assembly and Final Directions: Thinly slice two apples and top your tart filling with these. Add a squeeze of orange juice or rum for a spike and sprinkle with a tiny bit of sea salt and a little more cinnamon. Bake for an additional 15 minutes or until filling is set. To prevent your crust burning, you may want to use a bit of aluminum on the edges.
Allow to cool slightly before releasing from the pan and serve warm or cold with confecioner's sugar and ice cream.


Seasonal Fruit Pizza: In Partnership with Red Star Yeast
By design, I spend my time alone. Most days, I speak to my parents and Milo and that's it. I like it this way, so different from the years I spent at school and in hotels, always trying to please and joke and try a little harder than the day before. This December is so much like last year, but so different, too. I am different, I have changed. I no longer wear try to navigate how to be so lonely on the West Coast. I moved back and I am different and the same all at once now.
This year I tried to make recipes that reflected this change, this ingratiation back into a world I had left. It's funny, when I was gone, I spent my time dreaming of the food I ate when I lived in the Midwest. Back Home, I used to refer to it--sometimes capitalized, sometimes italicized, and always out of reach. And now that I am here, I am balancing the techniques and palate I have since gained in the four year span where I was poor and a student then not poor and no longer a student with how my parents eat. It is a balancing act, a tightrope of histrionics and culture that I am sometimes terrible at unraveling.
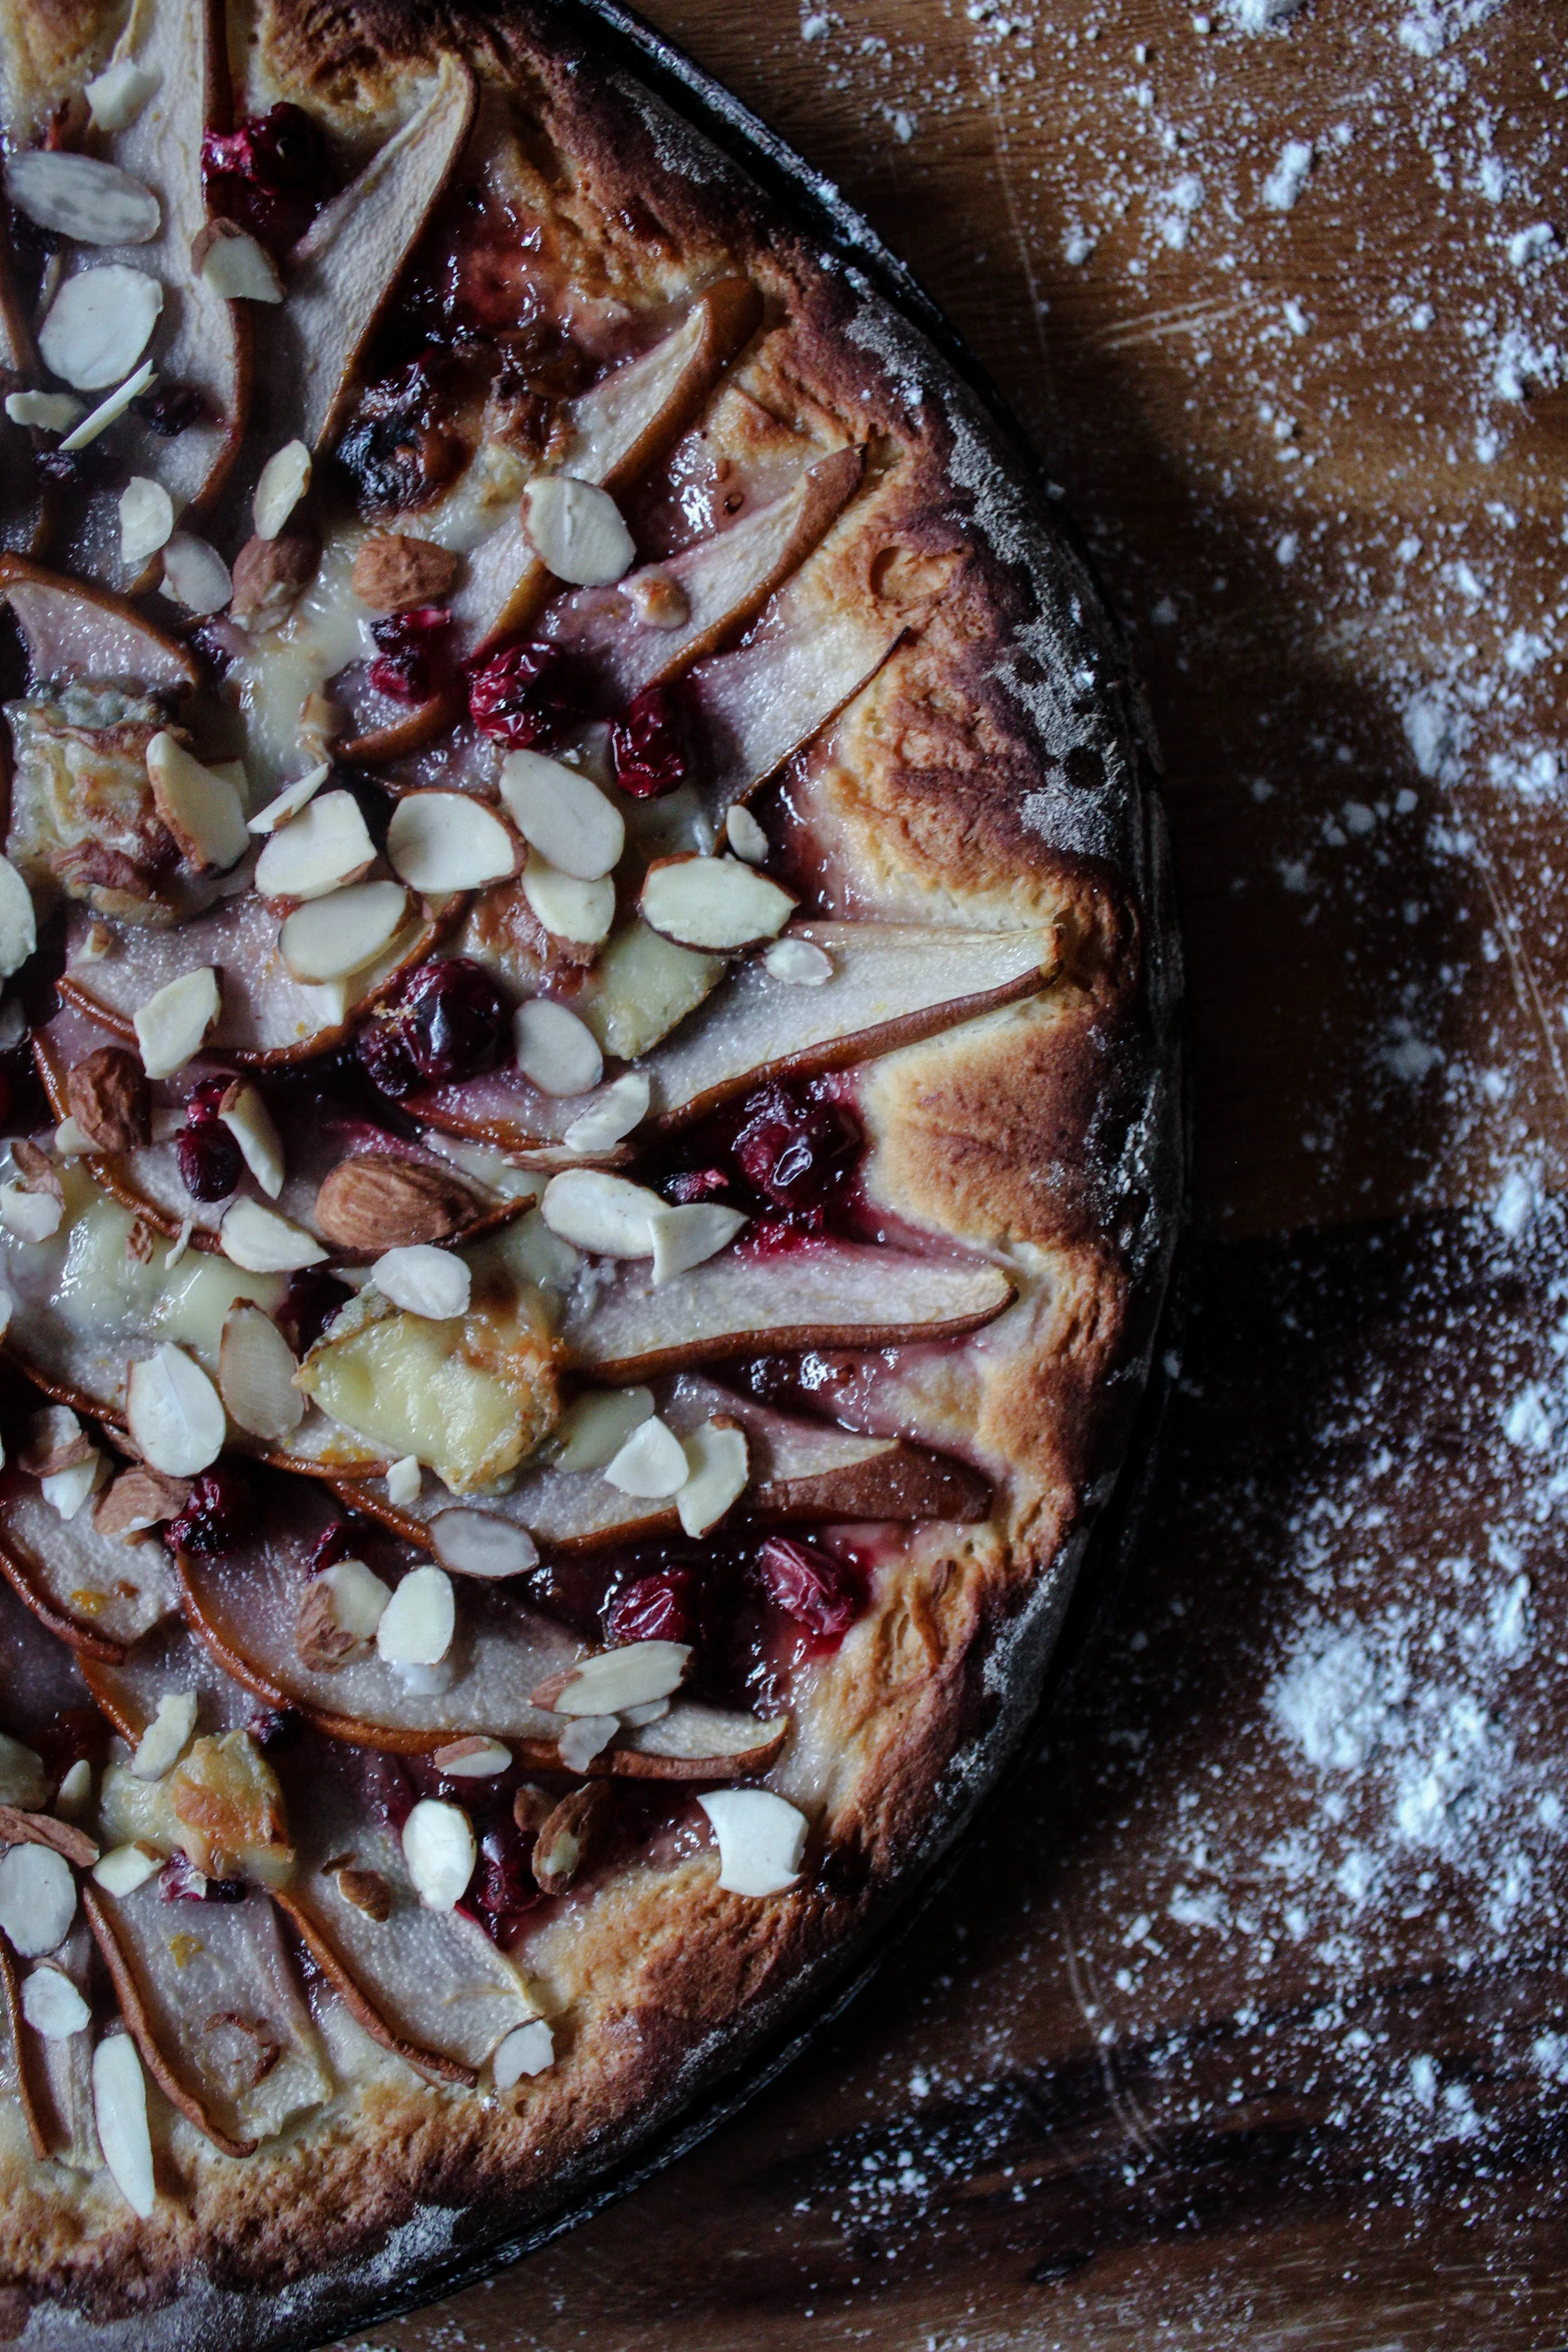
I hope this pizza is a marriage of two versions of me. Seasonal produce displayed on a hearty, pillowy crust. Spiked with liqueur and dotted with cheese, it's an iteration of flavors I have used throughout the year, but especially appropriate now for the holiday table.
Seasonal Fruit Pizza

Using Red Star Yeast's active dry yeast, this crust is light, but enriched with honey and almond meal. It's a great appetizer and would be an even better dessert with some vanilla bean ice cream to top it with as more of a galette at that point than a pizza. See the author's notes below for making this into smaller portions.
Ingredients:
- 1 1/4 cup water, warm to the touch
- 1/2 cup white sugar, divided
- 2 1/2 teaspoon active dry yeast
- 2 1/2 cup AP flour
- 3/4 cup almond meal
- 3 TB olive oil
- 2 TB honey
- 1/4 cup raspberry jam, warmed slightly in the microwave or stovetop
- Seeds and juice of half a pomegranate
- 1/4 cup cranberries
- 3 Bosc pears, sliced and seeded
- Juice and zest of 2 clementines
- 4 oz goat or blue cheese
- 2 TB almonds
- 2 TB Grand Marnier
Directions:
- In a mixing bowl, whisk together water, 1 TB of your white sugar, and yeast
- Allow mixture to sit for ten minutes or until bubbly
- While yeast is sitting, sift together almond meal and flour
- In your yeast mixture, add olive oil and honey, stir slightly with a wooden spoon
- Next, slowly add in your flours, a fourth of a cup at a time, stirring slowly and continuously until a dough forms
- Now, turn this dough out onto a floured work surface and knead until springy, about 7 minutes
- Rest in an oiled bowl, covered, for one hour or until doubled in size
- While dough is resting, preheat oven to 450*F
- Roll out onto a pizza stone or pan (see note below)
- Now, pour on your jam, but leave a half-inch margin for your crust
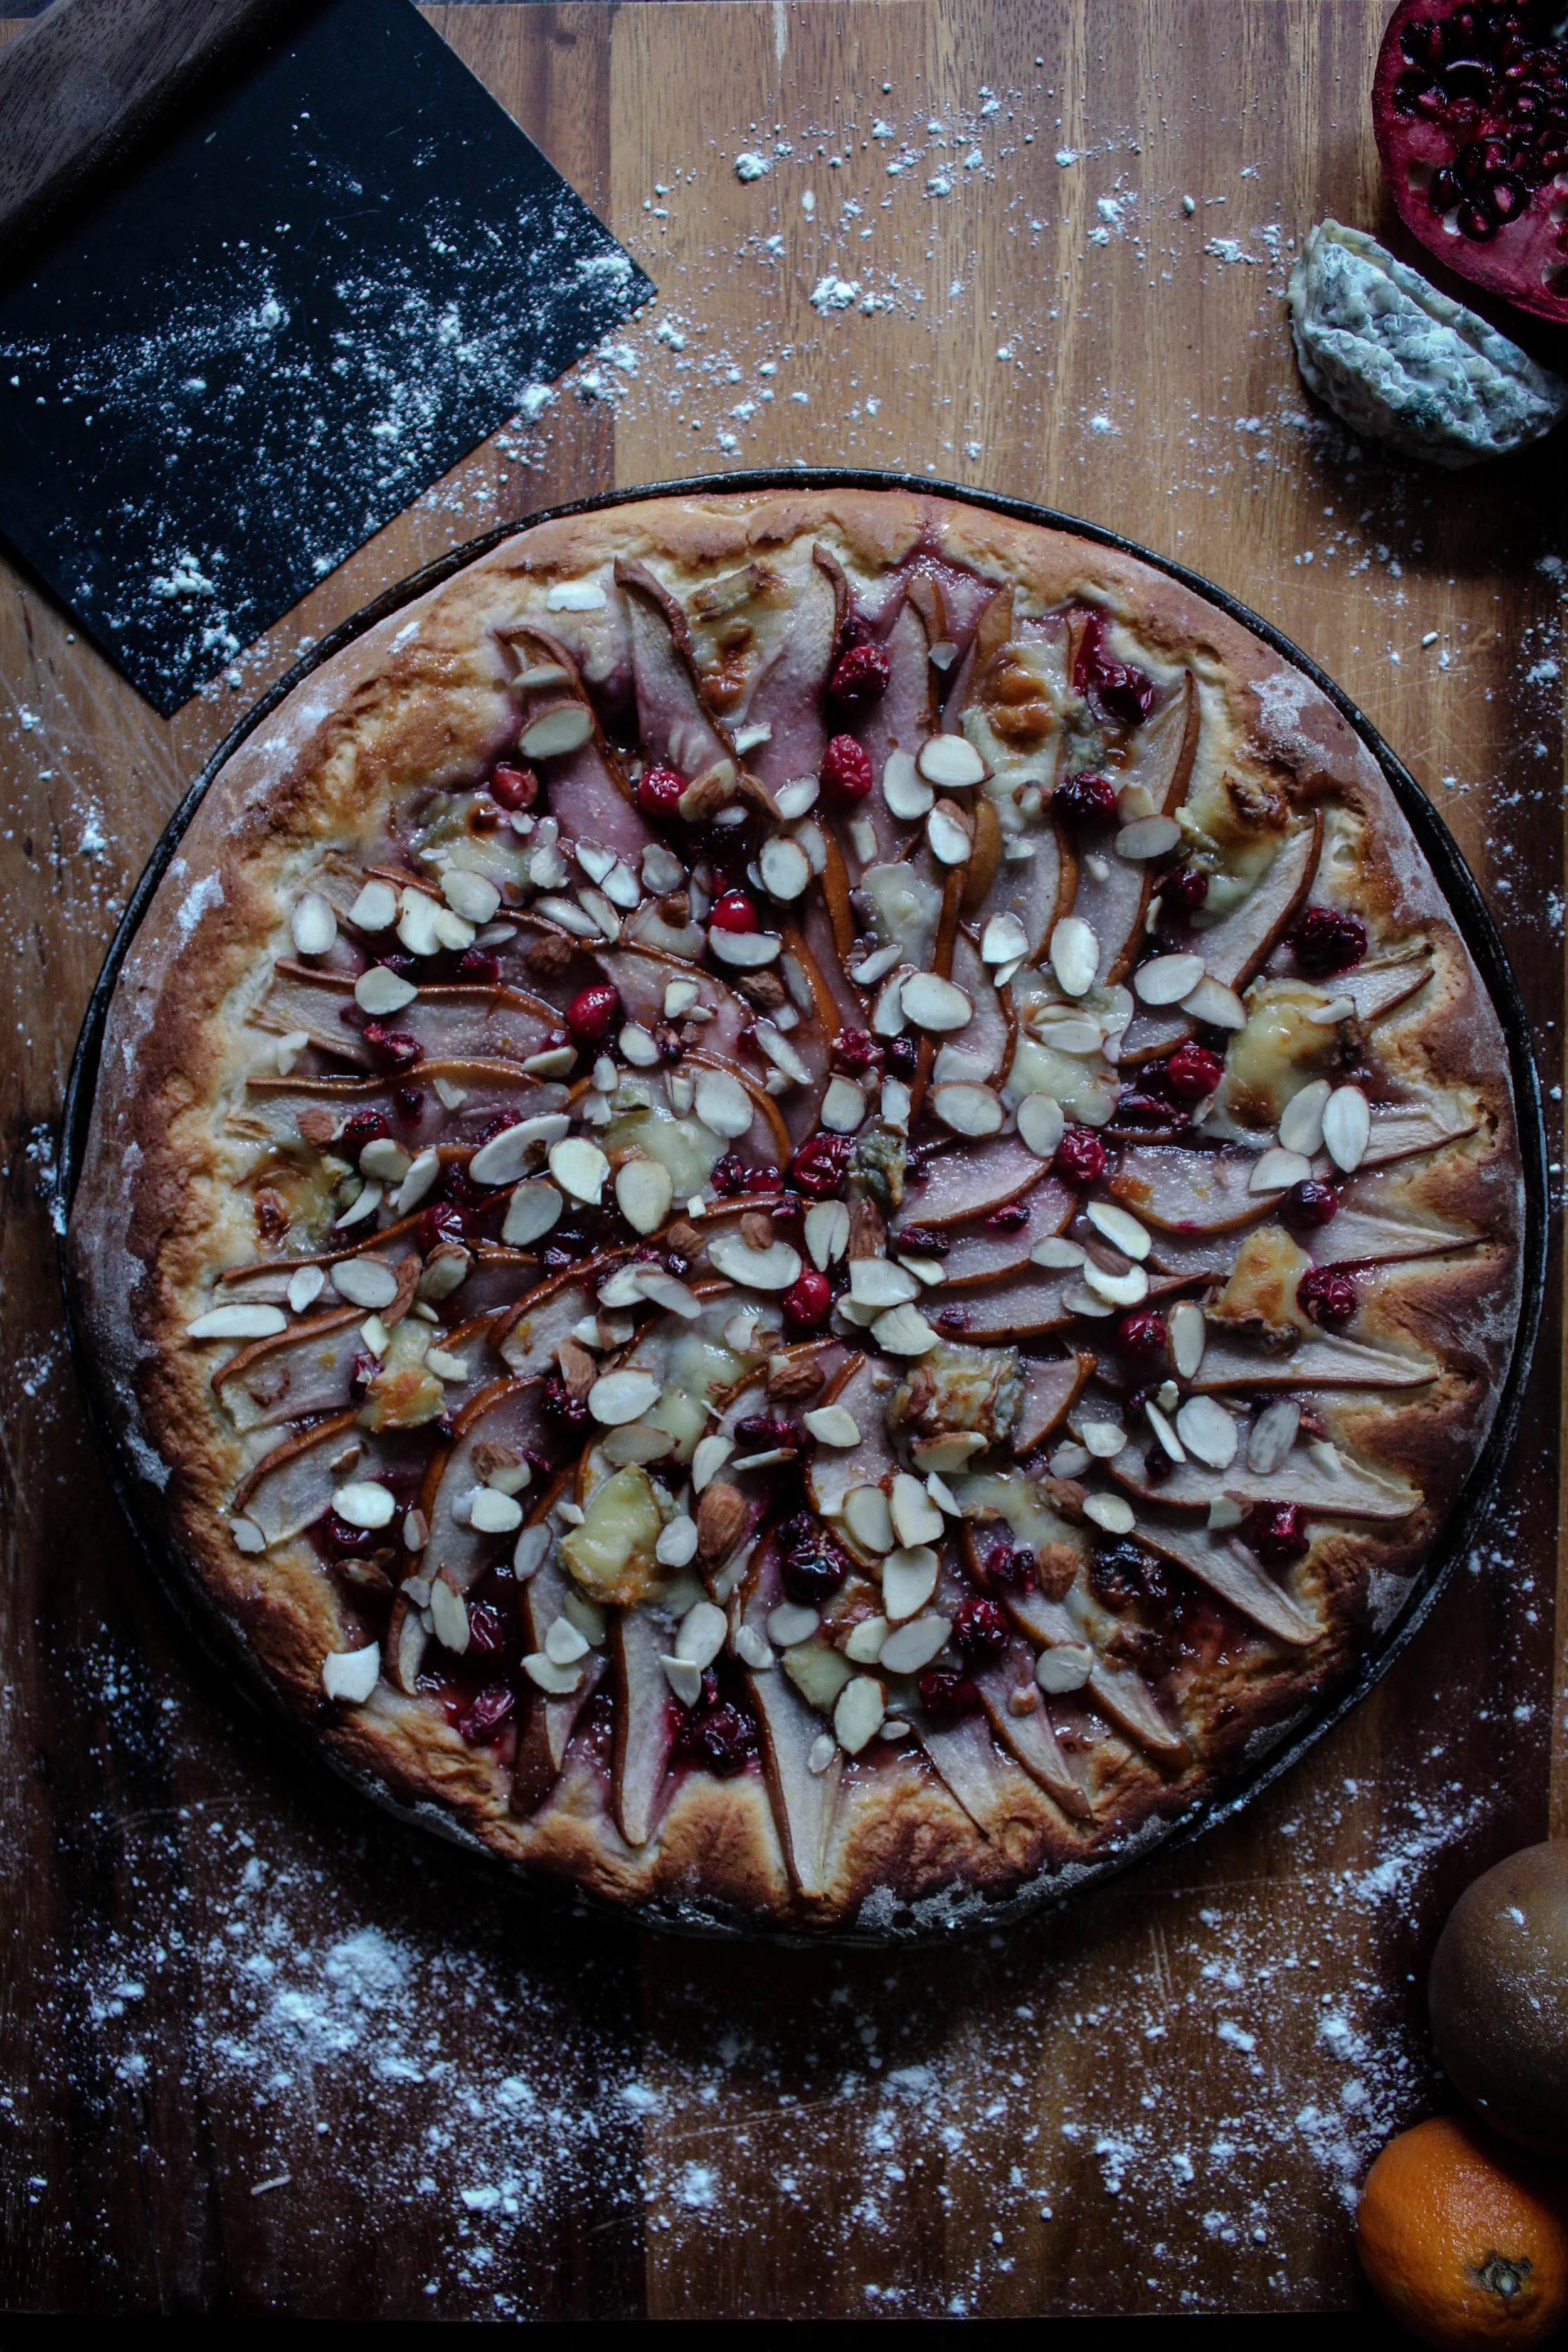
- Top with fruit, juices, cheese, and liqueur in any design you'd like
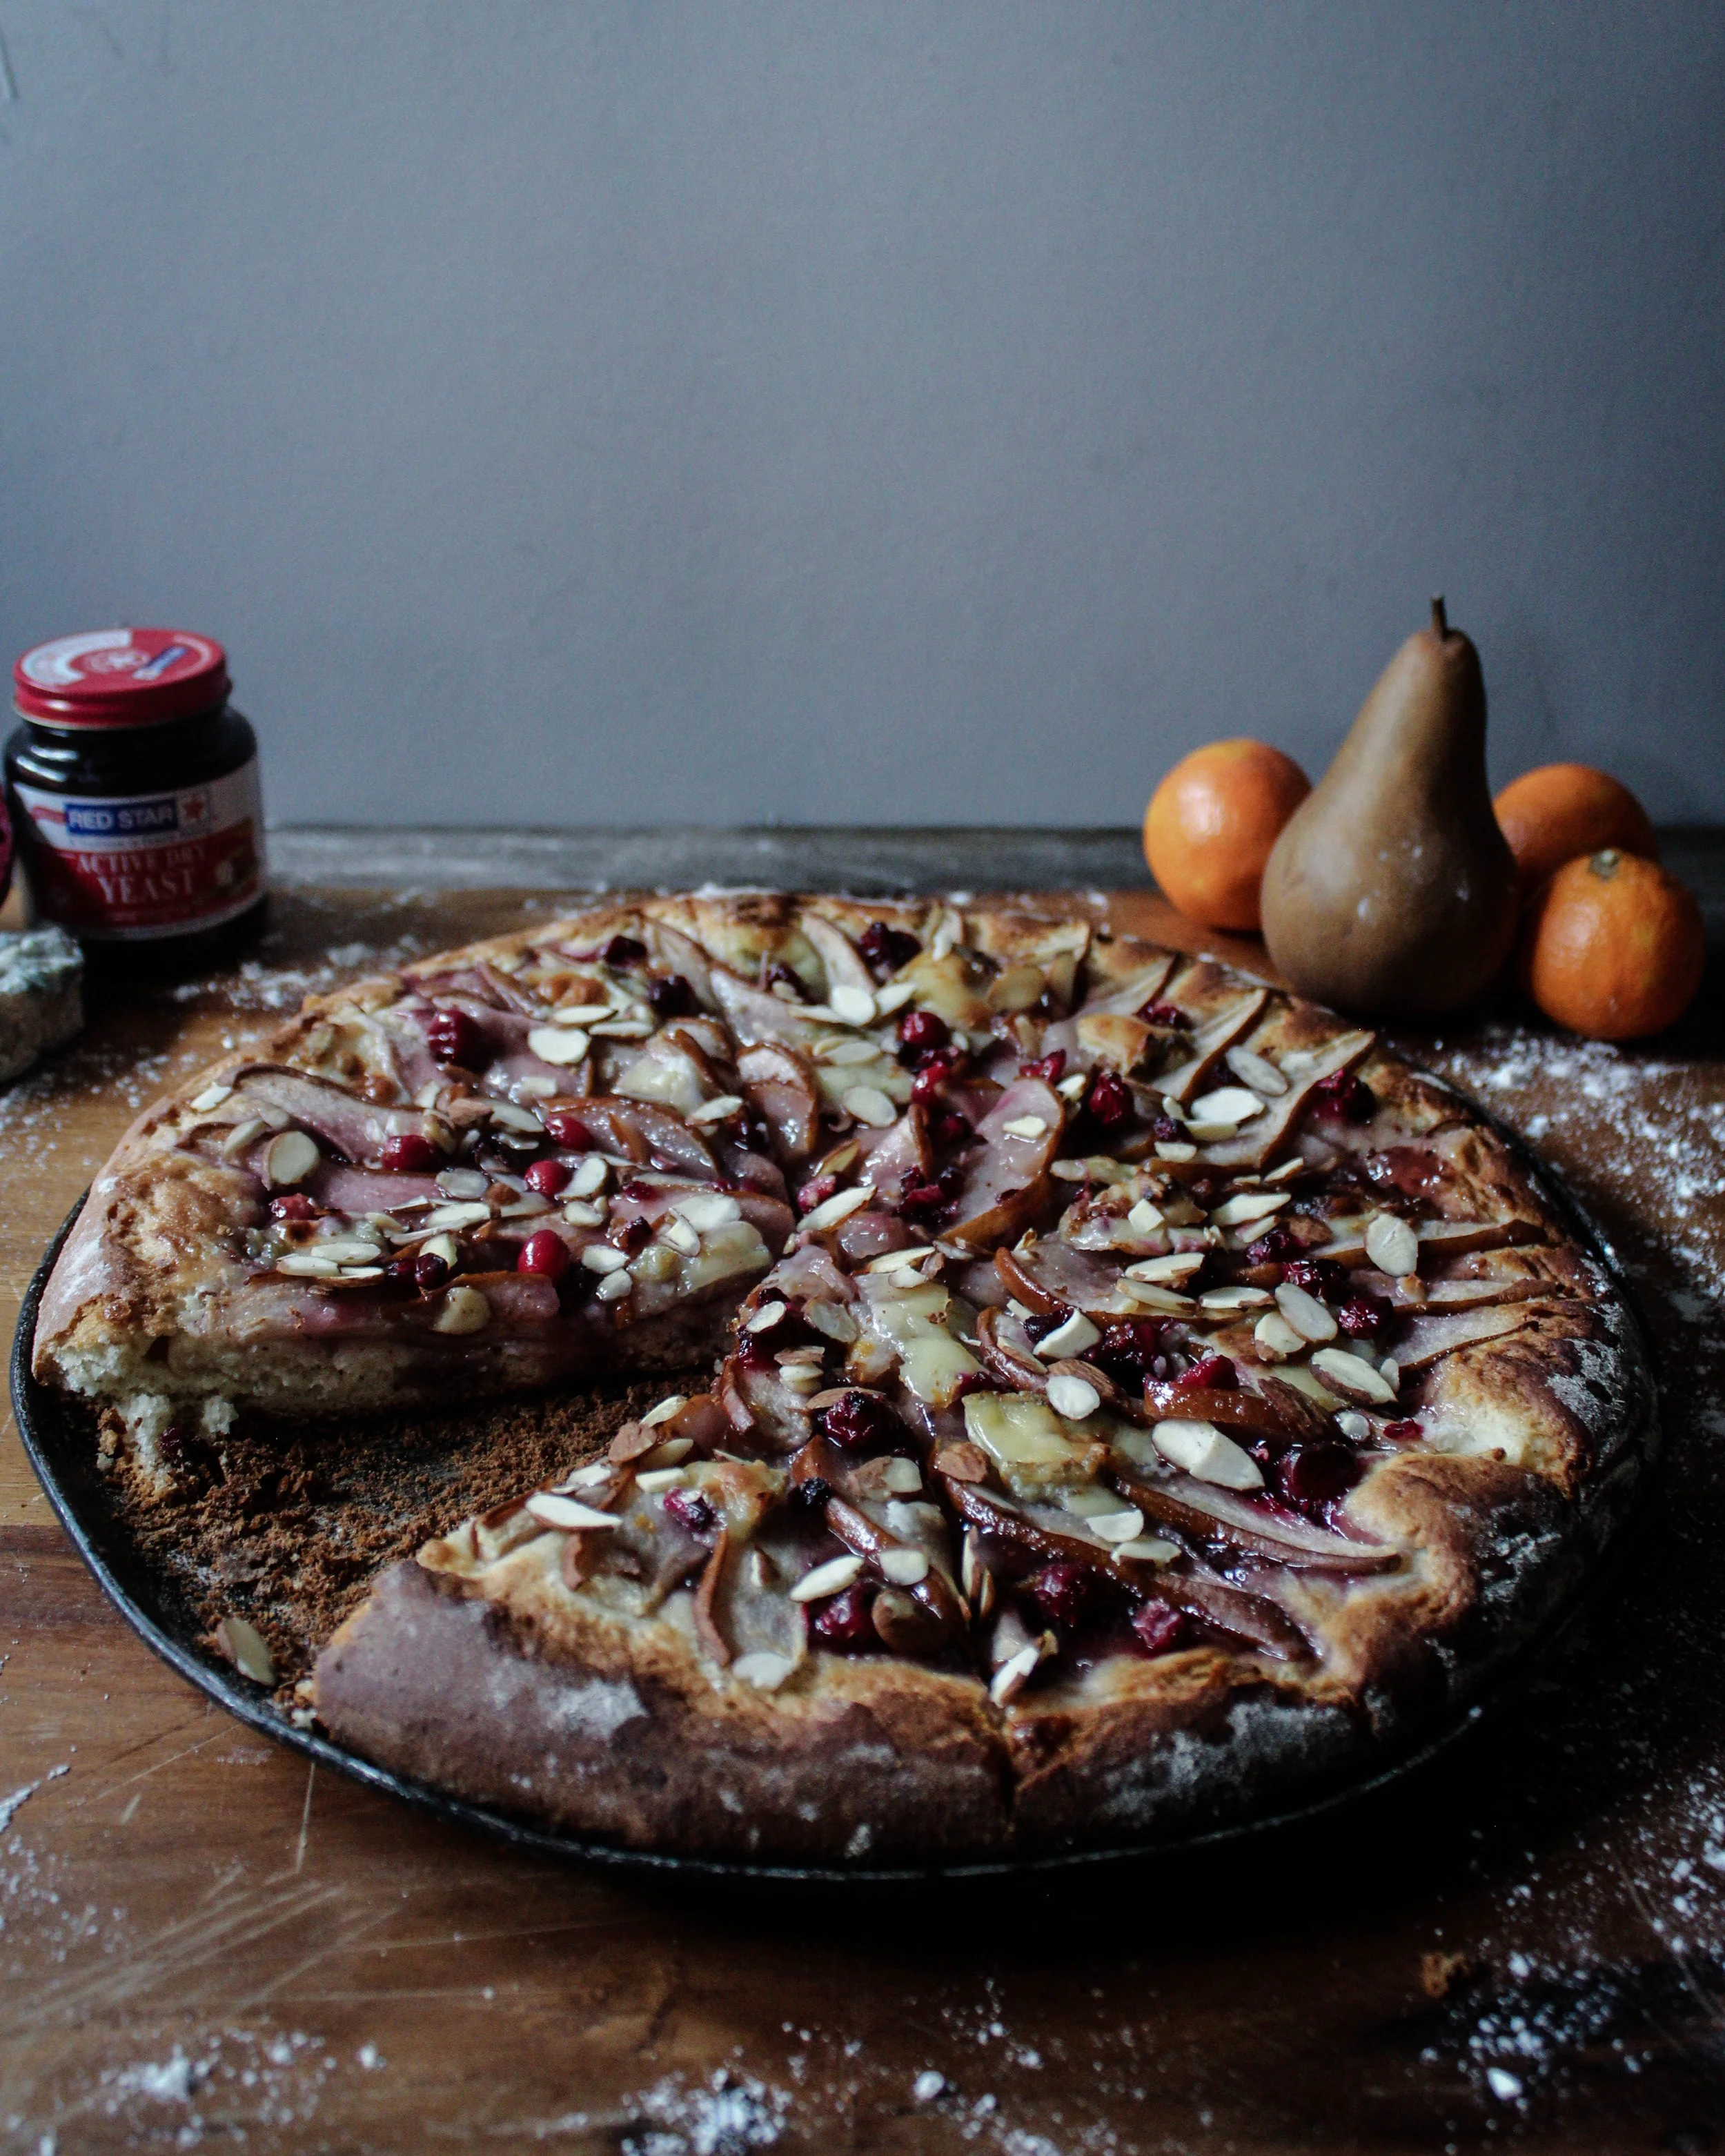
- Bake for 35 minutes or until crust is golden brown and puffed
- Eat immediately or store for one day - due to the yeast content, it will dry out fairly quickly
Note: I made one large 12-inch pizza, but feel free to divide this dough and your toppings accordingly. Smaller pizzas, of course, will have a smaller bake time, so begin checking at the 20-minute mark for doneness.
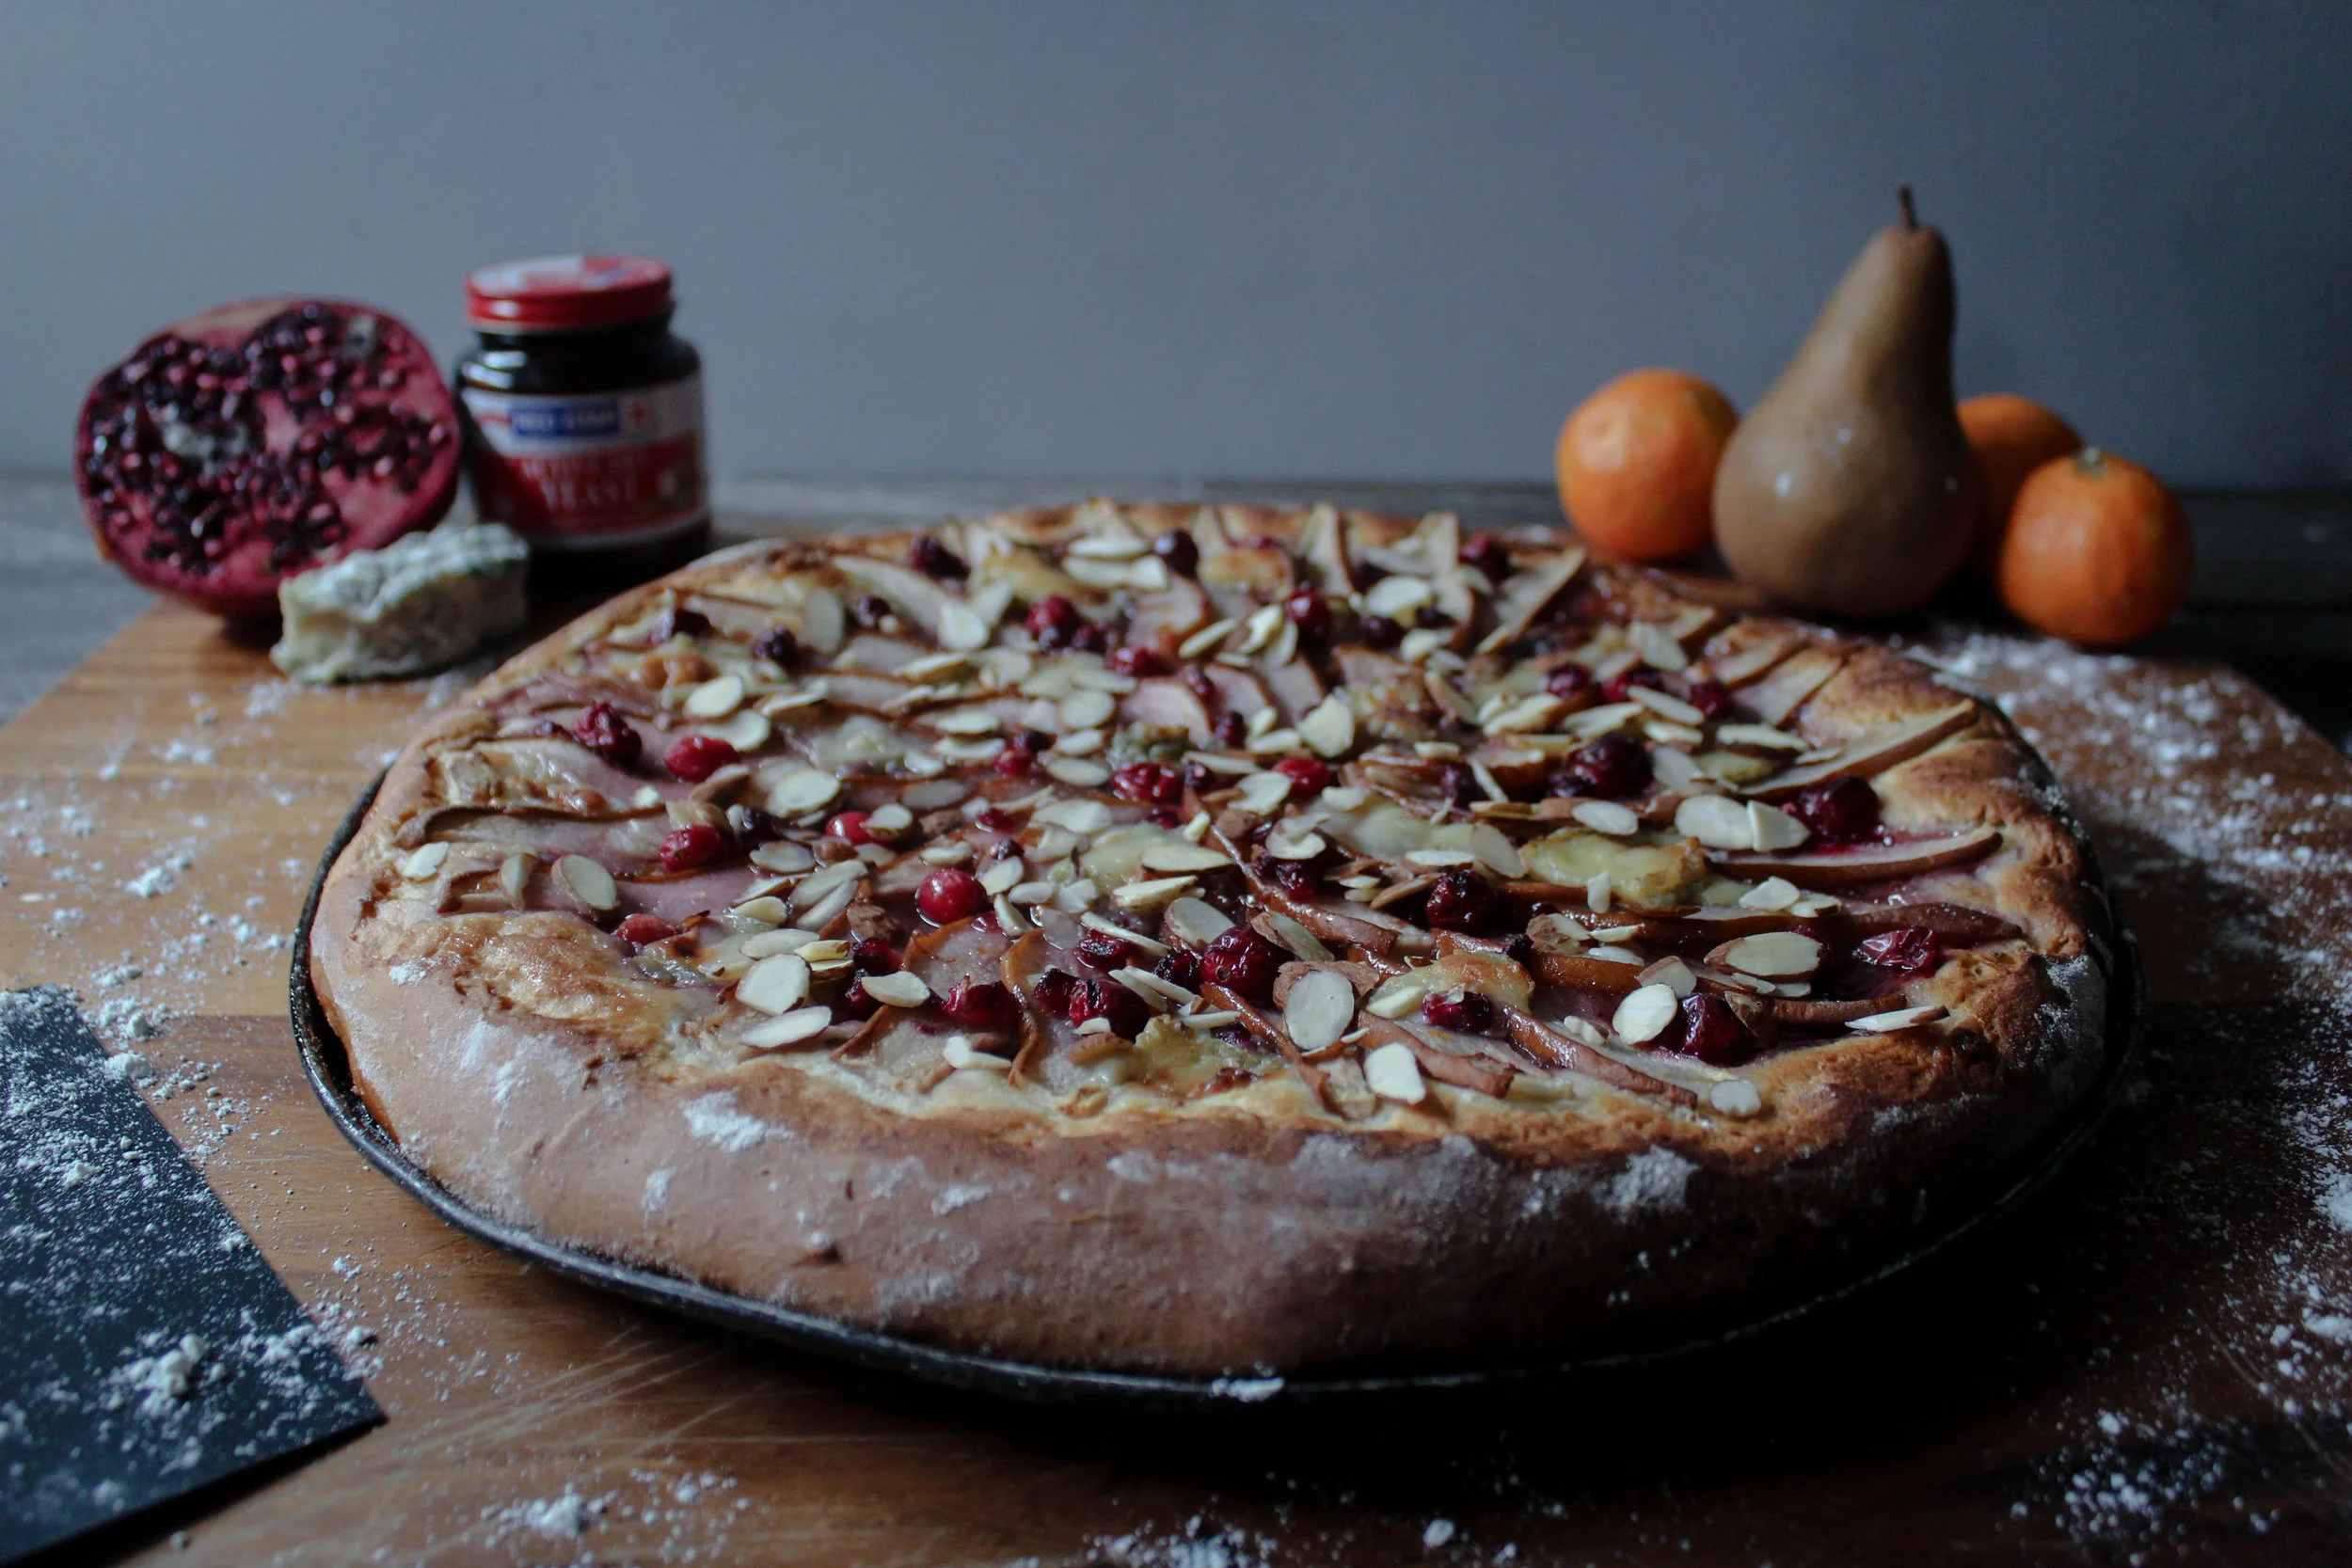

Thank you to Red Star Yeast for sponsoring this post. I believe in using quality products when it comes to baking and I am always confident my dough will rise beautifully with Red Star! Check out the active dry yeast I used for this recipe and others on their website, follow them on instagram and like their Facebook!
And while you're at it...like my Facebook and Instagram too!
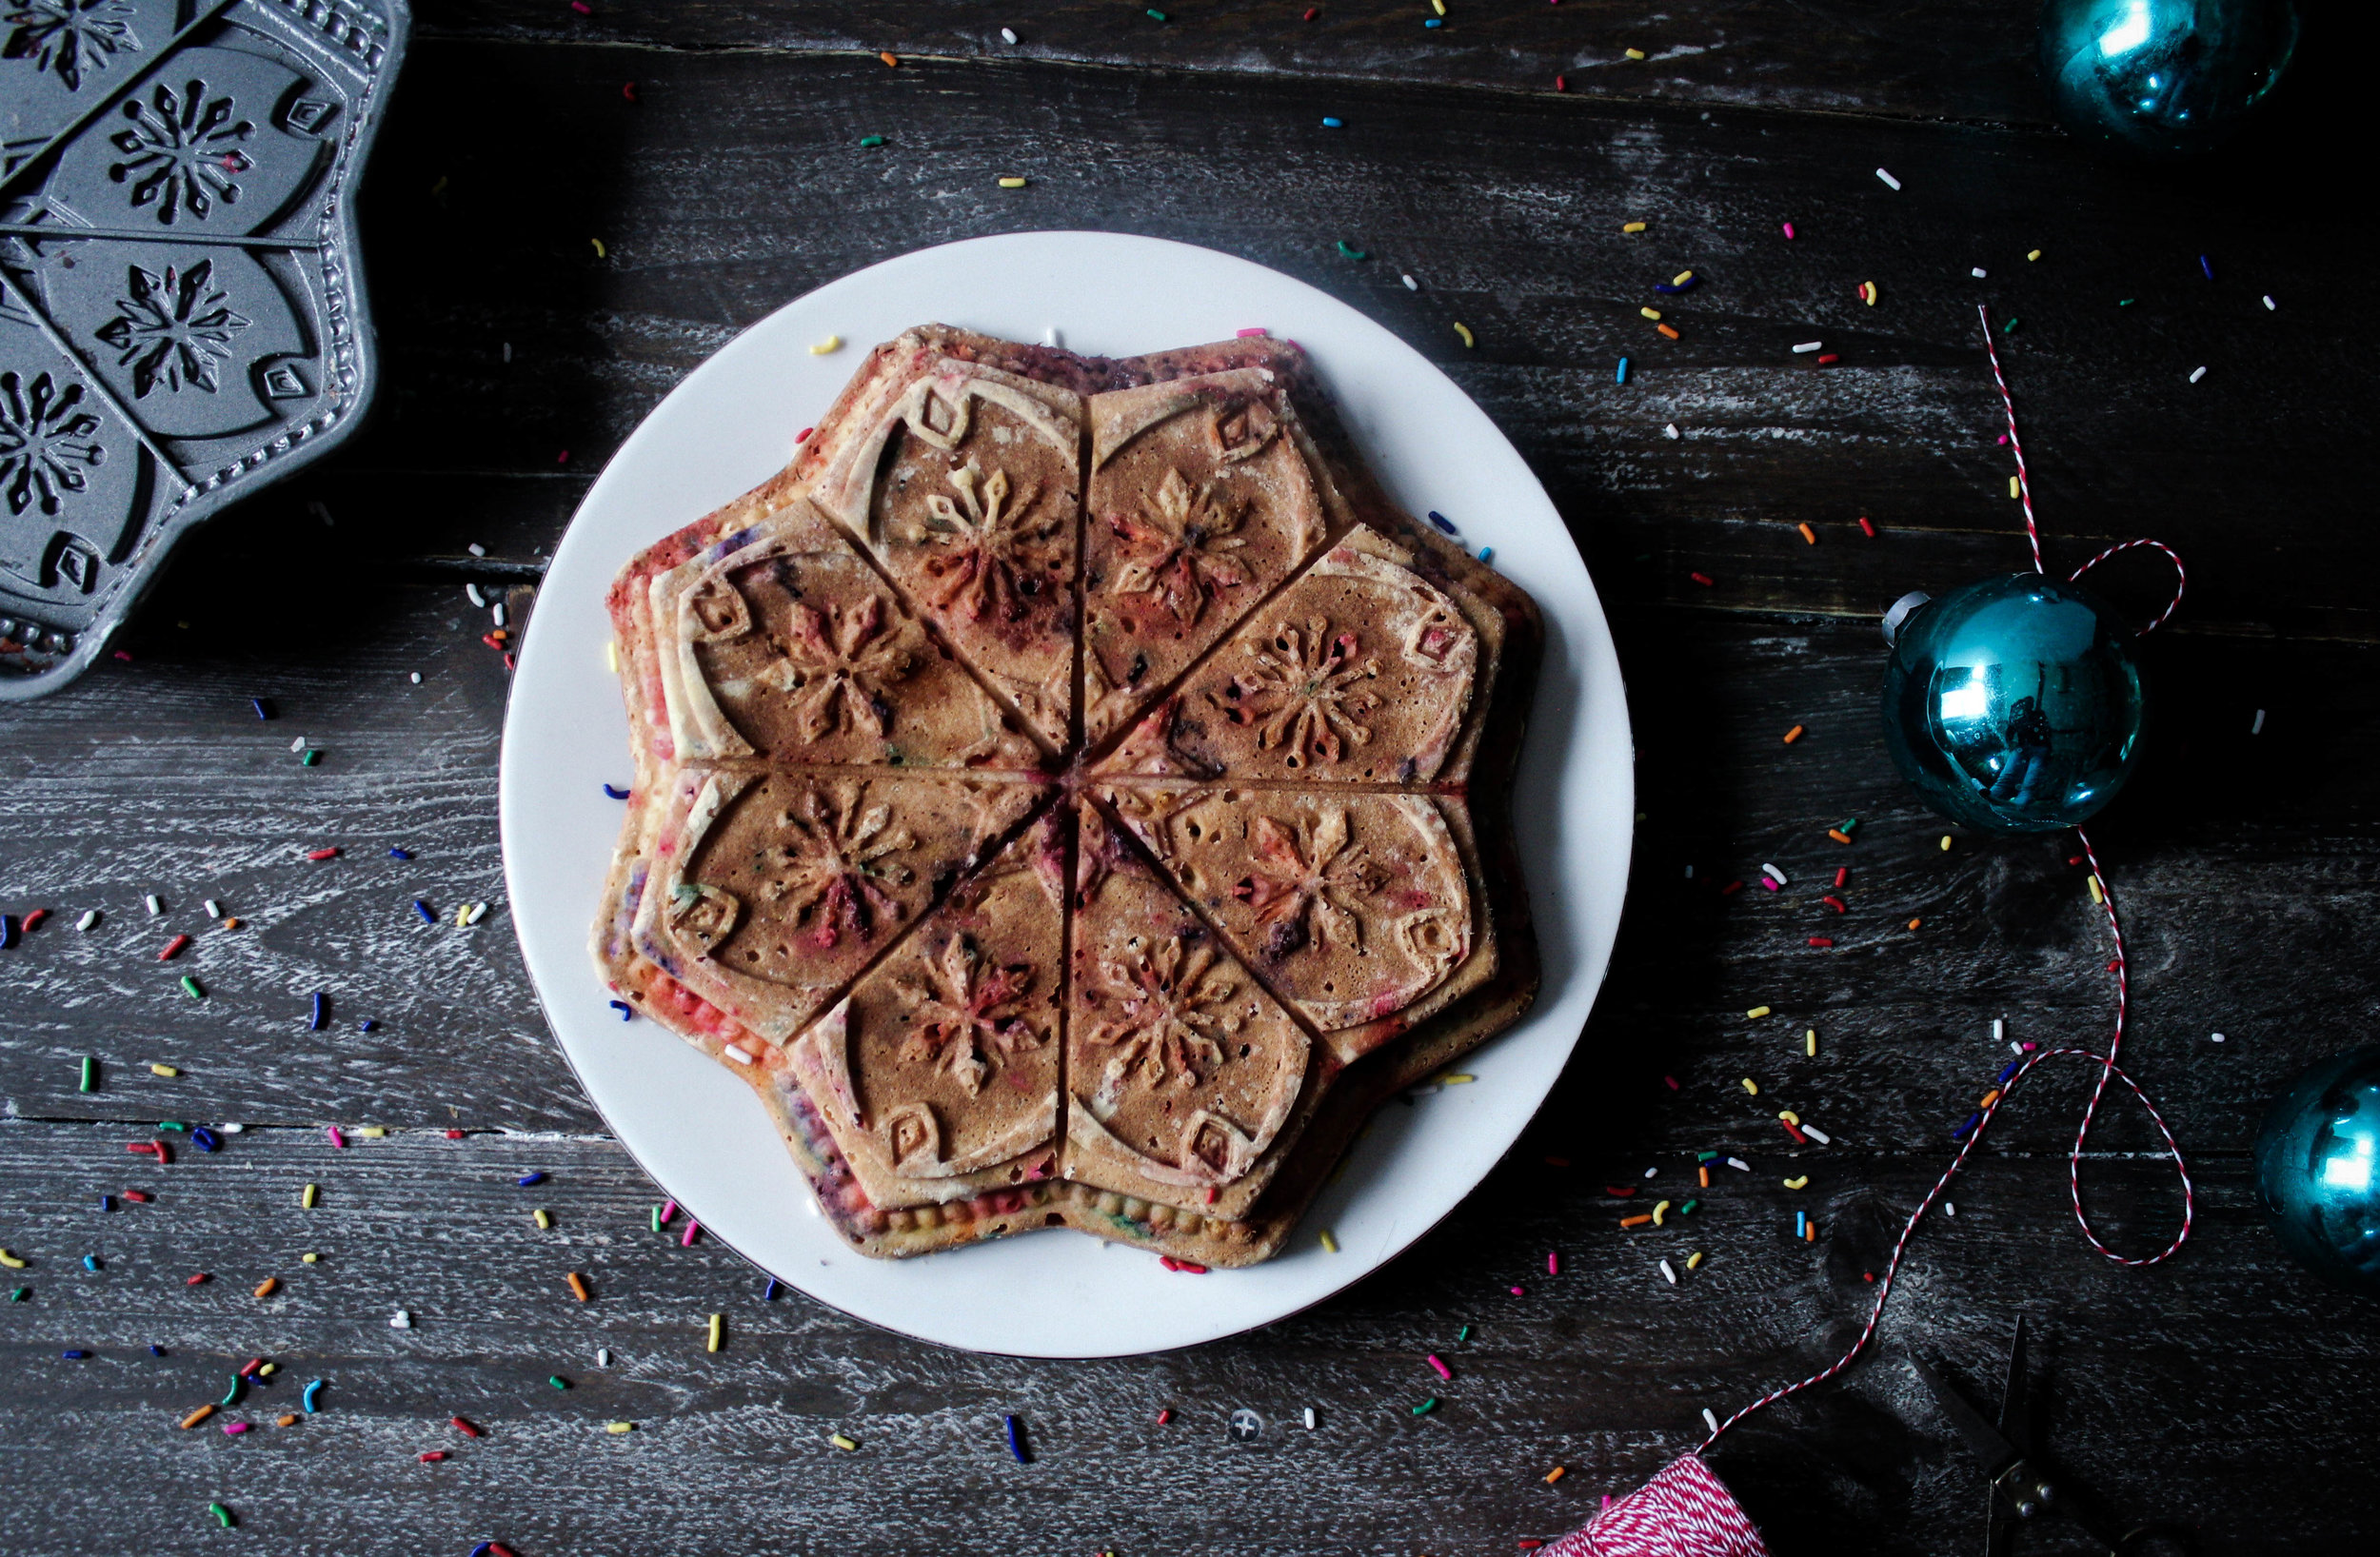
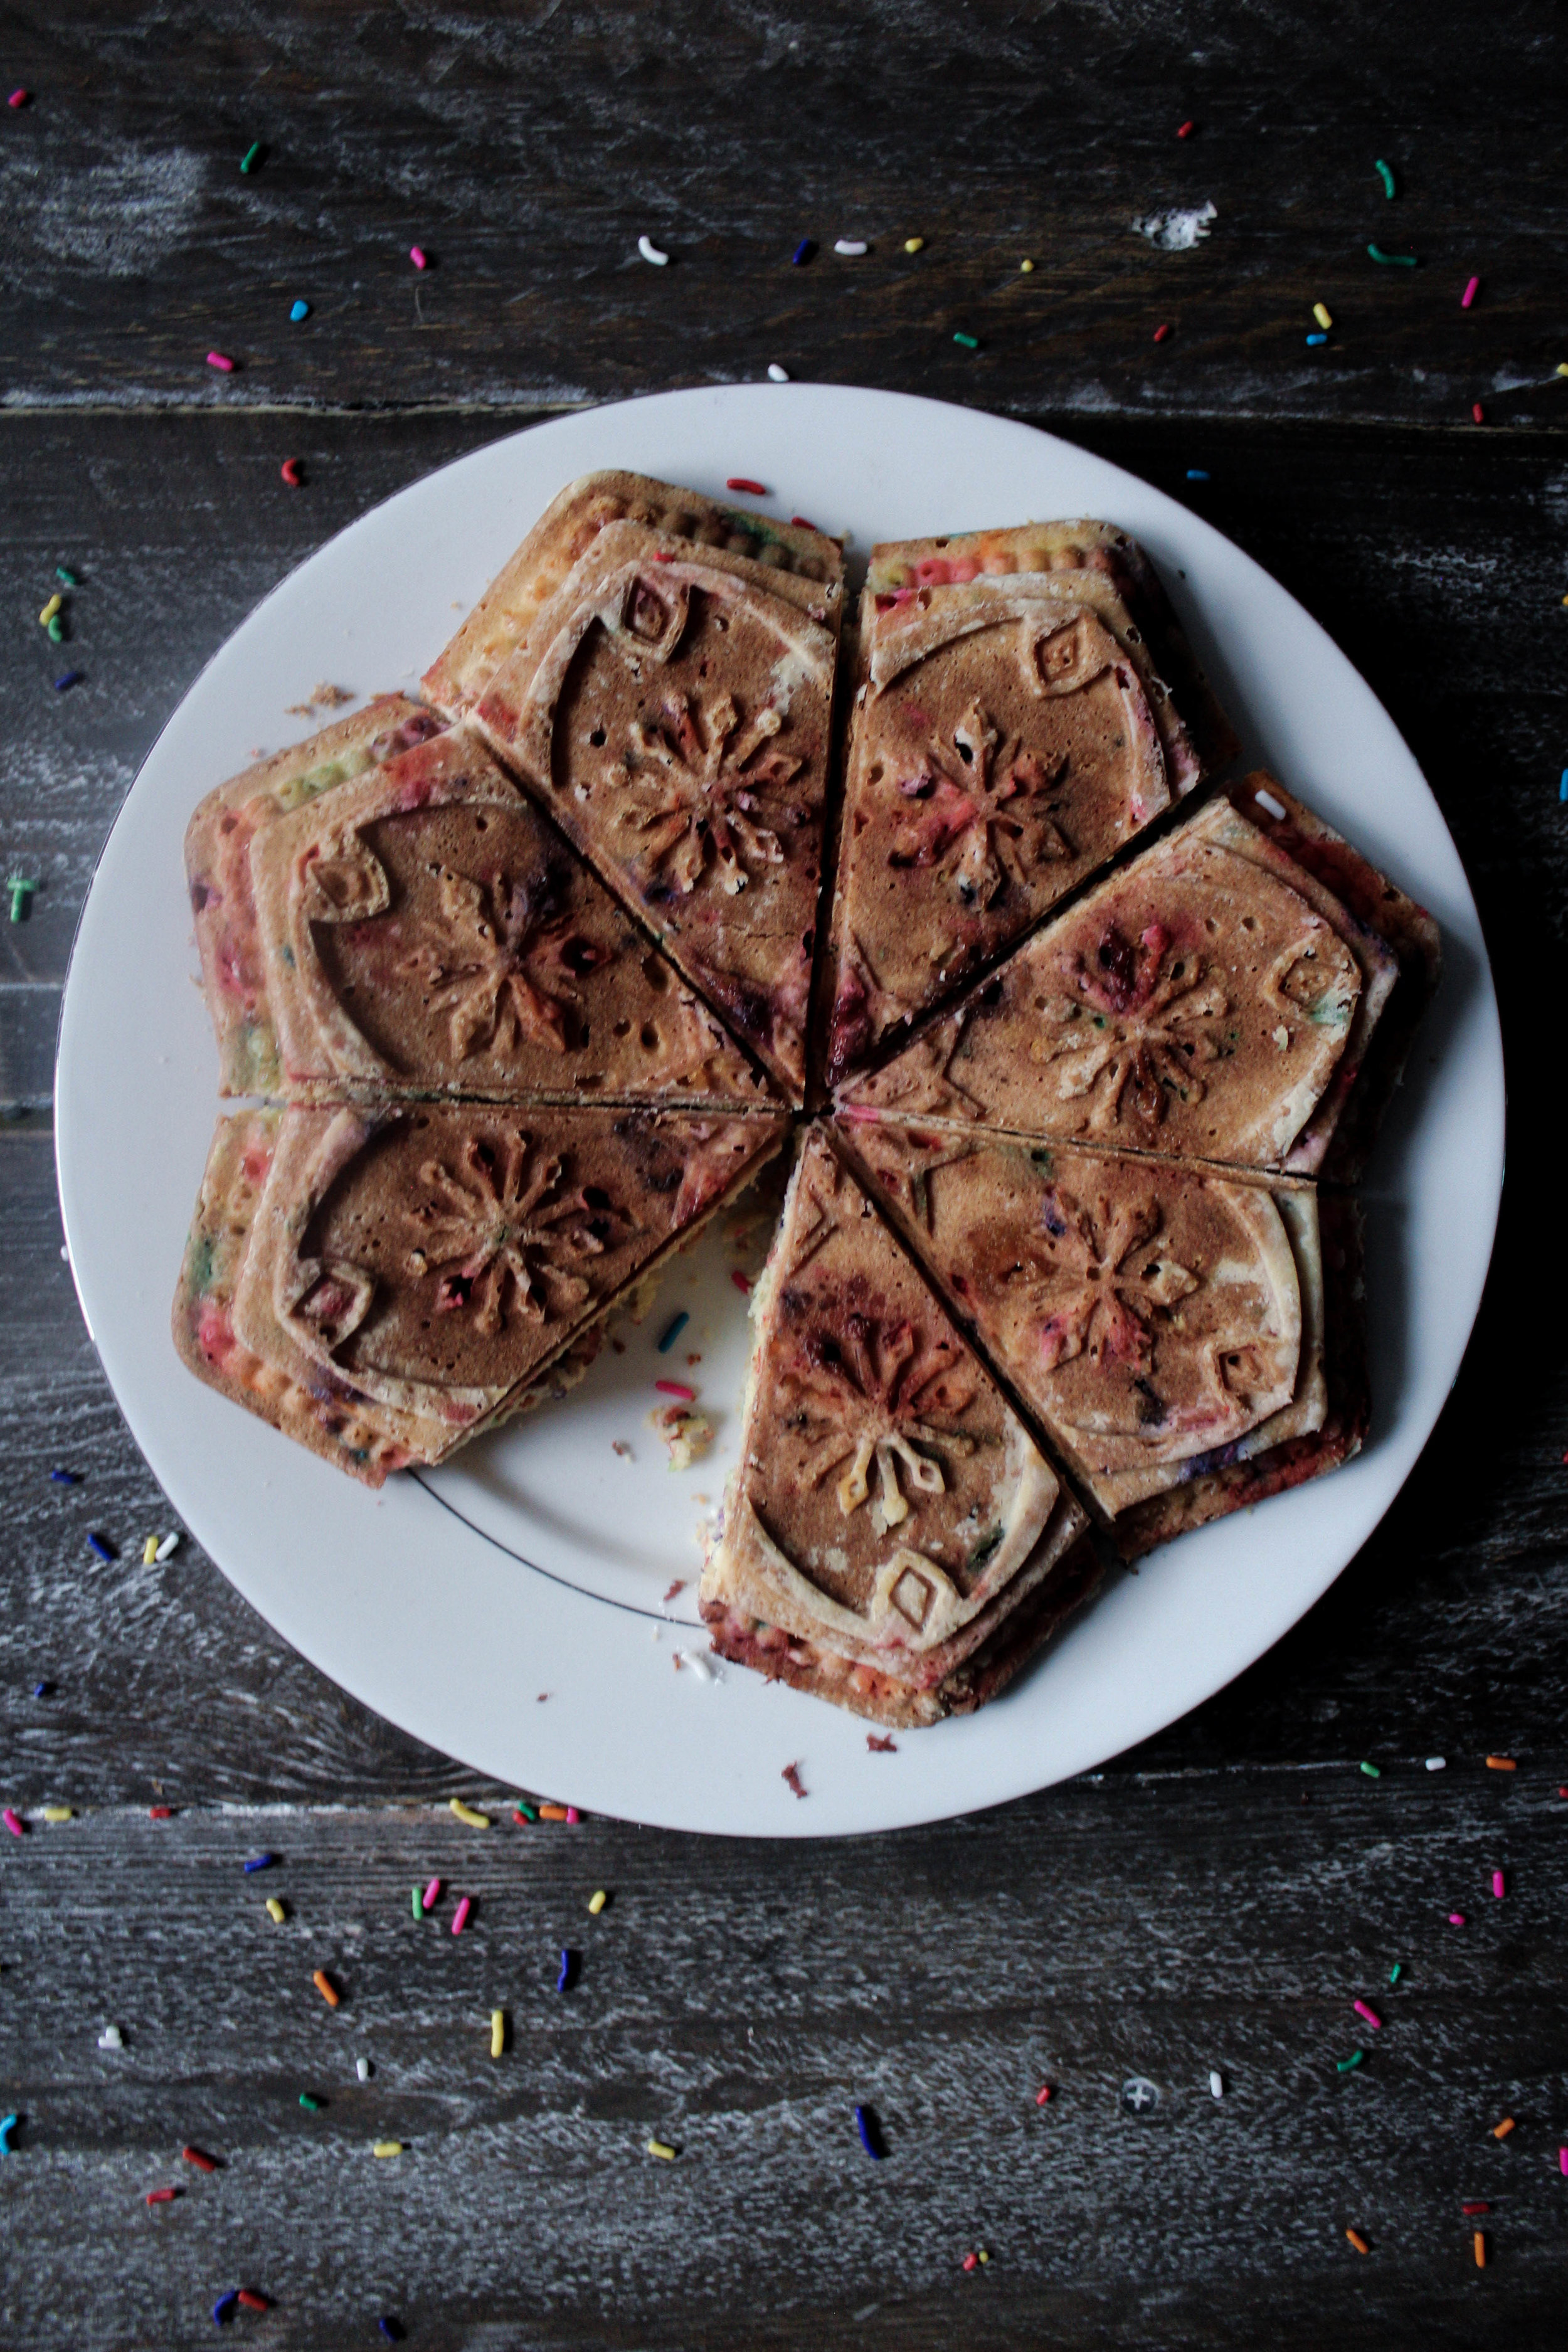
Funfetti Gateau Breton with Nordic Ware
Right now, I am watching the snow fall in bed, wrapped in a blanket and sandwiched between two dogs and a boy. We're busy these days, making preparations for a house and a move and a mini vacation next week. We are busy these days, trying to fill the time between this year and the New one. There are parties to go to, people to love, presents to open; and my brother is having his child on the 27th.
Instead of calling him, I'll probably spend the day watching Westworld and falling asleep.
I'm sure everyone's holidays are like this--somehow lazy and busy all at once. Mine used to not be, but now they are and it is as exotic as it is familiar. When Nordic Ware asked me to try out their Sweet Snowflake Shortbread Pan, I wanted to make a dessert that could impress as much as it could invoke nostalgia; so I made a funfetti gateau breton. You may remember my previous ones (here and here), and you may remember how simple and delicate these French cakes are to make. Something that is sure to ease a bit of the holiday craziness for you this month.
Funfetti Gateau Breton

Ingredients:
- 1 3/4 cup AP flour
- 2 TB cornstarch
- 3/4 cup white sugar
- Pinch of salt
- 3/4 cup unsalted butter, softened
- 6 egg yolks
- 1 TB clear imitation vanilla (a tip from Molly on getting that nostalgic flavor juuuuust right)
- 2 TB rainbow sprinkles
Directions:
- Prep your Nordic Ware shortbread pan or a 9-inch springform pan with a liberal amount of butter or oil
- Preheat oven to 375*F
- In the bowl of a stand mixer, sift together flour, cornstarch, sugar, and salt
- Add butter until well incorporated; it will be very clumpy
- Add egg yolks, one at a time. Do not add subsequent yolk until previous is fully mixed into dough
- Finally, add your vanilla and sprinkles and mix for a few seconds to blend
- With floured hands, pat into your prepared pan
- Bake for 15 minutes at 375* and then lower temperature to 350* and bake for an additional 25-30 minutes or until edges are golden brown
- Allow to cool before removing from pan. Enjoy immediately or store in an airtight container for up to a few days.


A special thanks to Nordic Ware for sponsoring this post. Nordic Ware has been producing quality kitchenware products in their 70 years and are now one of America's most beloved and iconic brands. Today, Nordic Ware manufactures the vast majority of its products in America, at our Minneapolis headquarters, including cookware, bakeware, grillware, microwave, and kitchen gadgets and accessories.For more information or products, check out their website!
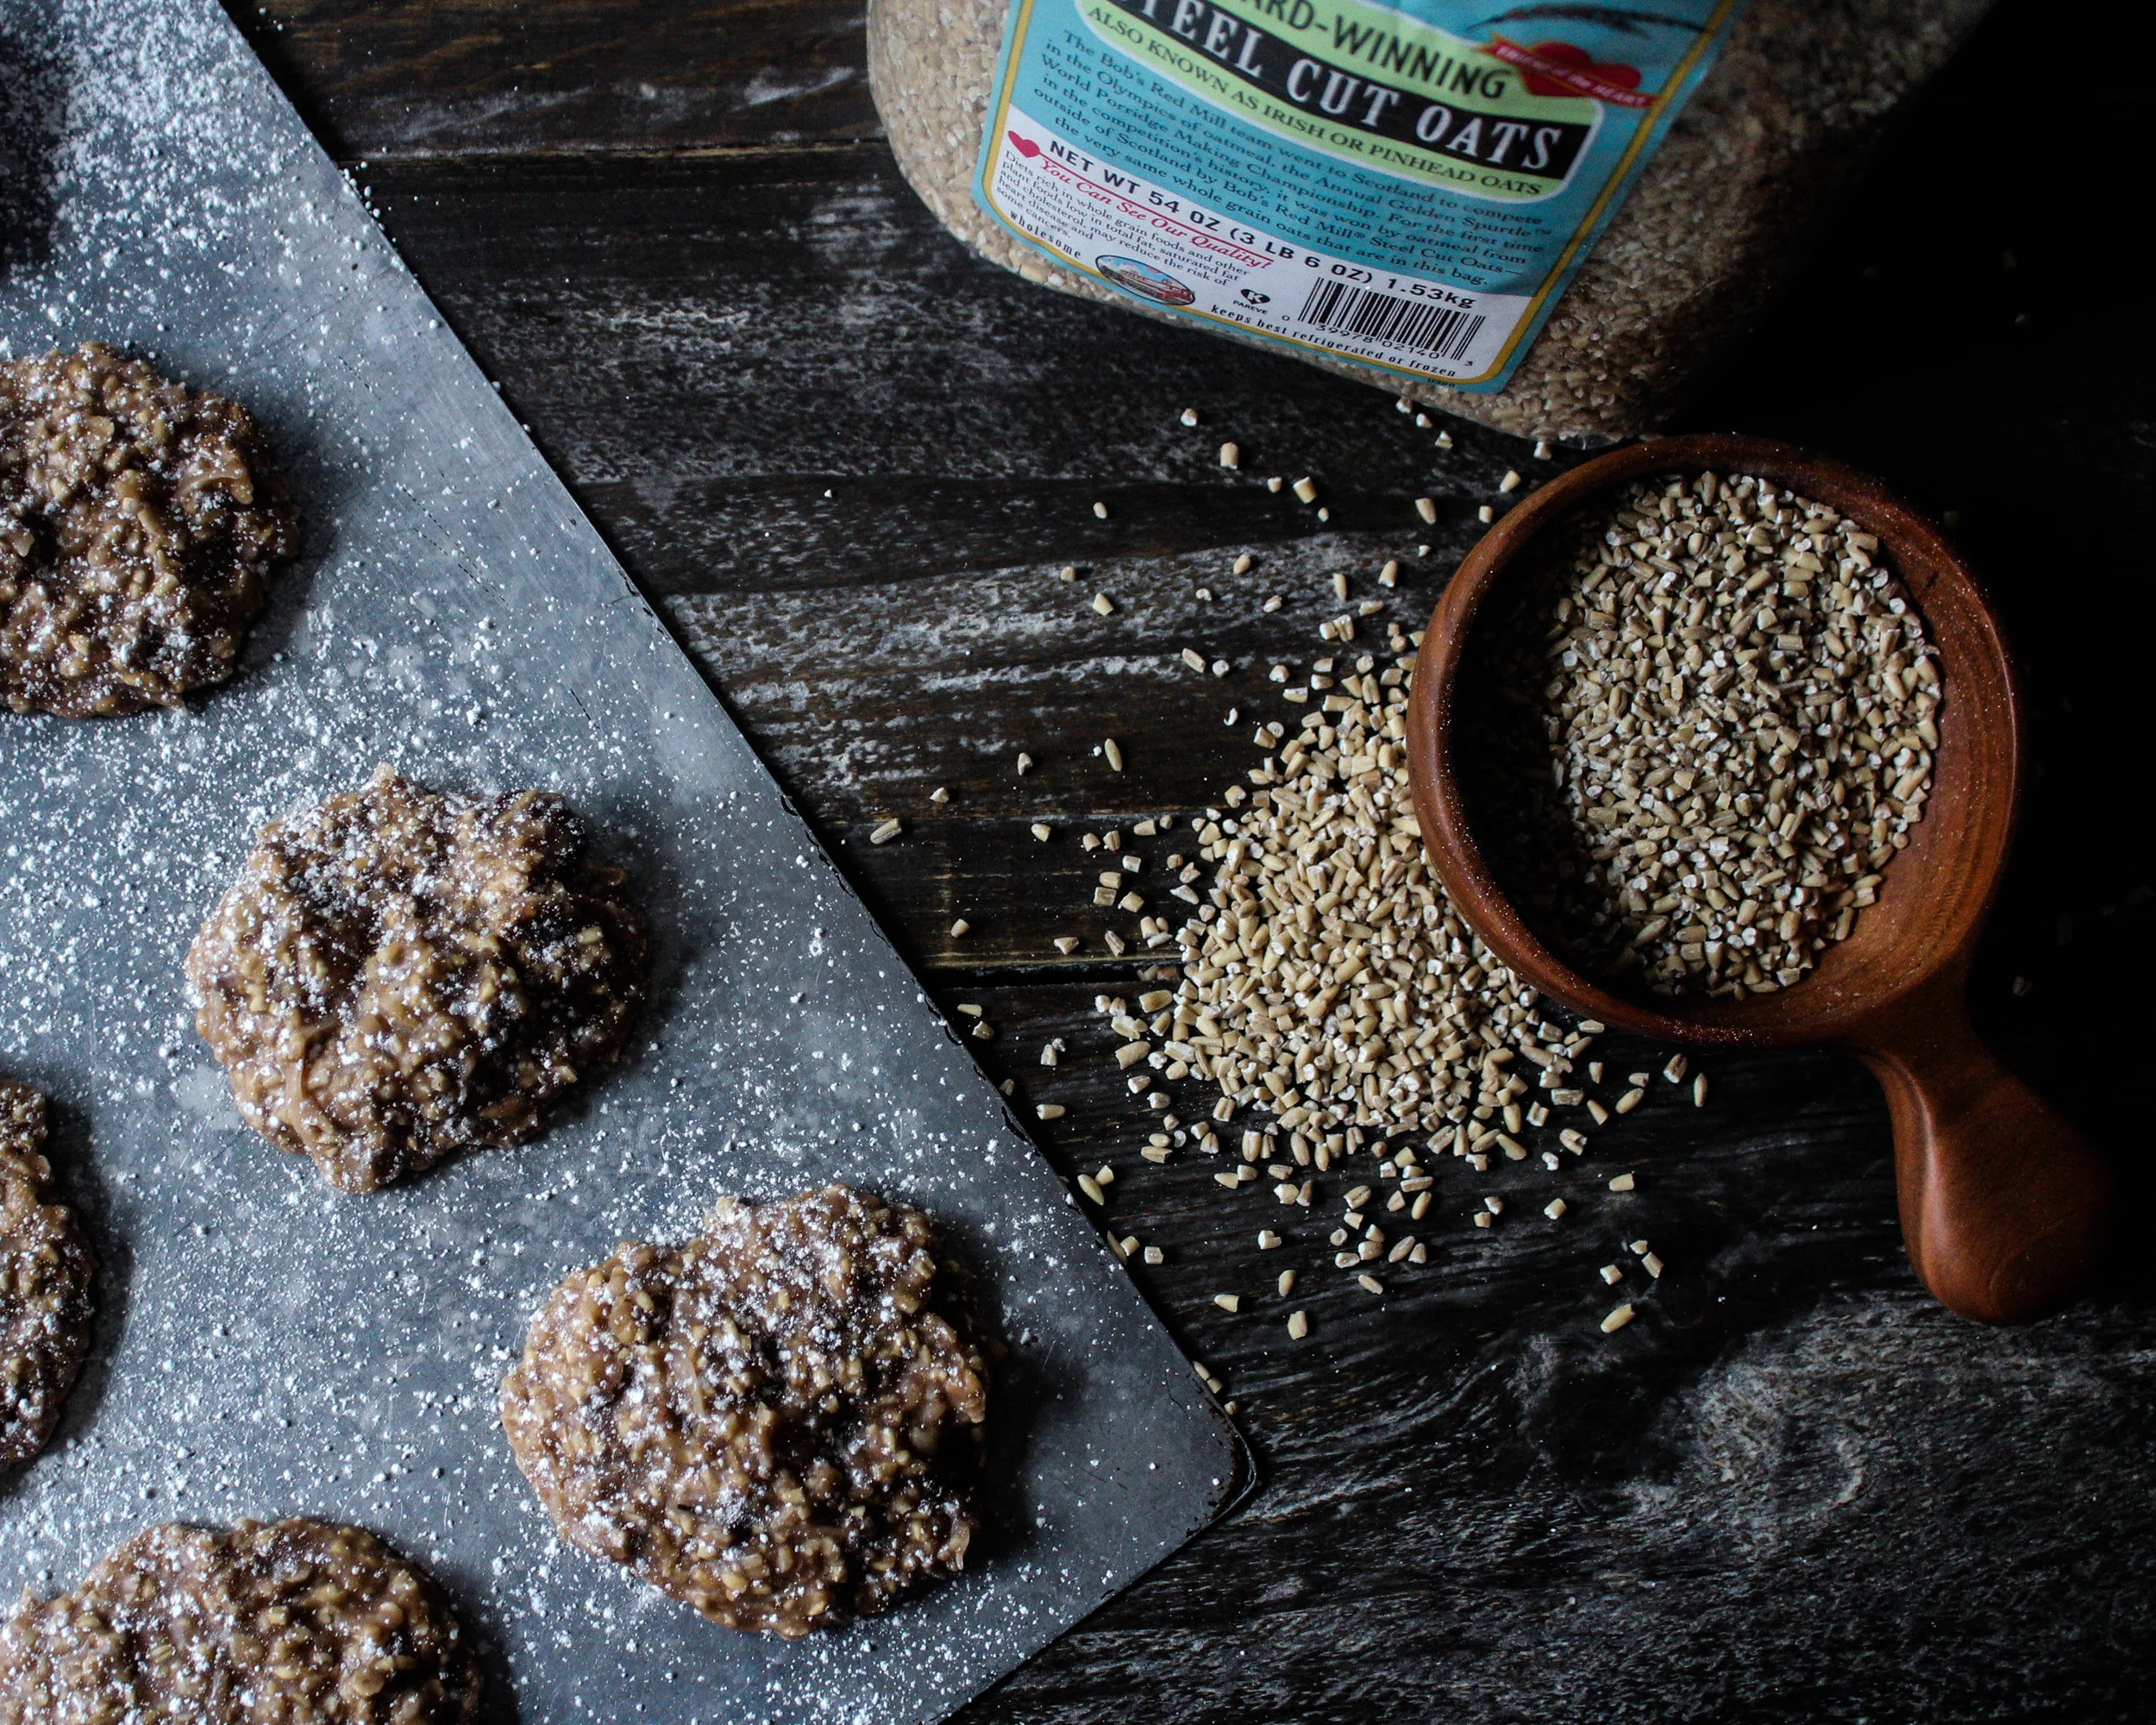
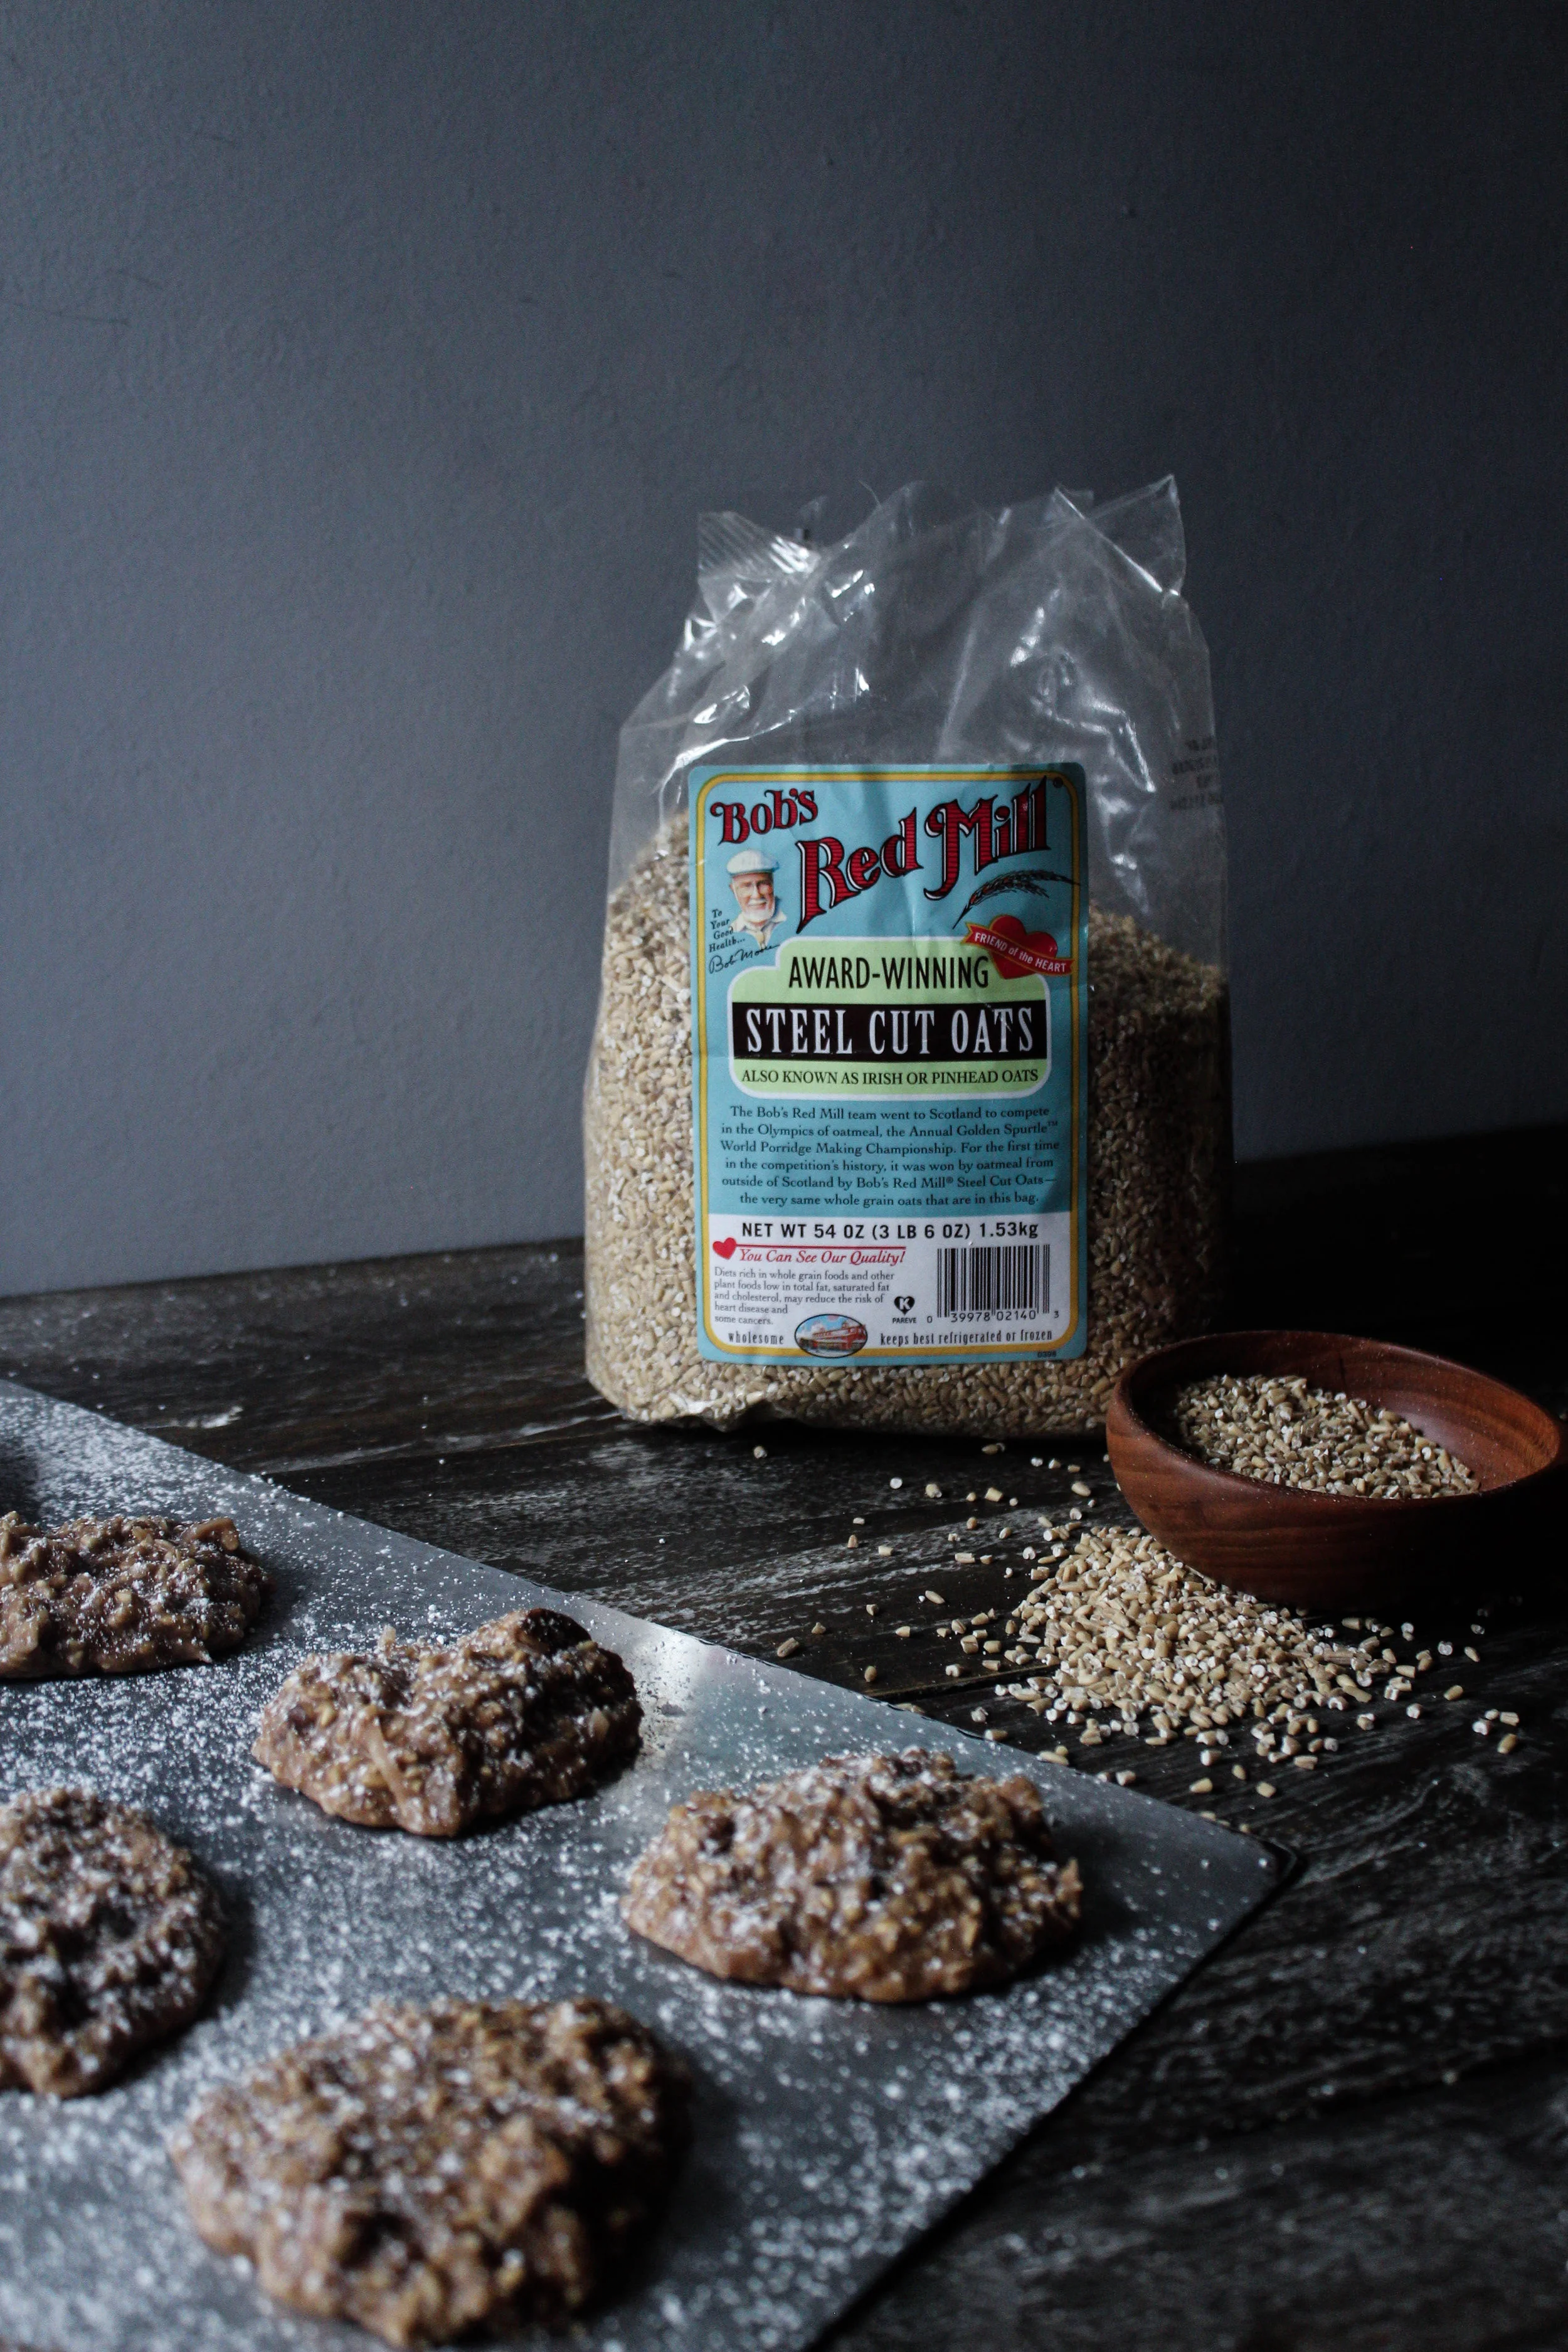
No Bake Cookies with Bob's Red Mill Steel Cut Oats
Last week I told you all that baking cookies was a favorite thing about being home for the holidays. My second favorite thing is eating the batter while baking a cake. And maybe the THIRD thing is using up all my ingredients before I move out at the end of the month to our farm.
Luckily, these No Bakes are a great combination of all of these joys of December! They're a super simple cookie, requiring little prep and even less skill. They're gooey and remain soft for a very long time, while also melting in your mouth. And you can basically add anything to these without messing them up (I like to think of the coconut here as "intentional experimentation").
One ingredient you will notice on here is steel cut oats. Bob's Red Mill sent me steel cut oats a while back and I have been trying to find the perfect way to use them that wasn't, well, just a bowl of oatmeal. This oatmeal is almost pellet-like, but produced a toothsome effect to the cookies that make them gooey but firm in the most delicious way. They were a huge hit at the party I threw this weekend for my boyfriend. (okay, my brother-in-law was the only one who ate them but he liked them a lot!) I had rented out a local theater and played his favorite movie, the Parent Trap and we will be doing that again very, very soon.


Follow me on instagram (@figandbleu) for more stories of my life that don't fit on my blog!
So if you have 15 minutes and 2 hours of patience, make these! If you don't have steel cut oats or can't find them, try a specialty foods store, online at bobsredmill.com, or you can substitute that cup for regular ol' quick cooking oats.
Steel Cut Oat No Bake Cookies

Ingredients:
- 2 cup white sugar
- 1/2 cup half 'n half or heavy cream (can use whole milk, but I'm going for decadence here)
- 2 tablespoon butter
- 1 cup steel cut oats
- 1/3 cup peanut butter chips
- 1/2 cup peanut butter
- 1/2 cup milk chocolate chips
- 1/2 cup shredded coconut
- 1 tablespoon vanilla
- 2 cup quick cooking oats
- 1/2 teaspoon sea salt
Directions:
- Prepare 2 cookie sheets with parchment or wax paper
- In a medium saucepan, whisk sugar, half 'n half, butter, and steel cut oats and heat on medium-high
- Allow to heat, stirring occasionally, and simmer until butter is melted and edges of the mixture are frothy
- Remove from heat and stir in remaining ingredients with a wooden spoon
- Allow to sit for 3 minutes to congeal a bit
- Using a cookie scoop or spoons, drop your batter onto your prepared cookie sheets
- Allow to rest in your fridge for at least two hours to firm up
- Can be kept in a container for up to a week


Note: I am fortunate enough to be a Bob's Red Mill brand ambassador this year and will be partnering with them more and more throughout the year. While Bob's Red Mill supplied the ingredient, coconut flour, for this post, all opinions are my own. Check out their website for more information on all the amazing products they have to offer!
Black Forest Bread Pudding

We recycle things around here. Some Christmas cards get framed, some shoe boxes store our spices. We recycle memories, getting two aunts confused in the same anecdote. When we are done with roast, it becomes soup. When the bread goes bad, it becomes dessert.
Last year I made a bread pudding for my mom, dedicated to her, really. Large chunks of sourdough and apples in a casserole dish. This year, I recycled once again. Those same thoughts, those same memories, that said love into another recipe. I used old stoneware mugs that were my grandmother's. I used bread my father had left on the counter, not bothering to throw it away while my mother worked doubles this week. I recycled a palate I know too well, chocolate and cherries and cream on top. We ate ours so quickly and asked if anyone else wanted seconds.
I'm moving to a farm at the end of the month. Five acres with someone I love and three dogs to keep us busy. I'm making up for lost time, baking a few of my parents' favorite dishes to say thank you for taking me in this year.
Black Forest Bread Pudding

Ingredients:
1 loaf of hearty bread, slightly stale, cubed
5 eggs
1 ¼ cup white sugar
6 cups buttermilk
2 tablespoon pure vanilla extract, divided
2 tablespoons Grand Marnier
¼ cup cocoa powder
1 teaspoon flaked sea salt
8 oz dark chocolate, roughly chopped (or substitute this with dark chocolate chips)
½ cup maraschino cherries, roughly chopped + more to top
8 oz Vermont Creamery mascarpone
¼ cup confectioner’s sugar
Chocolate sprinkles to top, if desired
Directions:
- Put bread in a large bowl
- In a separate bowl or measuring cup, whisk together eggs and sugar until light and combined
- Continue whisking and add buttermilk, 1 ½ TB vanilla, Grand Marnier, cocoa powder, and salt. Whisk until ingredients are completely combined with no lumps
- Now, slowly pour your wet ingredients over your bread, turning with a rubber spatula to get all of your bread moistened
- Add chocolate and cherries and stir to combine
- Cover loosely and allow to rest for 30 minutes
- While your mixture is resting, preheat oven to 325*F and prepare your pan with a liberal amount of butter. I used stoneware mugs, but any pan can do (this recipe is very forgiving in this way)
- When 30 minutes have expired, divide your mixture for your baking vessels. This recipe puffs up slightly, so I suggest filling until you reach a half inch from the top. If you are using mugs or smaller vessels, place on a cookie sheet for easy transportation
- Bake for 35 minutes or until puffed and golden brown. Begin checking at the 30 minute mark for smaller pans/mugs and you may go well into 45 minutes for larger vessels
- While dish is baking, whisk together mascarpone, confectioner’s sugar, and remaining vanilla until well combined. If you would like to cut the sweetness, add a pinch of salt (to your taste)
- When bread pudding is done baking, allow to cool before assembling
- To assemble: top with mascarpone mixture, a couple cherries, and some chocolate sprinkles. Enjoy immediately (while delicious, this recipe does not last longer than a two days)


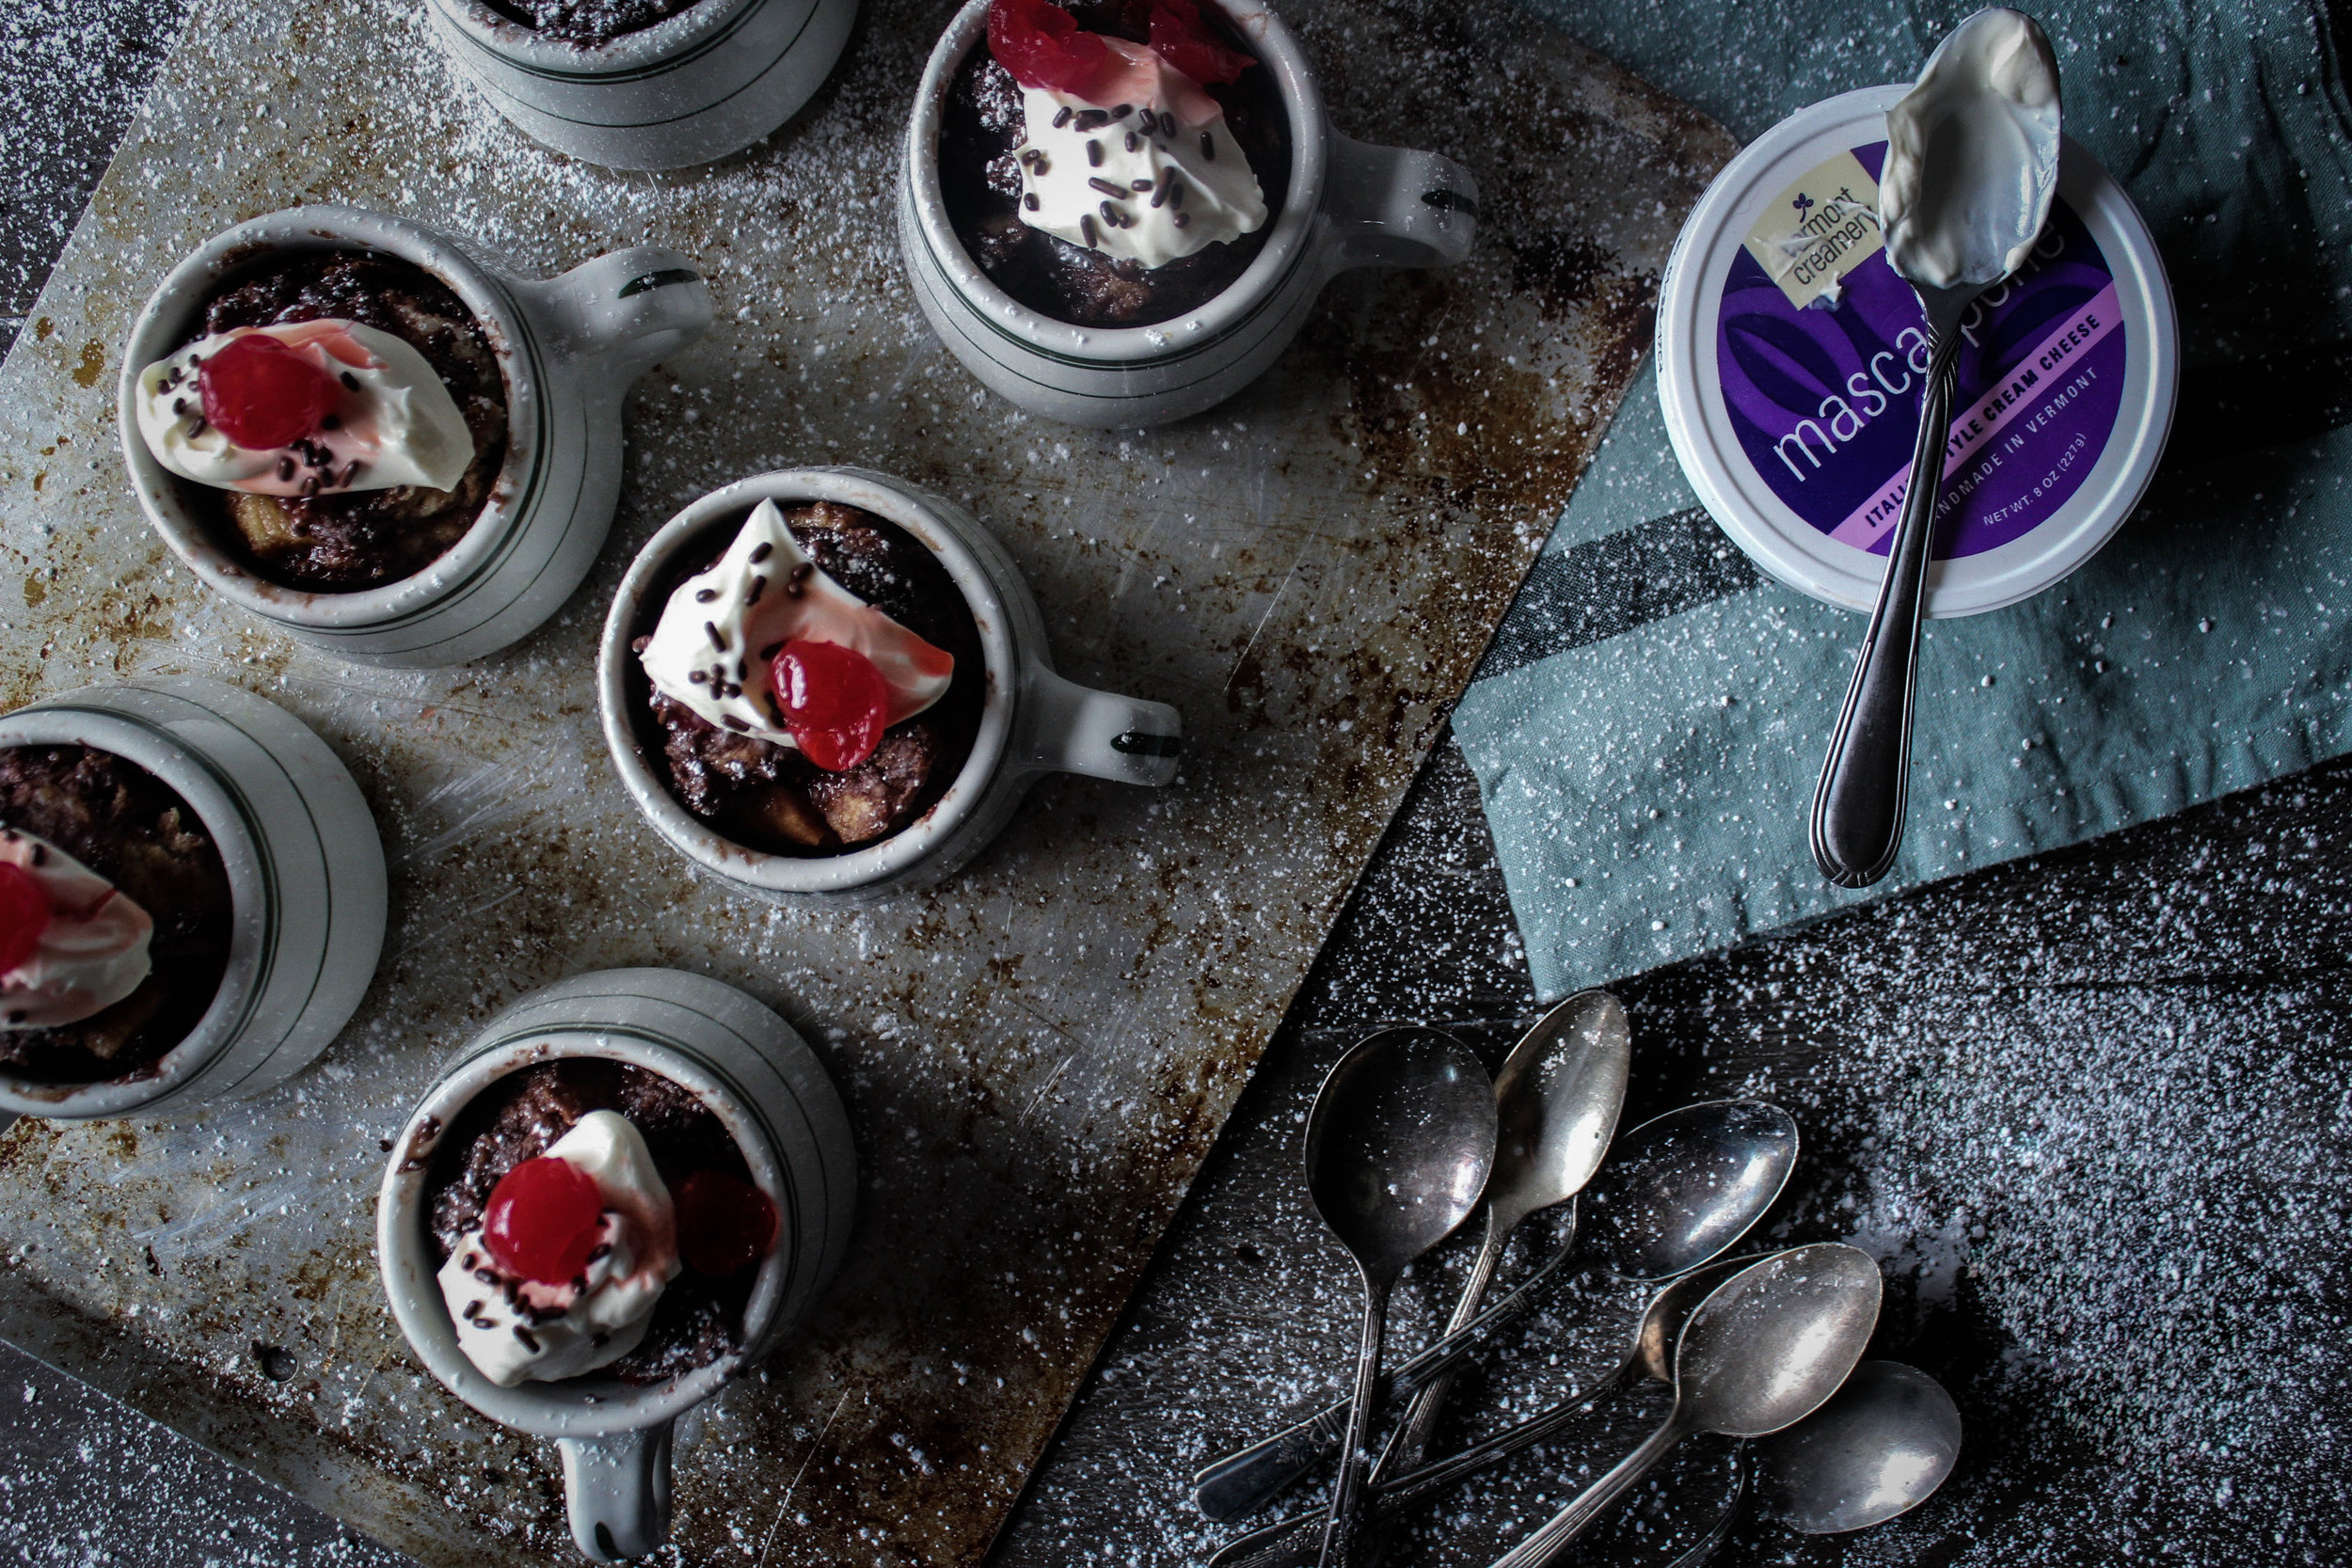


This post was inspired by Vermont Creamery, who excel at making quality dairy products. In this recipe I used their mascarpone to top these bad boys, which is an Italian-style cream cheese (but is way more flavorful than cream cheese and is super versatile!). Check out their website, Instagram, Facebook, or Twitter for more information. Thank you, Vermont Creamery!