Your Custom Text Here
Murphy's 5th Birthday Cake - And Leftovers for the Chickens
I don't like looking back on our time in California. A lot of it feels like failure to me. I'm learning to see it through different lenses, but that's an exercise I have not mastered yet. But I like looking back on our early years with Murphy, because I know that wasn't a failure.
We got Murphy the very night I finished my last final. It was Contracts law and I finished 20 minutes early so that I could drive to Los Angeles and pick him up. Small and crying, I held him in my hands and he was beautiful. He sat in the passenger seat, so tired from the adventure. I sang the Carpenters, I remember. I cried a little, I remember. He gave me a feeling of purpose when I didn't know if things were falling apart. He gave me something to dedicate my time towards; the question of returning to law school was still up in the air.
And for five years, I have loved Murphy with my whole heart. He's gentle. The sweetest dog I've ever met. He wants to be by my side for hours. He finds small crevices to tuck himself into. He has a tooth that's longer than the other and so his smile is a little crooked. He has a sweet tooth, too. And I know Murphy is the reason I changed five years ago (or started to, at least). I wanted to be better because of him. He, as well as Elsa and Milo, gave me the purpose I had been missing - a family. That love was not borne from opportunity, but a requirement for happiness and I have tried to live this more as I have gotten older.
I am lucky. I am lucky to love my dogs so much and I am lucky to have had Murphy as our first. Five years have been perfect with him and I am grateful for many years more.
And it's hard to wrap all of this up in one post, let alone one cake, but every day is a devotional to putting their needs before my own. The cake was impromptu, using ingredients from around the kitchen, but I made sure it has a little sweetness to it for him. And when they got sick of having cake for breakfast, I scraped off the icing for my other family, the chickens. I don't own anything on this land of ours, but I'll be damned if I don't want to make sure everyone's happy.
Ingredients for Cake:
- 1 cup AP flour
- 1 cup whole wheat flour (can sub for another cup AP)
- 1/4 ts baking soda
- 1/4 cup canola oil
- 1 cup peanut butter
- 1/2 cup applesauce
- 1 cup pumpkin puree
- 1/4 whole milk
- 2 egg
- 1/2 ts cinnamon
Recipe for Cake:
- Preheat oven to 350°F
- Prepare a 13x9 inch cake pan with oil and parchment paper
- In a bowl, sift flours and baking soda
- In a stand mixer, beat all remaining ingredients
- On low, add flour until incorporated
- Beat on high for one minute
- Transfer to prepared pan and bake for 30 minutes or until a toothpick comes out clean
Ingredients for Icing:
- 1 c yogurt
- 1/2 cup peanut butter
- 1/4 cup marshmallow fluff
- 1/2 cup confectioners sugar
Directions for Icing:
- For icing, mix all ingredients and apply to cooled cake. I also topped mine with Girl Pow sprinkles
Molly Wrote (another) Cookbook!
Our plans are on hold until it stops snowing. The ground is frozen one day, then muddy the next. We let the chickens free range now so they can't stretch their wings and scratch in the morning and they have enough sense to hide at the first sign of danger. And yet I still worry. I look out the window when I'm baking. When I'm writing. When I'm on a conference call, I will search them out from the second story window.
And the dogs chase them on the fence-line, but they don't seem to care. They just want to eat, to sleep, to be safe. And maybe that's why I like them so much; I'm not so different from them.
And it's been 25 days since I've eaten meat. I'm not sure if it's a fad or if it's here to stay, but I've been finding alternatives, additions, substitutes. So when I got Molly's new Short Stack yogurt cookbook, I wanted to find a blank canvas. Something that I could adapt to, something easy. Something I'm still learning to do. And just like her last book, it's effortless and easy and conversational and aspirational. It's dog-eared already and I'm excited to try new dishes throughout the warm months (whenever they may come).
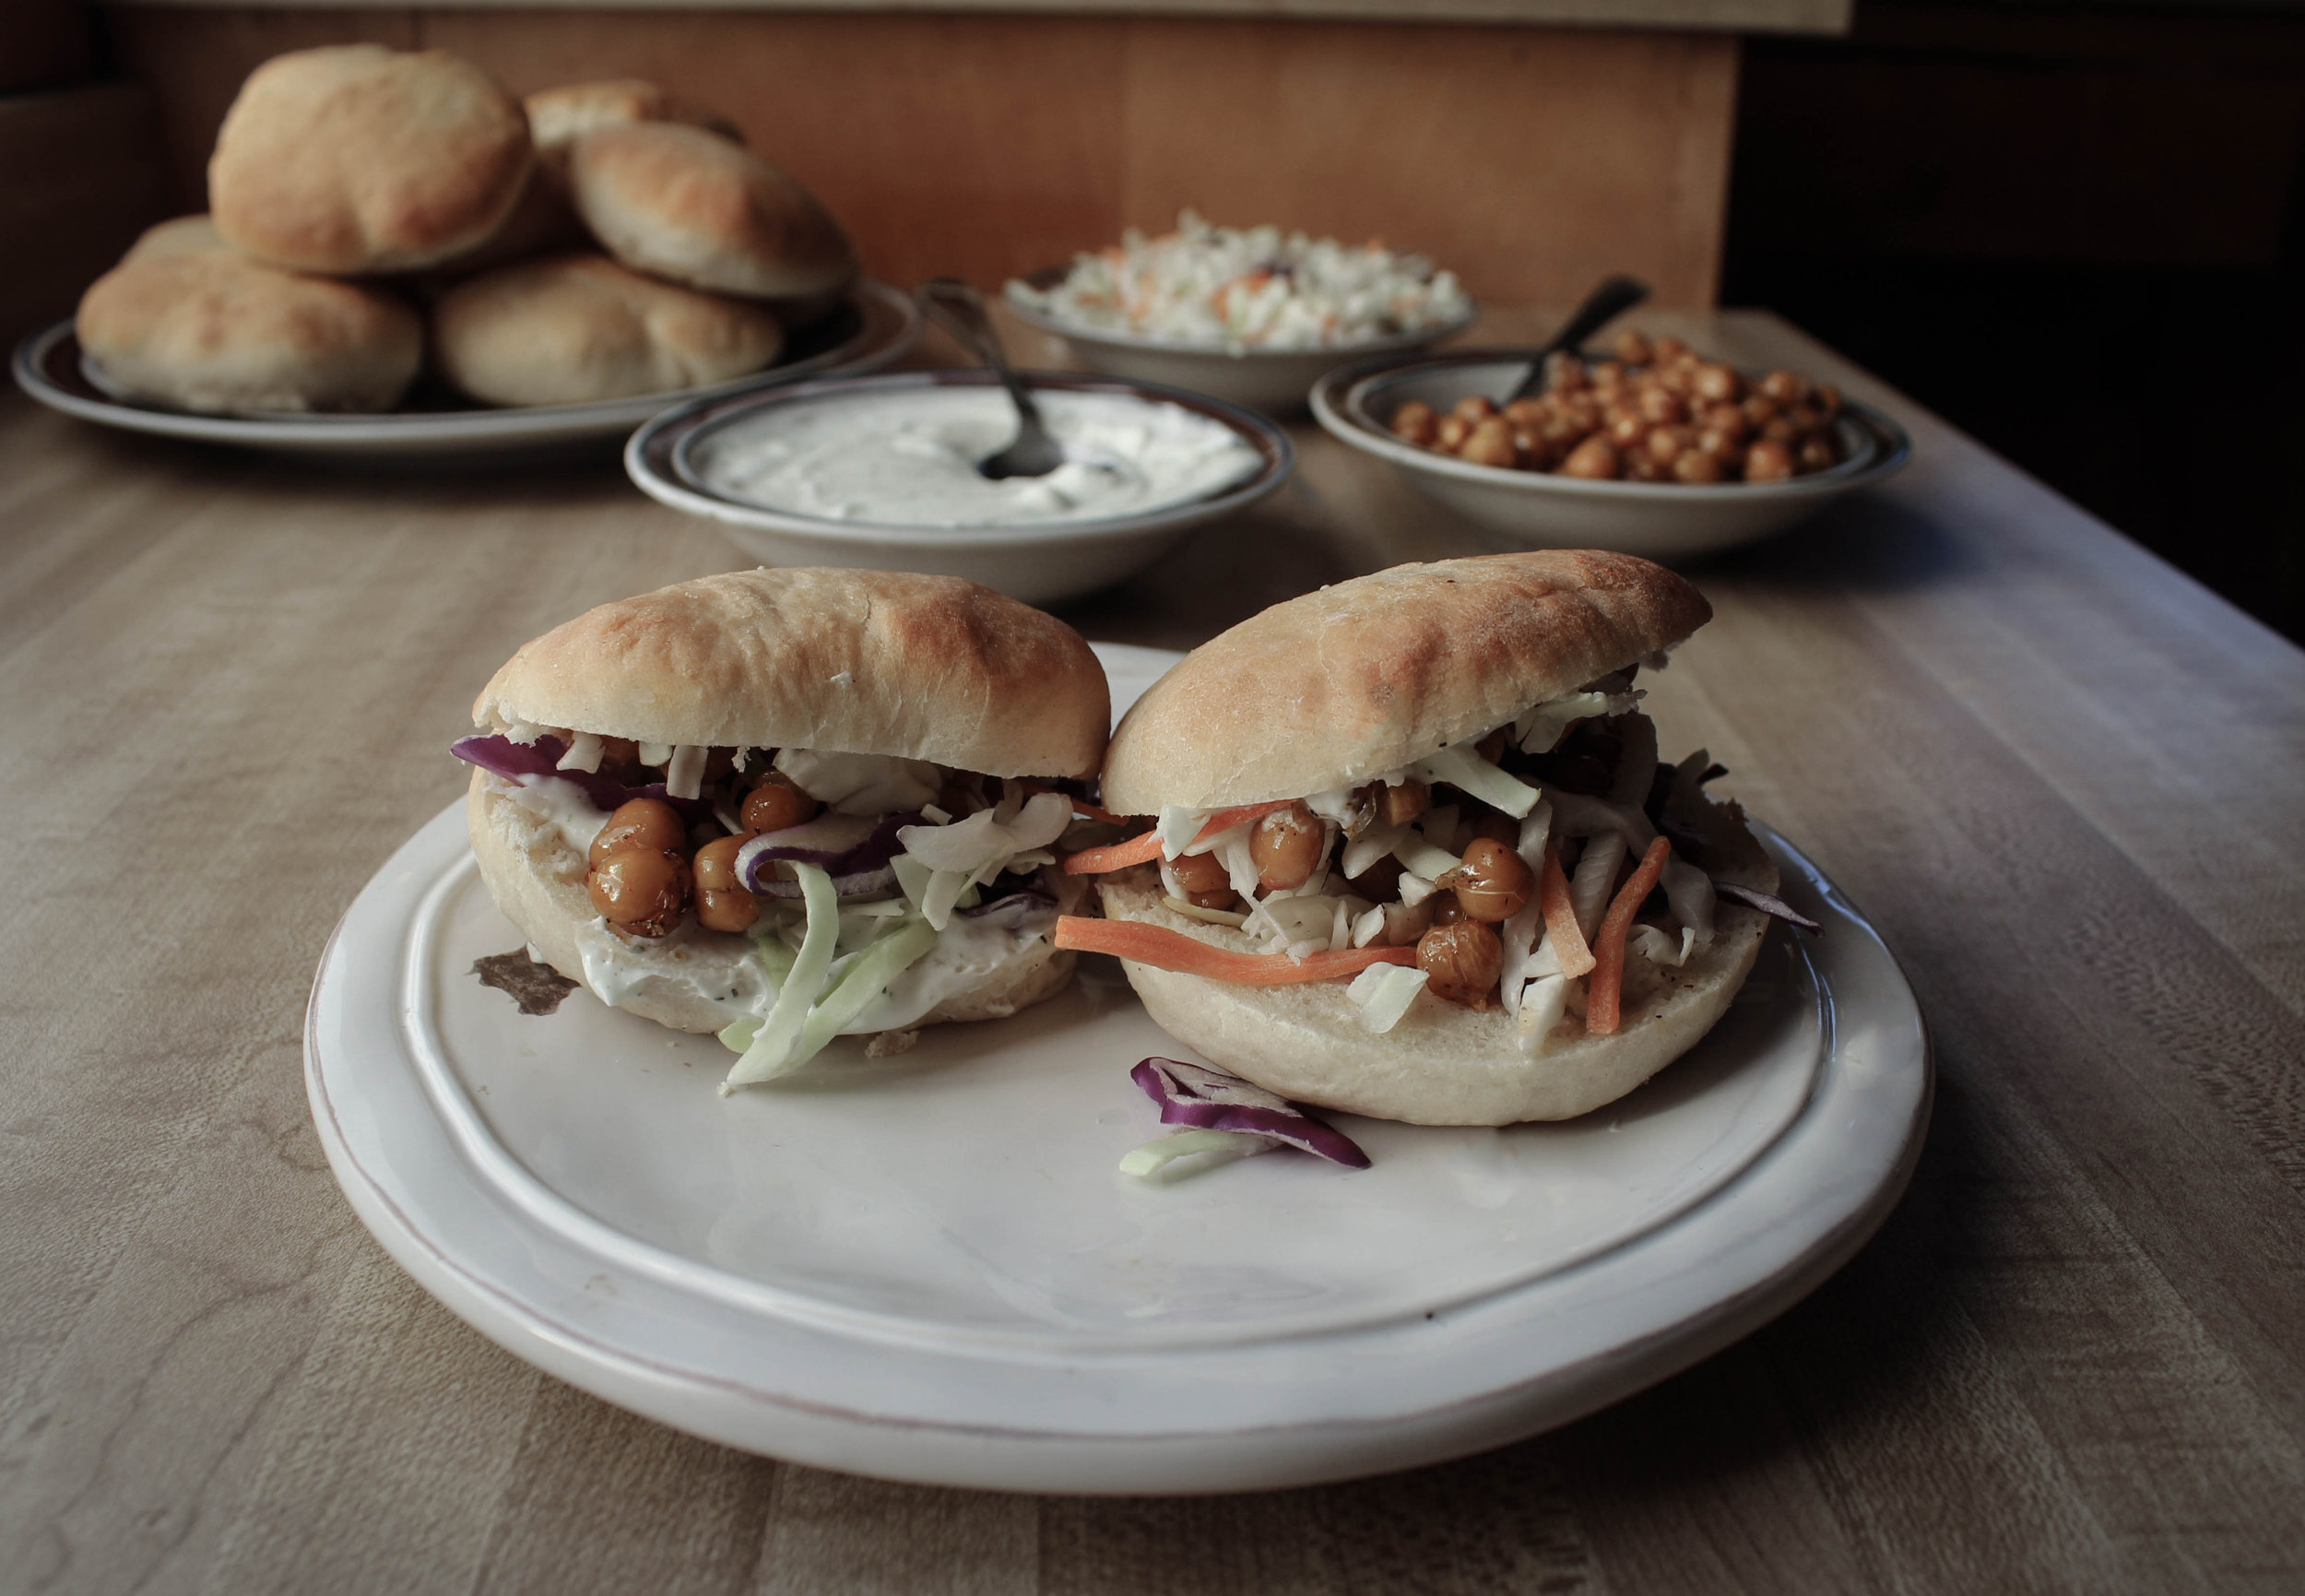
Roasted Chickpeas Sandwich with Molly Yeh's Yogurt Pita
For the pita recipe, make sure you pick up her Short Stack!
Ingredients:
- 2 can chickpeas, drained
- 2 TB olive oil
- ½ teaspoon salt
- ½ teaspoon pepper
- ½ teaspoon chili powder
- Juice of half a lemon
Directions:
- On two sheet pans lined with paper towels, lay out chickpeas and allow to dry for 6 hours or overnight
- When time has elapsed, preheat oven to 400*F
- Roll a paper towel over chickpeas
- Coat with olive oil and line sheets with parchment
- Roast for 20 minutes
- Place all chickpeas in a bowl and pour spices to coat
- Squeeze lemon and put into your pita!
Assembly: Cut the pita down the middle, stuff with chickpeas, some lettuce or cabbage, and a dollop of Greek yogurt (mine was mixed with a little dill!)
It's Still not Spring, so I Keep Baking
It's snowed ten inches and I'm still baking. It's cold here; we're conserving the oil as much as we can. We don't want to have to buy more, but I'm sure we will. This winter has dragged out longer than we want. I want to play in the mud with Elsa after it rains. But we are sequestered in the house--under blankets, over pillows and watching the snow from the window. It falls like ellipses do--silent and anticipatory and anticlimactic.
But I'm dreaming of warmer days. Weather patterns that tan my skin and then drench it in a storm. I want the windows open and the garden to explode by my fingertips. I want the chickens to stretch and bury themselves in dirt and I want the dogs' paws streaked in mud and grass stained. I want it more than anything right now.
And so I keep baking. Thinking of warmth. Keeping the oven on. Thinking of s'mores and marshmallows and handpies around fire pits.
Fluffernutter Handpies
Ingredients:
- 2 discs of preferred pie dough
- 1/2 cup marshmallow fluff
- 1/2 cup creamy peanut butter
- 1 yolk + 1 TB water (for egg wash)
Directions:
- Preheat oven to 400*F
- Line a baking sheet with parchment paper or a Silpat
- In a bowl, mix together marshmallow fluff and peanut butter
- Fill piping bag with peanut butter mixer
- Roll out one disc of pie dough
- Cut out 3-4 rounds out of each disc (I used a 5-inch lid as the cutter)
- Repeat with second disc
- Place on baking sheets
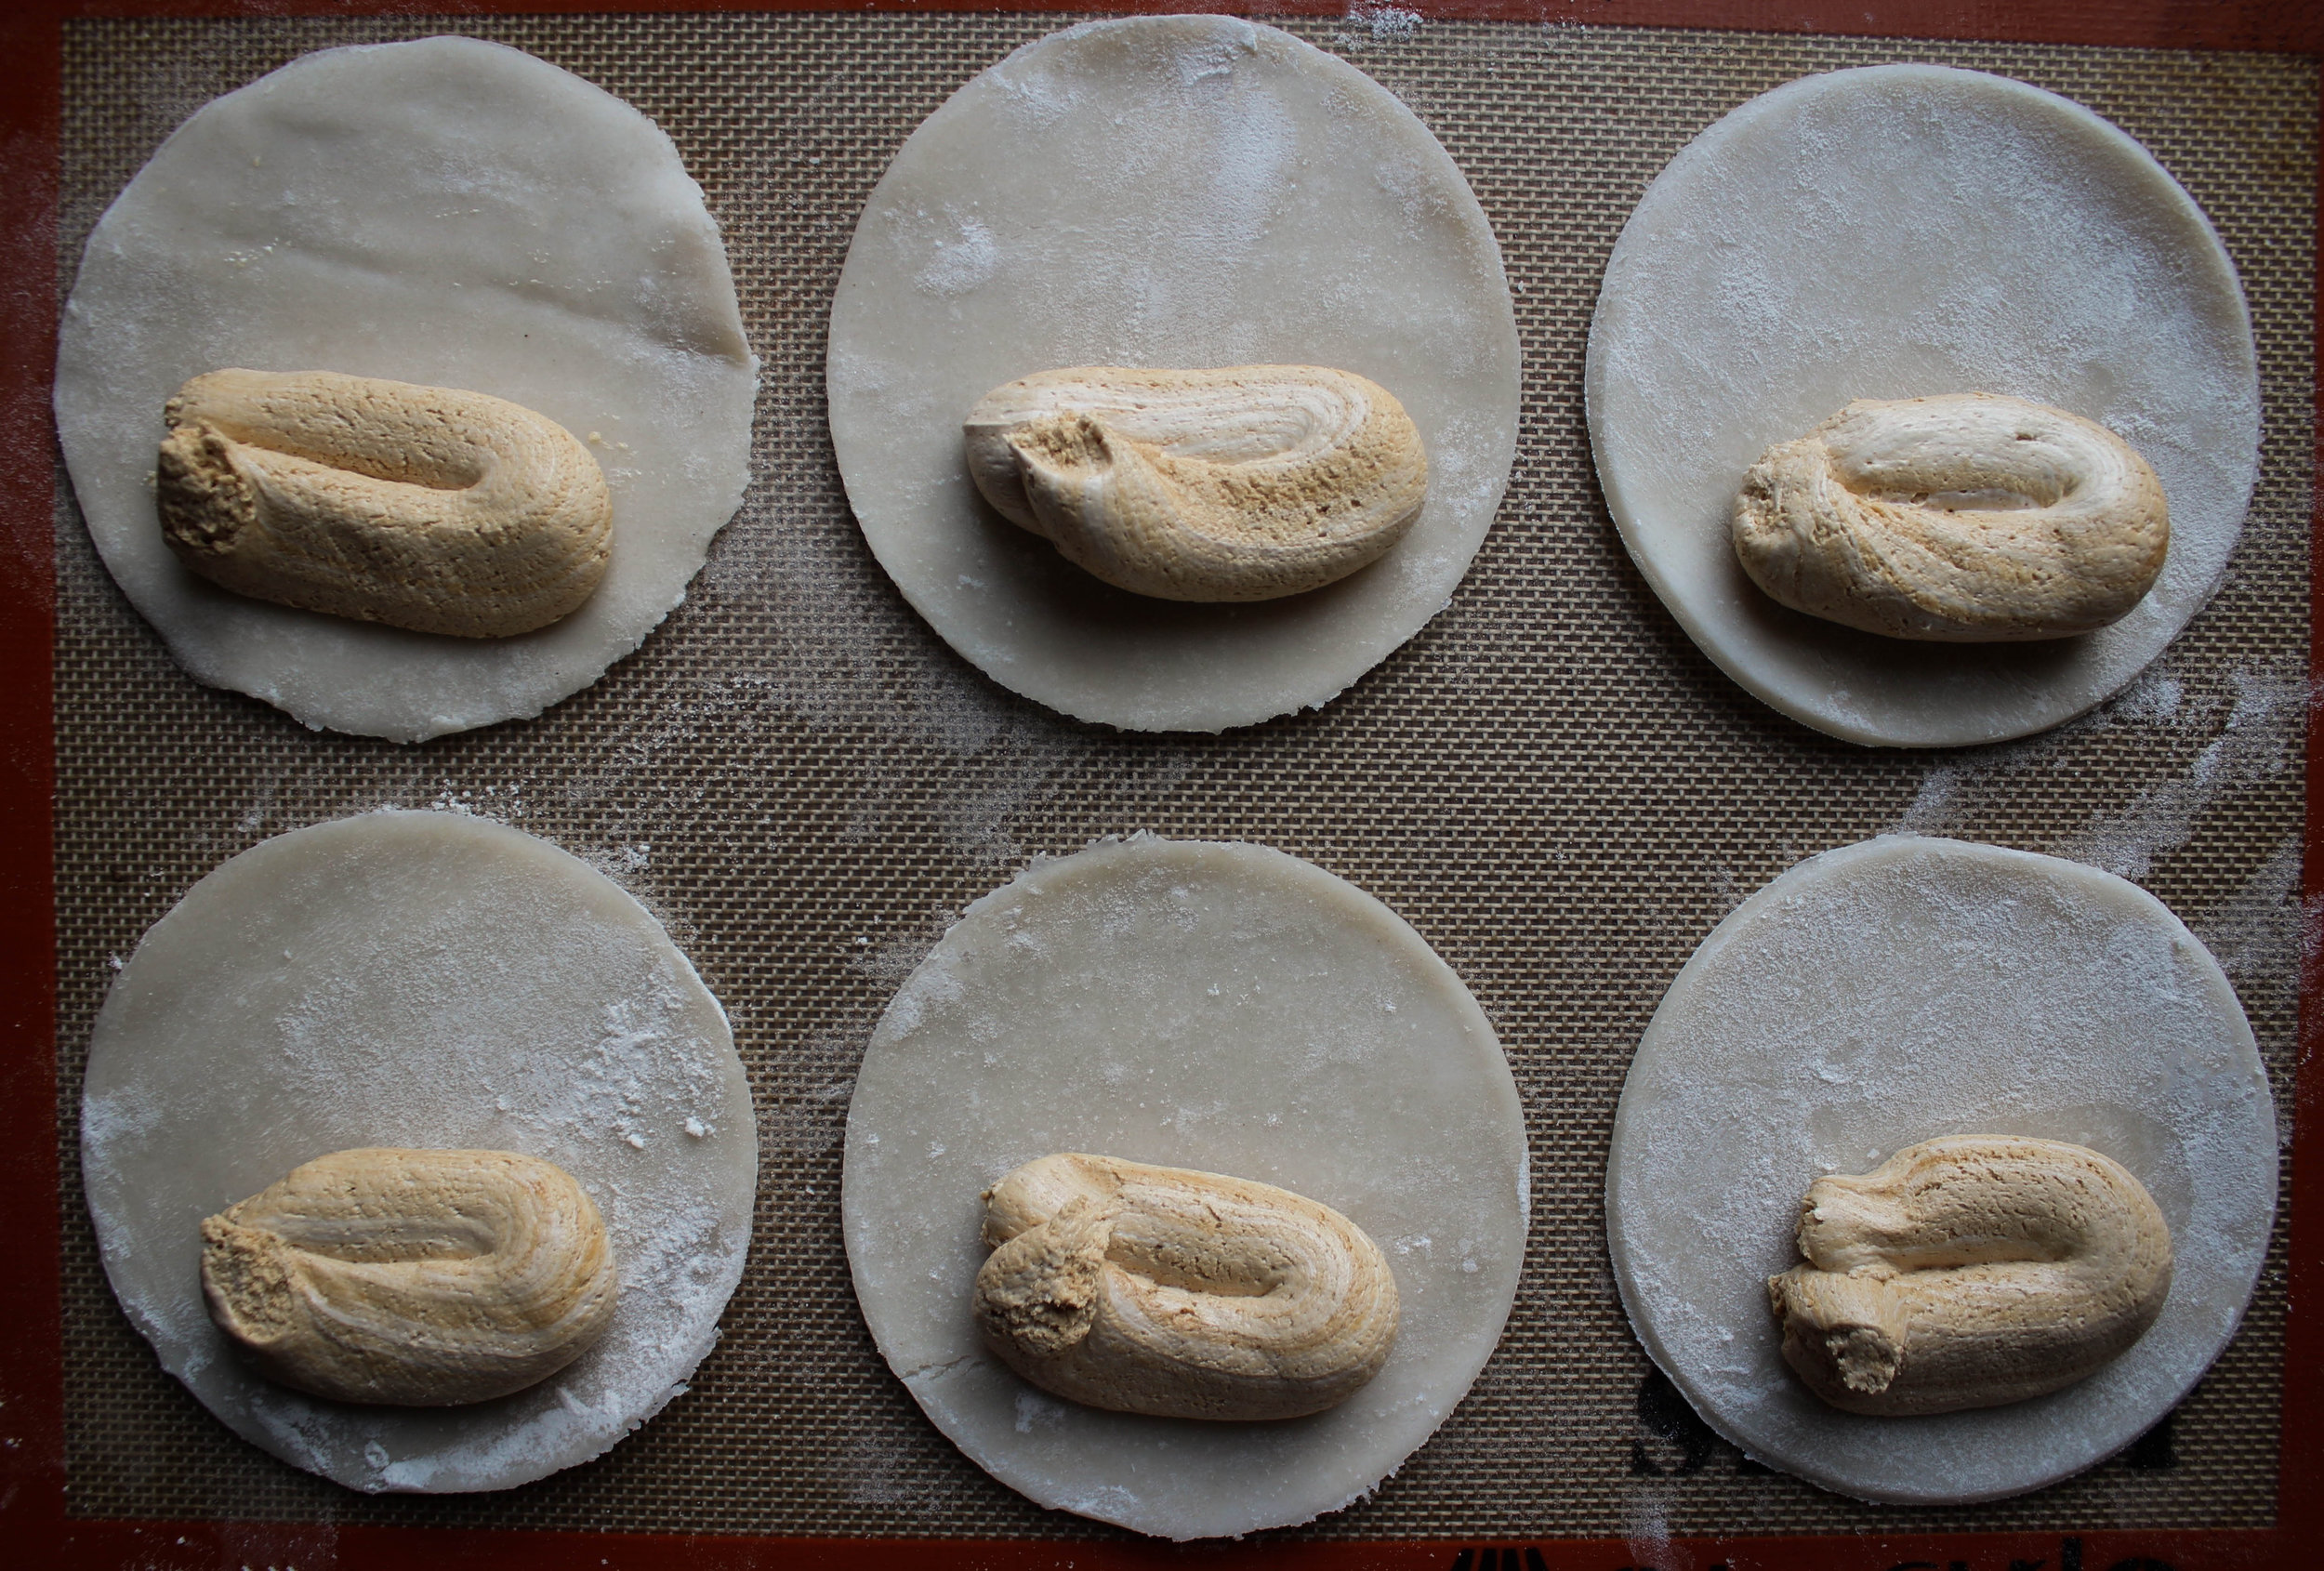
- Pipe about 2 TB of peanut butter mix on one side of the disc
- Brush a bit of egg wash around the perimeter of the disc
- Fold over, press with a fork to crimp, and cut 3 slits on the top to vent
- Brush tops with wash
- Repeat with remaining dough
- Bake for 10-12 minutes or until golden (note)
- Allow to cool before eating
Note: Marshmallow fluff expands when heated. I kept a good margin for the expansion, but don't be surprised if the crust breaks a little--they taste just as delicious.
Fruit and Nut Irish Soda Bread and some Updates!
First and Foremost....
Did you see that I have a new article for TASTE? Read about my love for (and the history of) the beautiful continental breakfast. I'm so pleased to have gotten a chance to write for them again after writing about the Pittsburgh-area tradition of the cookie table last year.
And now the blog post!
I've slowed down a bit these last few months. I'm taking my time to read, spend time with the dogs. I gave up meat 2 weeks ago, but it's not dogmatic - it's practice. And in the meantime, I'm planning a redesign for the blog, adding more features and getting organized. More on that in a couple weeks.
I like to think I'm organized. I'd like to think I'm a planner. I write things down and follow-up to emails. But when it comes to the cupboards, the pantry, I close the doors and forget about it until the next time I bake. That's why this recipe is so great - you can use up any extra dried ingredients you have lying around. Fold it around dough. Bake it in a warm oven. And snack all weekend for St. Patrick's Day.
Fruit and Nut Irish Soda Bread
Ingredients:
- 2 cups AP flour
- 2 cups whole wheat flour
- 1 1/2 teaspoon salt
- 1 teaspoon baking soda
- 2 TB cocoa powder
- 6 TB salted butter, melted
- 1 egg
- 3/4 cup plain yogurt
- 1 cup whole milk
- 2 TB molasses
- 1 1/2 cup nuts and dried fruit of your choice
Directions:
- Preheat oven to 425*F and prepare a sheet pan with parchment paper or a SIlpat
- Sift together flours, salt, soda, and cocoa
- In a separate bowl, whisk together butter, egg, yogurt, and molasses
- Create a well in the center of your dry ingredients
- Slowly pour in your wet ingredients. Slowly stir your mixture as you go
- Your dough may be a little dry, if you are in a higher elevation or depending on your wheat flour, so add a little more milk until dough is shaggy
- Turn out onto a floured work surface
- Flatten out with the heel of your hand, pour in your choices of nuts and fruit and knead into the dough
- Continue knead a few times until a more solid ball forms
- Place on your prepared pan
- Score top with an X
- Bake for 45-50 minutes or until crust is browned and bread is puffed
- Allow to cool before serving
Macarons with Silpat!
Baking is the collision of precision and accident. I think that's why I love it so much. I feel the same way about myself. I'm full of opportunity, but I never seemed to have gotten it right. And that's okay. I'm learning to be okay with that.
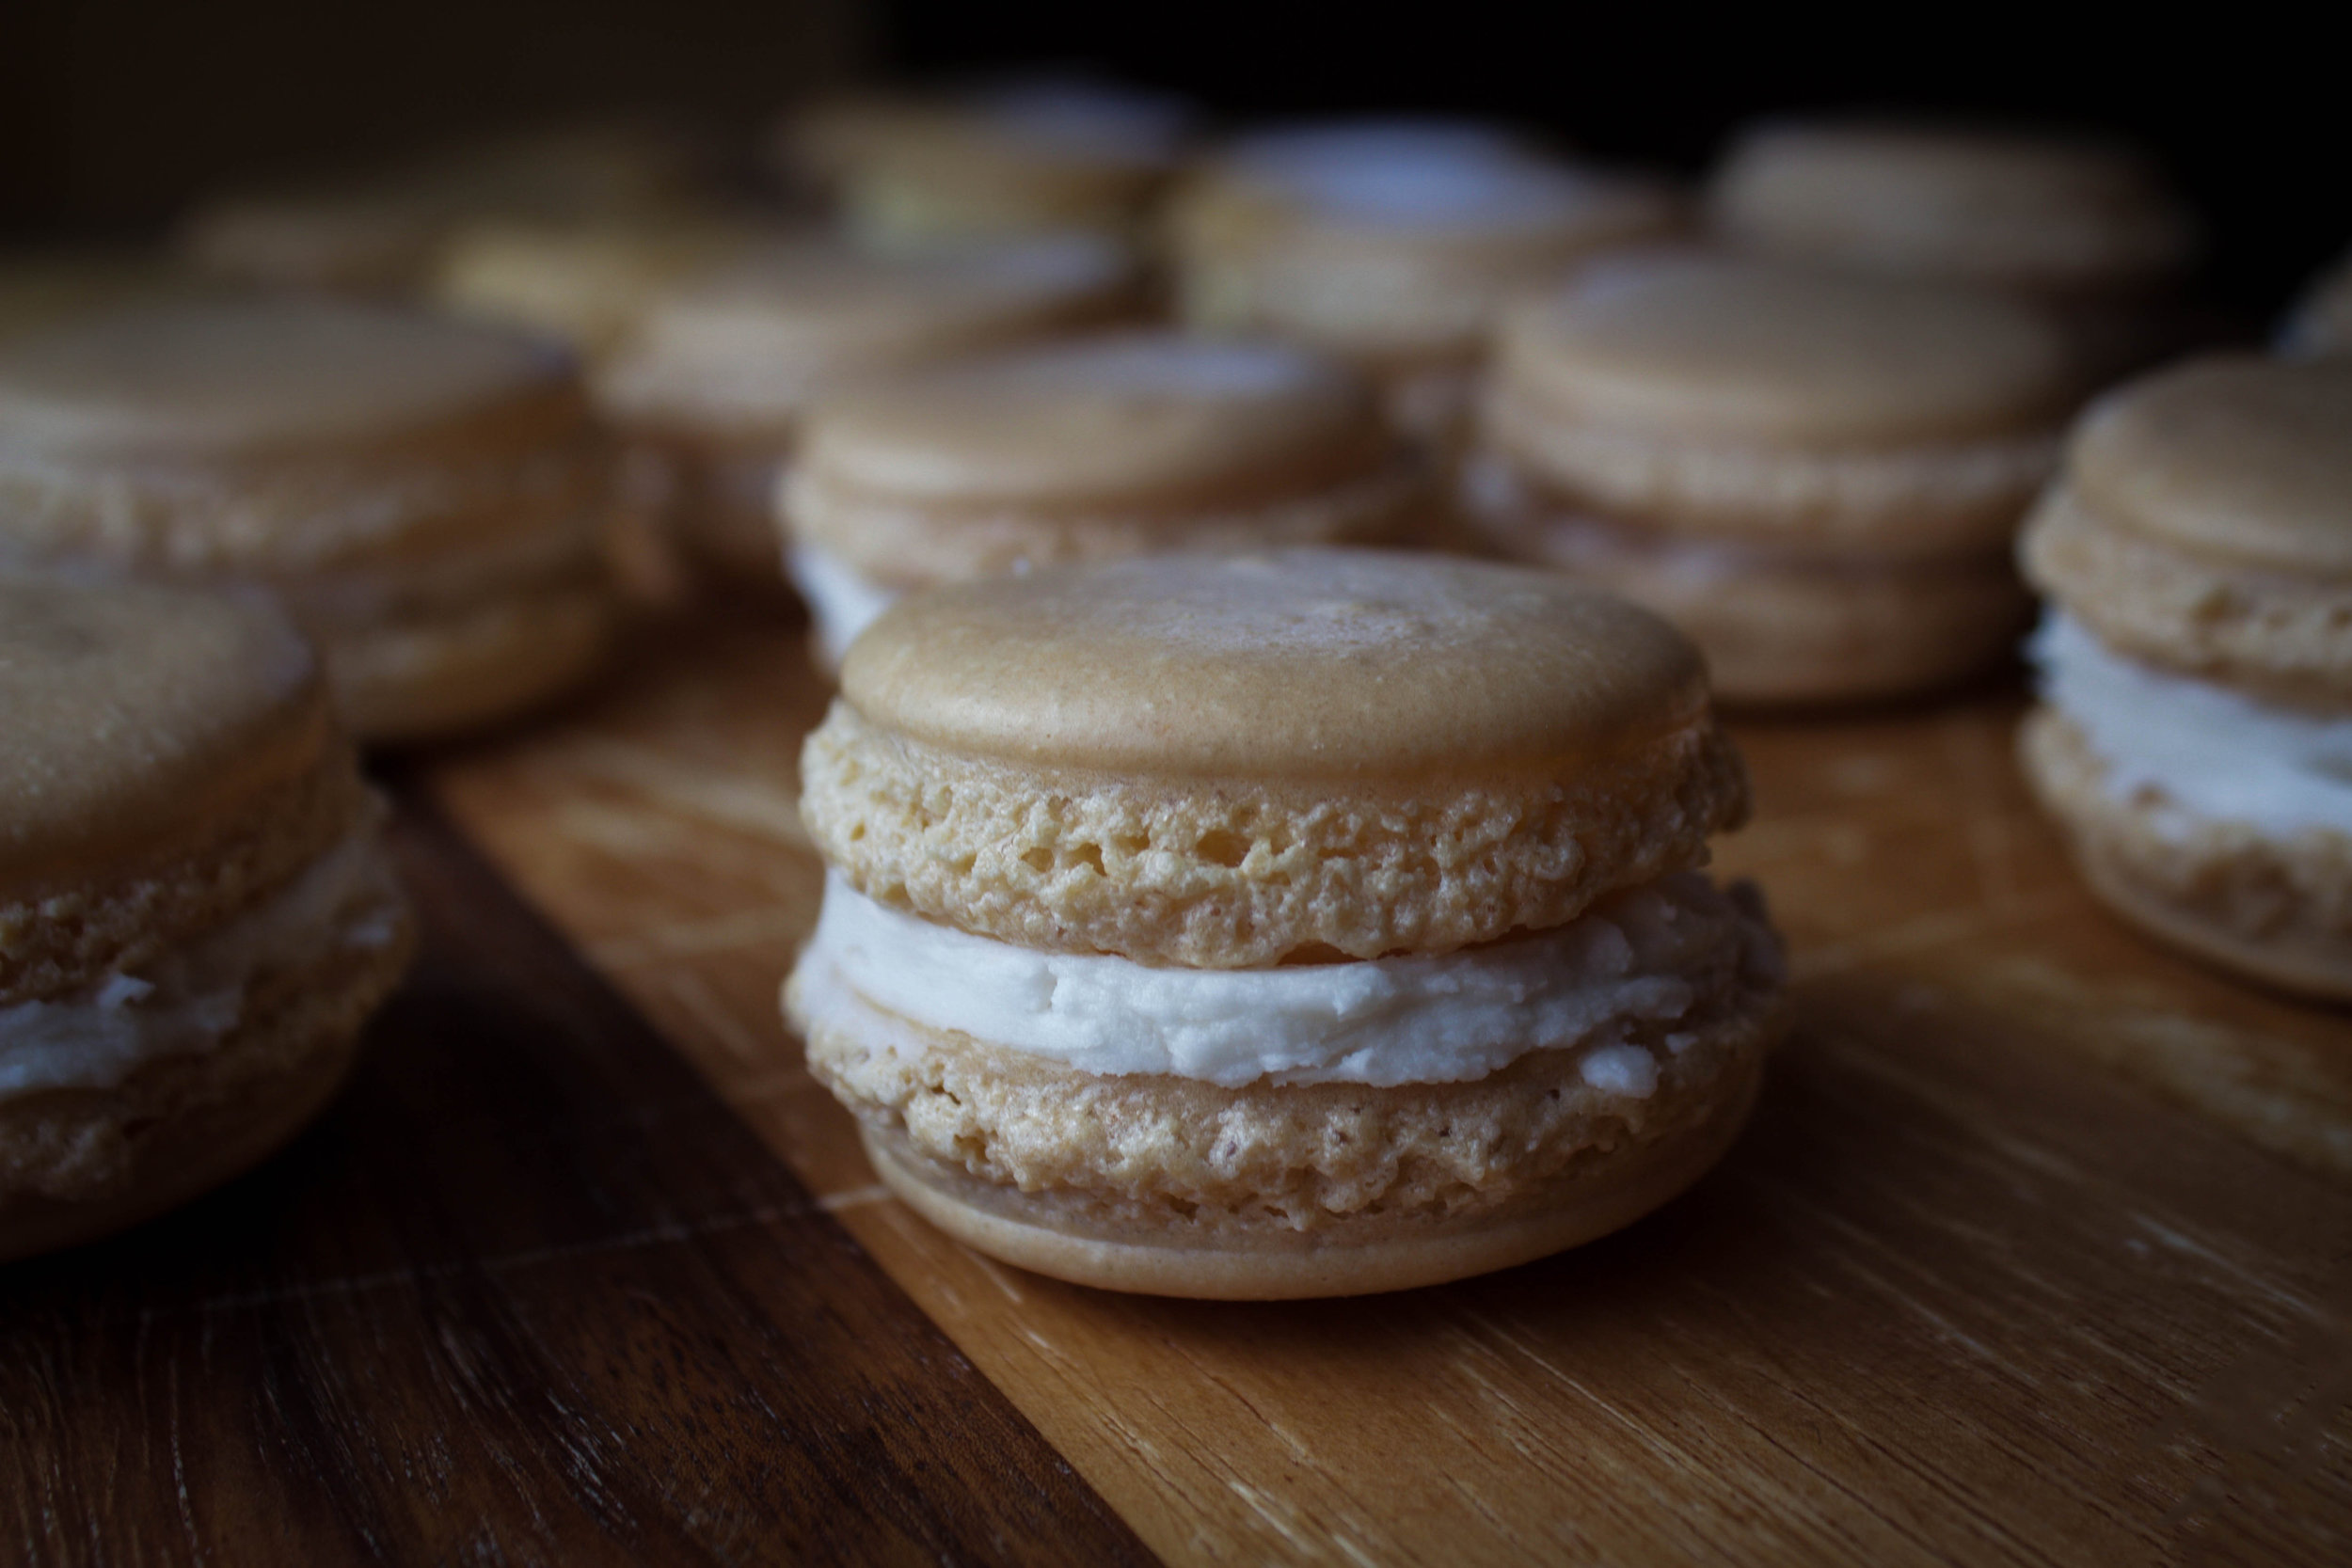
The small bumps on the tops of the macarons make me smile. I've got a few, too. And I think about the beauty of these imperfections and the small cherry moles that creep on my arm and the crooked teeth of our dogs and I love these small details that make them so much more worth savoring.
I've never made macarons before. I wasn't scared, but I was unsure. My best friend got me a kit maybe four years ago and it sat, unused. I used to be afraid of failure, so I think that's why I never opened it. But when Silpat asked me to use their mats to try again, I held off until I had the time. I thought it would take hours, maybe a day even. But it took maybe 60 minutes from start to finish. And they were perfect in their airy way, brittle and fragile and broken around the edges. It made it so much more worth savoring that way.
Macarons!
Ingredients:
- 1 cup confectioner's sugar
- 1 cup fine-ground almond meal
- 3 egg whites, room temperature
- 1 lemon wedge
- Pinch of salt
- 1/4 cup white sugar
- Extracts and dye of your choice (see notes)
Directions:
- Prepare a 13"x18" cookie sheet with your Silpat Macaron Mat or parchment paper
- Sift together confectioner's sugar and almond meal 4 times until well aerated
- In the bowl of a stand mixer, rub your lemon wedge on the inside
- Whisk eggs on high until peaks begin to poke up
- Add salt and sugar and mix until stiff peaks form
- Add extracts and dye, mix for 15 or so seconds until fully incorporated
- Using a rubber spatula, fold meringue into dry mixture (make sure to be gentle so not to deflate the mixture more than you have to)
- Transfer batter to a piping bag and pipe into center of the circles (if using macaron mat). Keep bag straight up and apply an even amount of pressure. Leave about a centimeter perimeter, as batter will expand as it settles and as it bakes
- Allow batter to rest for 30 minutes at room temperature
- Preheat oven to 300*F
- Bake for 25 minutes, opening at the 15 minute mark to release a little steam and to check on edges
- When done, tops will be hard and a little glossy and bottoms will have a crust
- Let rest on mats before transferring for a couple minutes
- Allow to cool completely before assembling with your filling (see notes)
- Enjoy!
Notes:
- Extract and dye amounts will vary a lot based on the potency of both products. I used 2 teaspoons of vanilla extract for one batch below, and a 1 teaspoon of lemon extract. Play around a bit, but be on the conservative side if you're nervous! I've also read that gel dyes incorporate better, so I opted for that in the batches below.
- For my filling, as you can see from my photos, I used a very simple buttercream made with 1:1:8 ratio of shortening, softened butter, and confectioner's sugar (this made enough for 2 batches with some to spare!), and then a little salt, extract, and a touch of milk to thin it out
- I think these macarons were a great size for guests or an event, but for me, I also eyeballed them and made smaller ones (about half the size) with some extra batter we had and they were wonderful, too. This recipe is very versatile, but just cut the baking time down a couple minutes for smaller ones!


