Your Custom Text Here
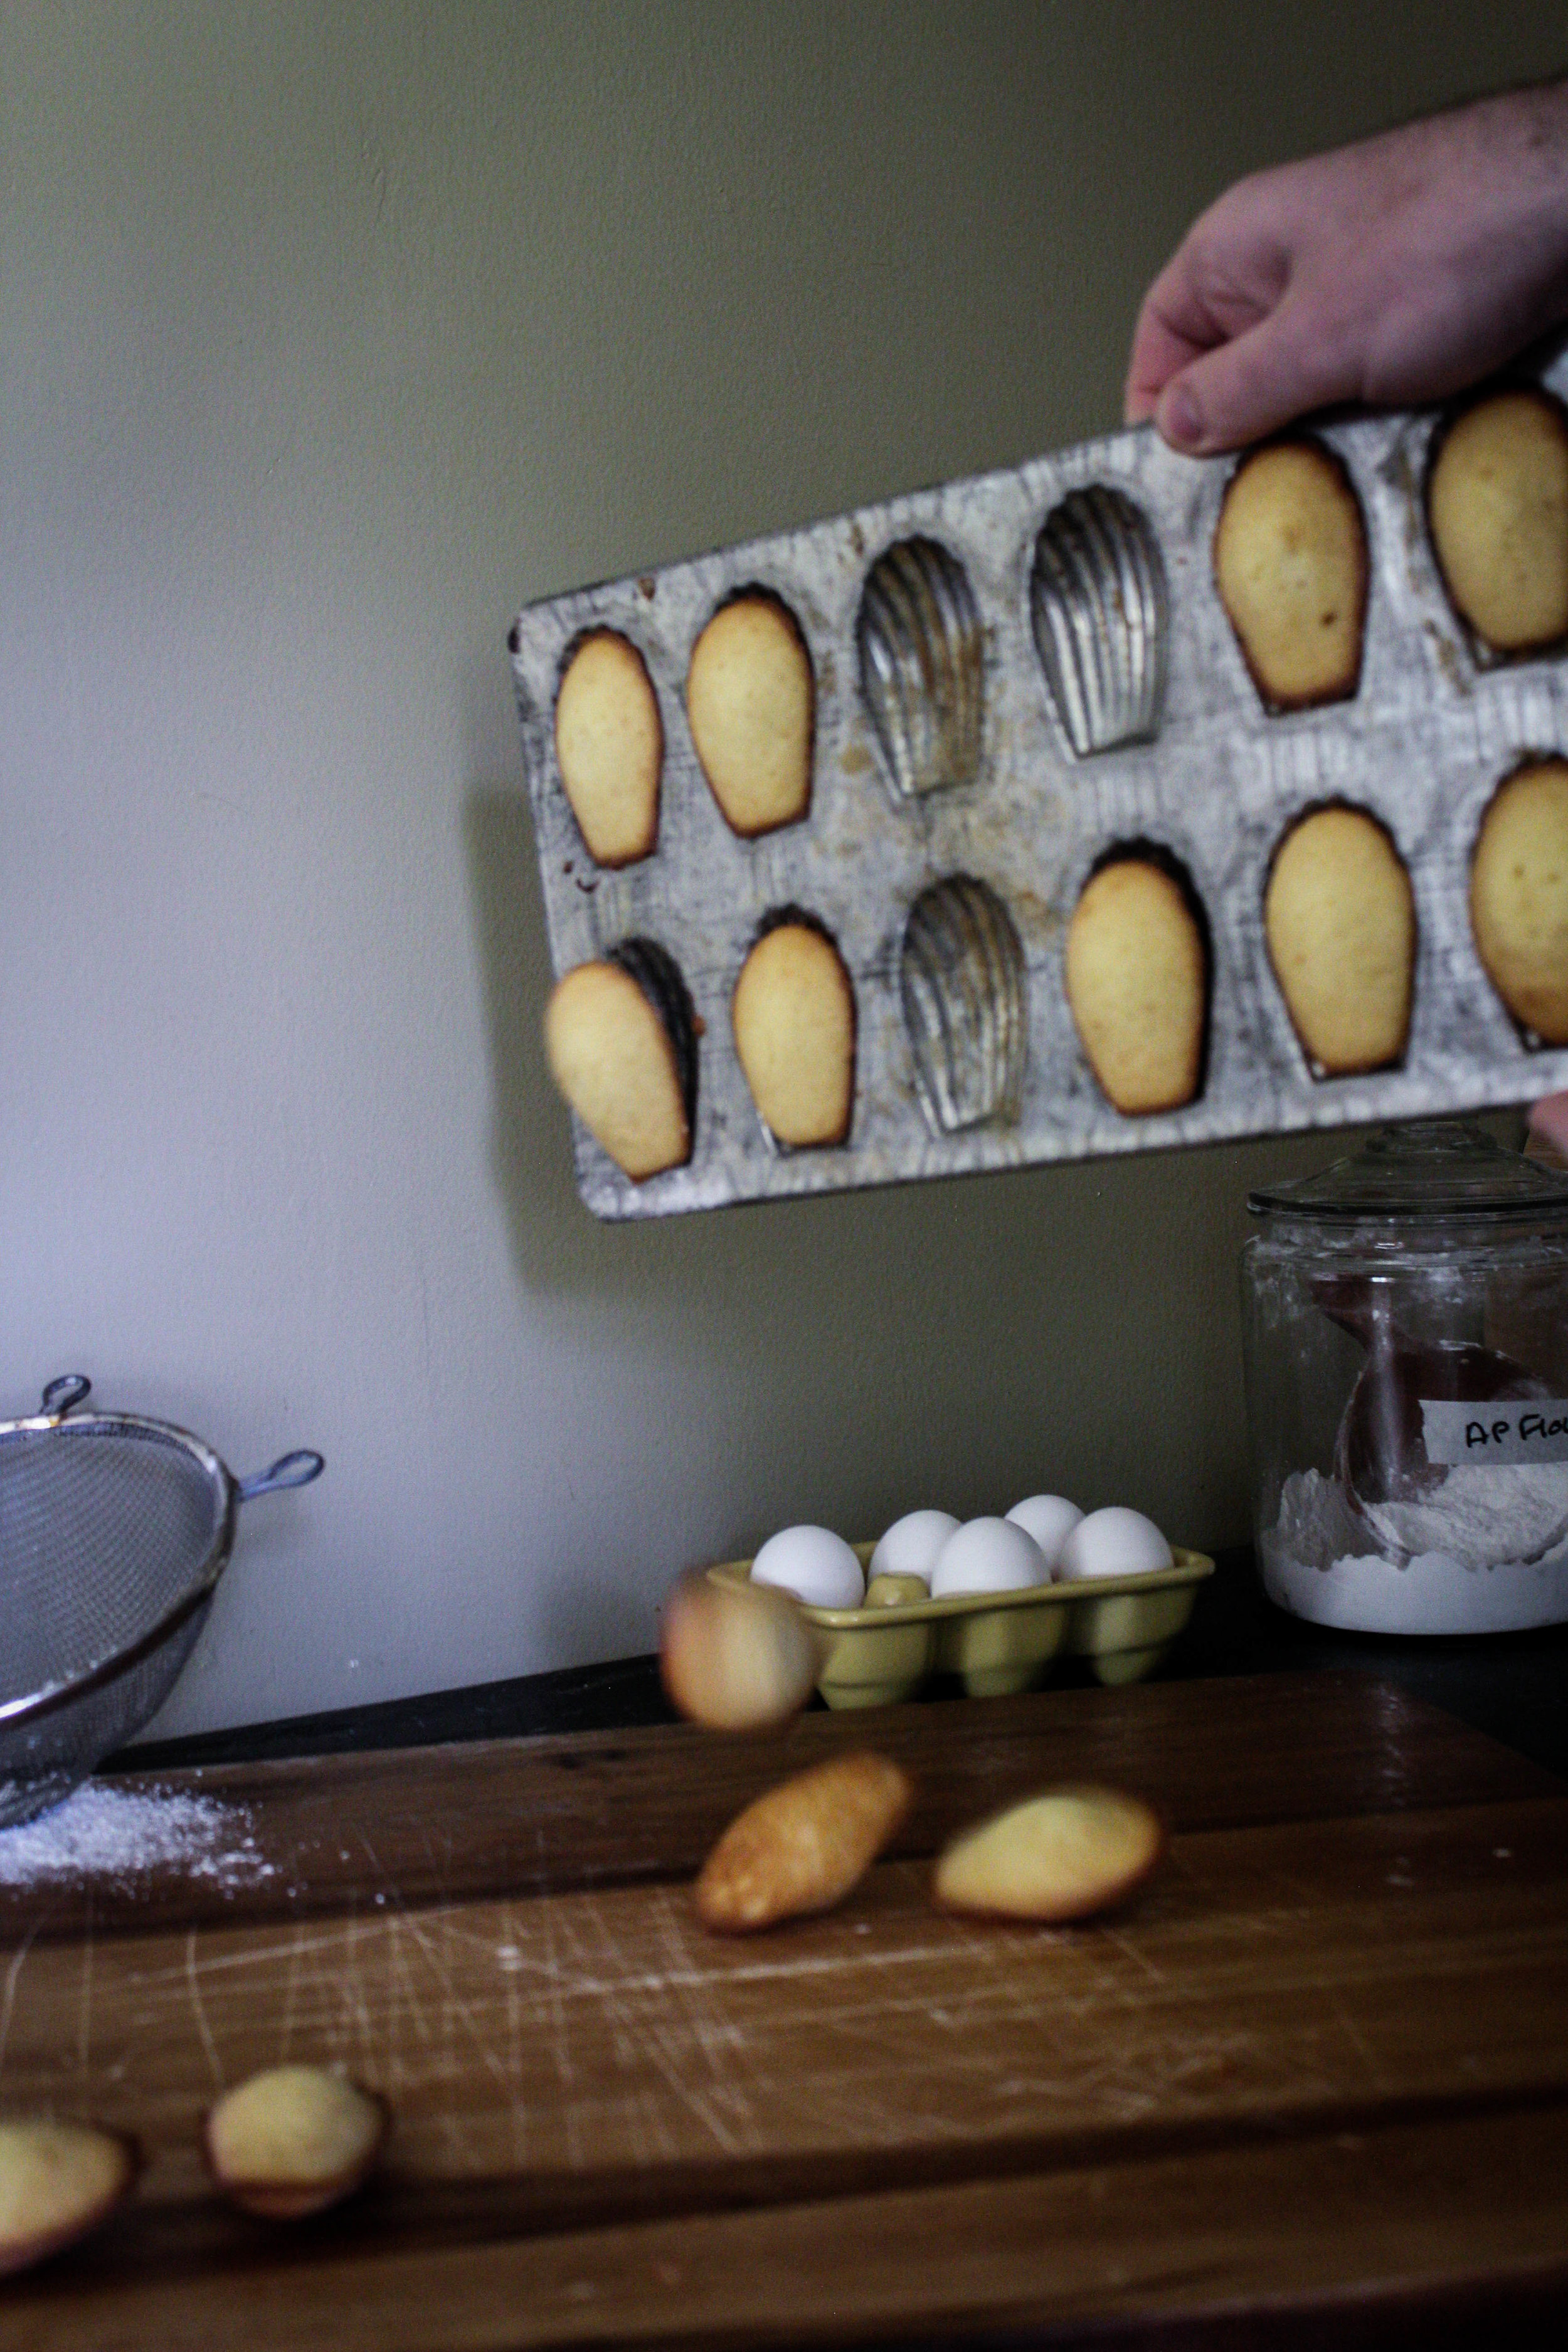
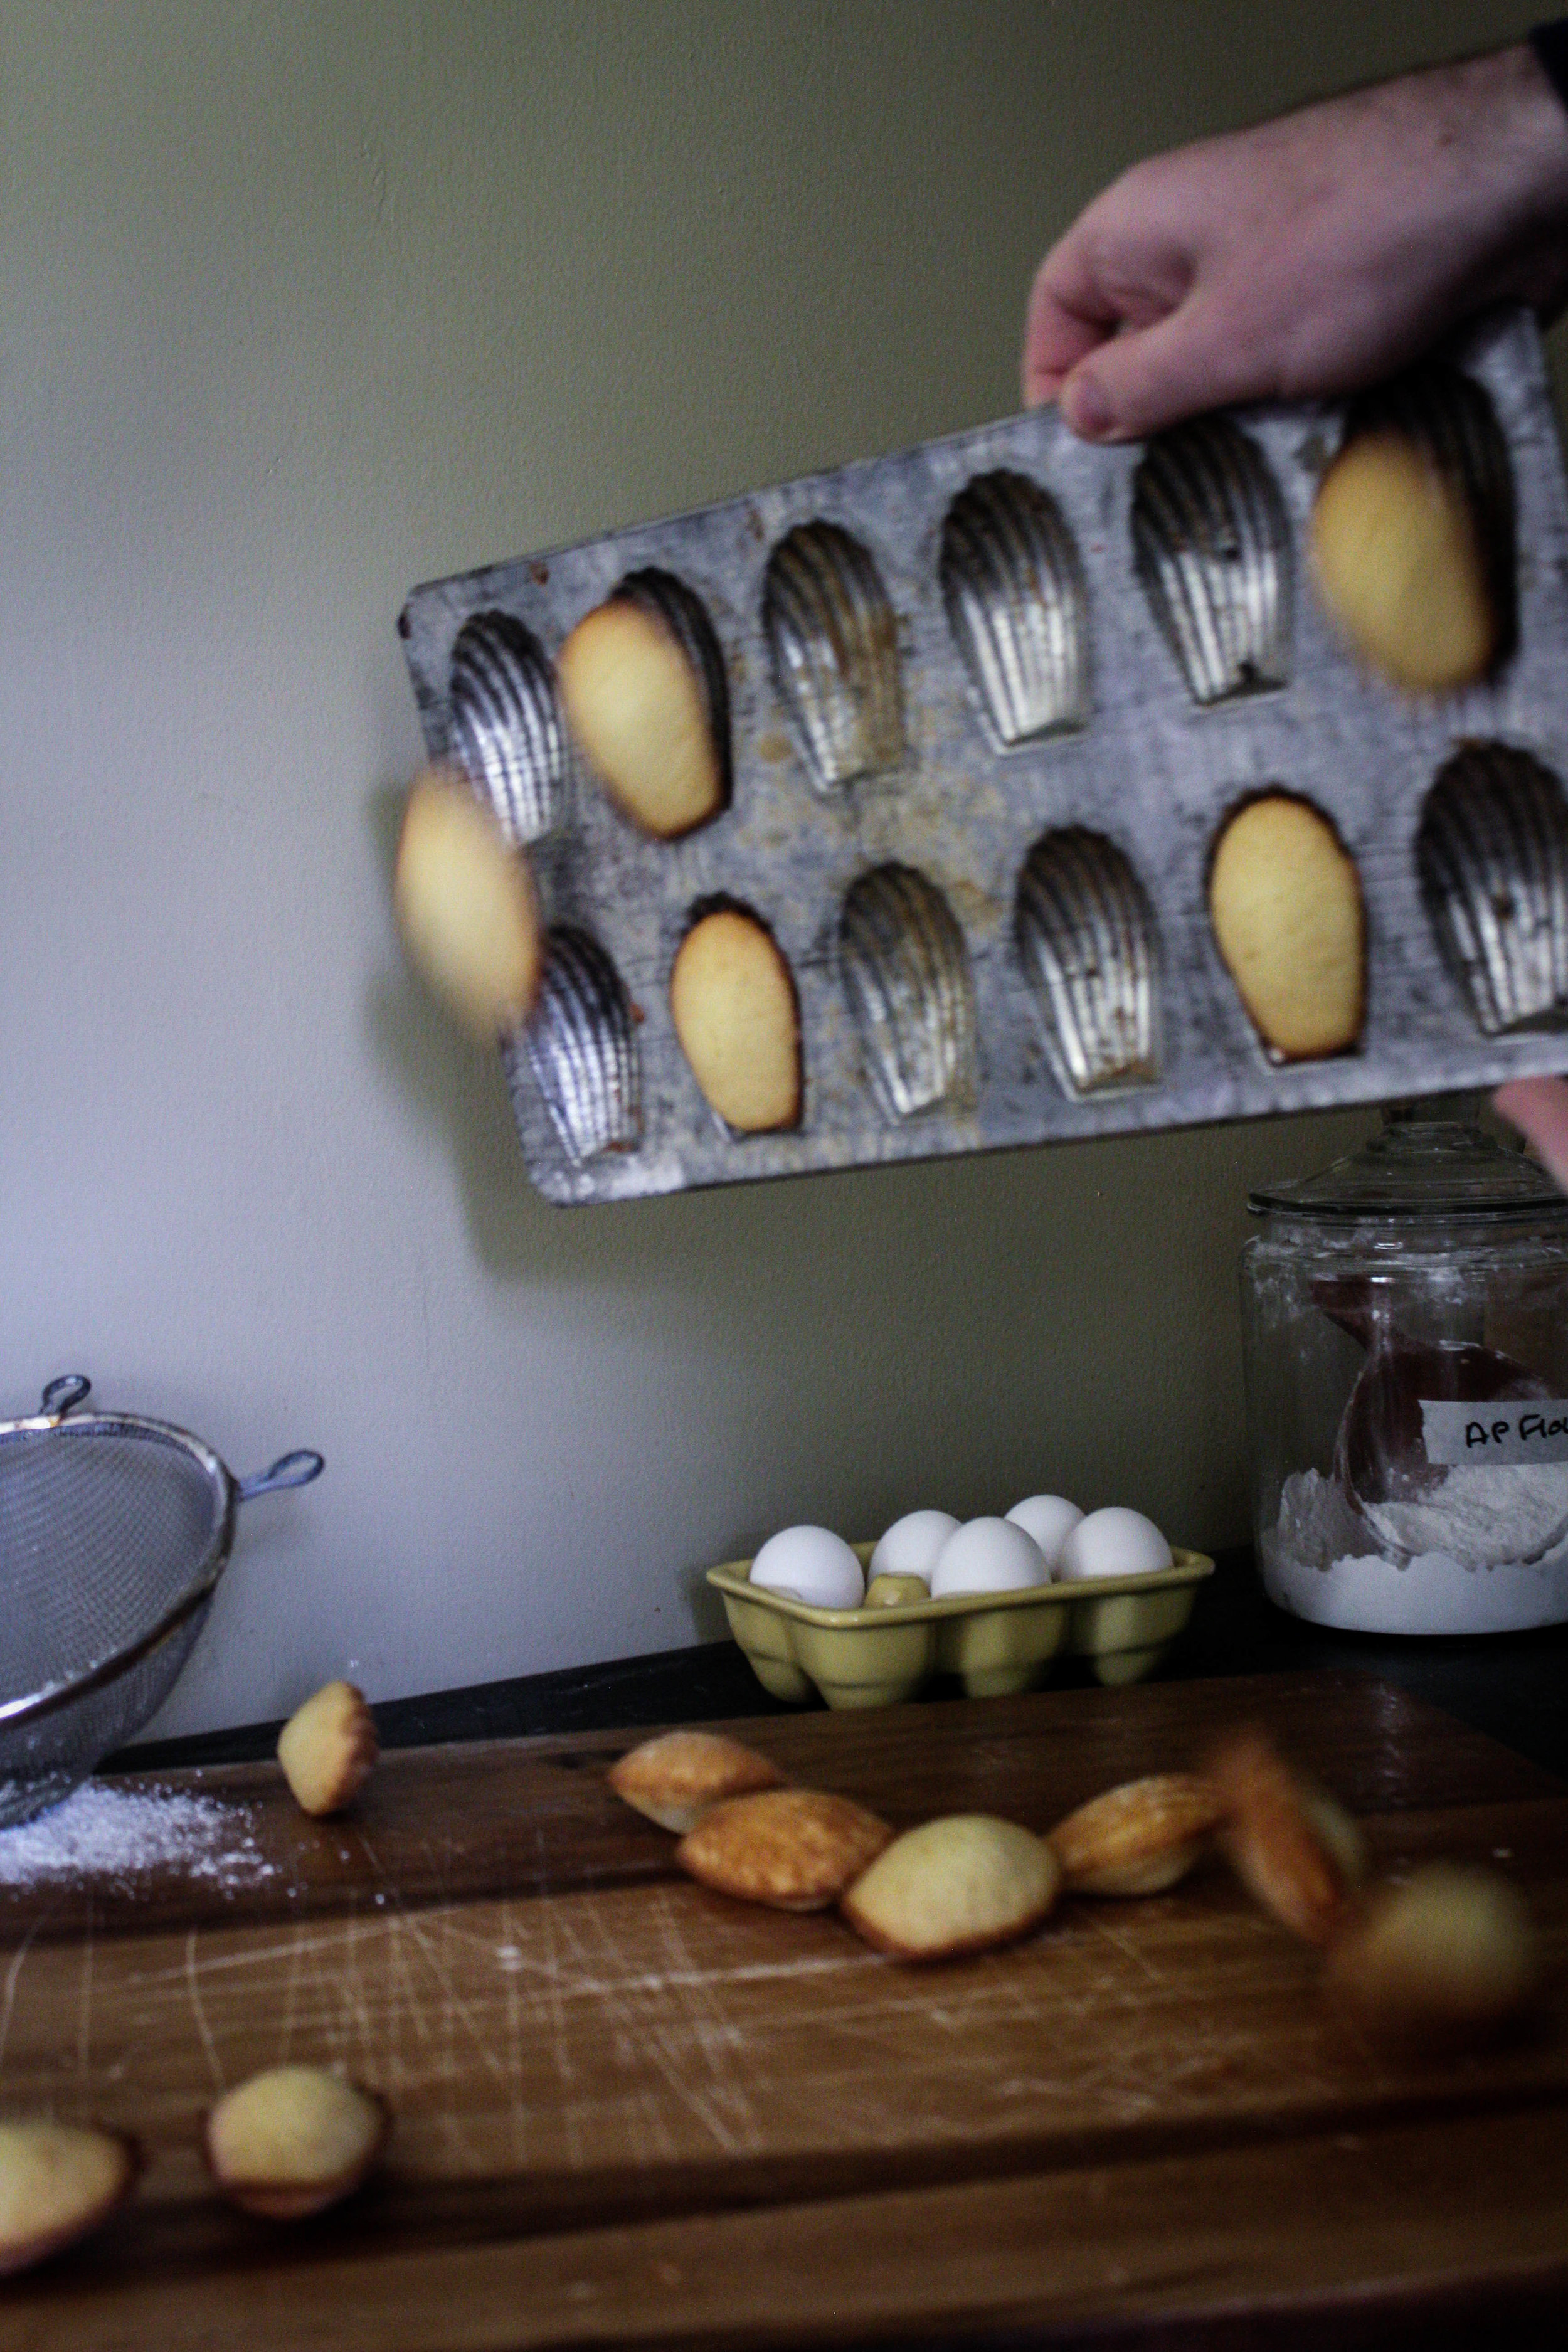
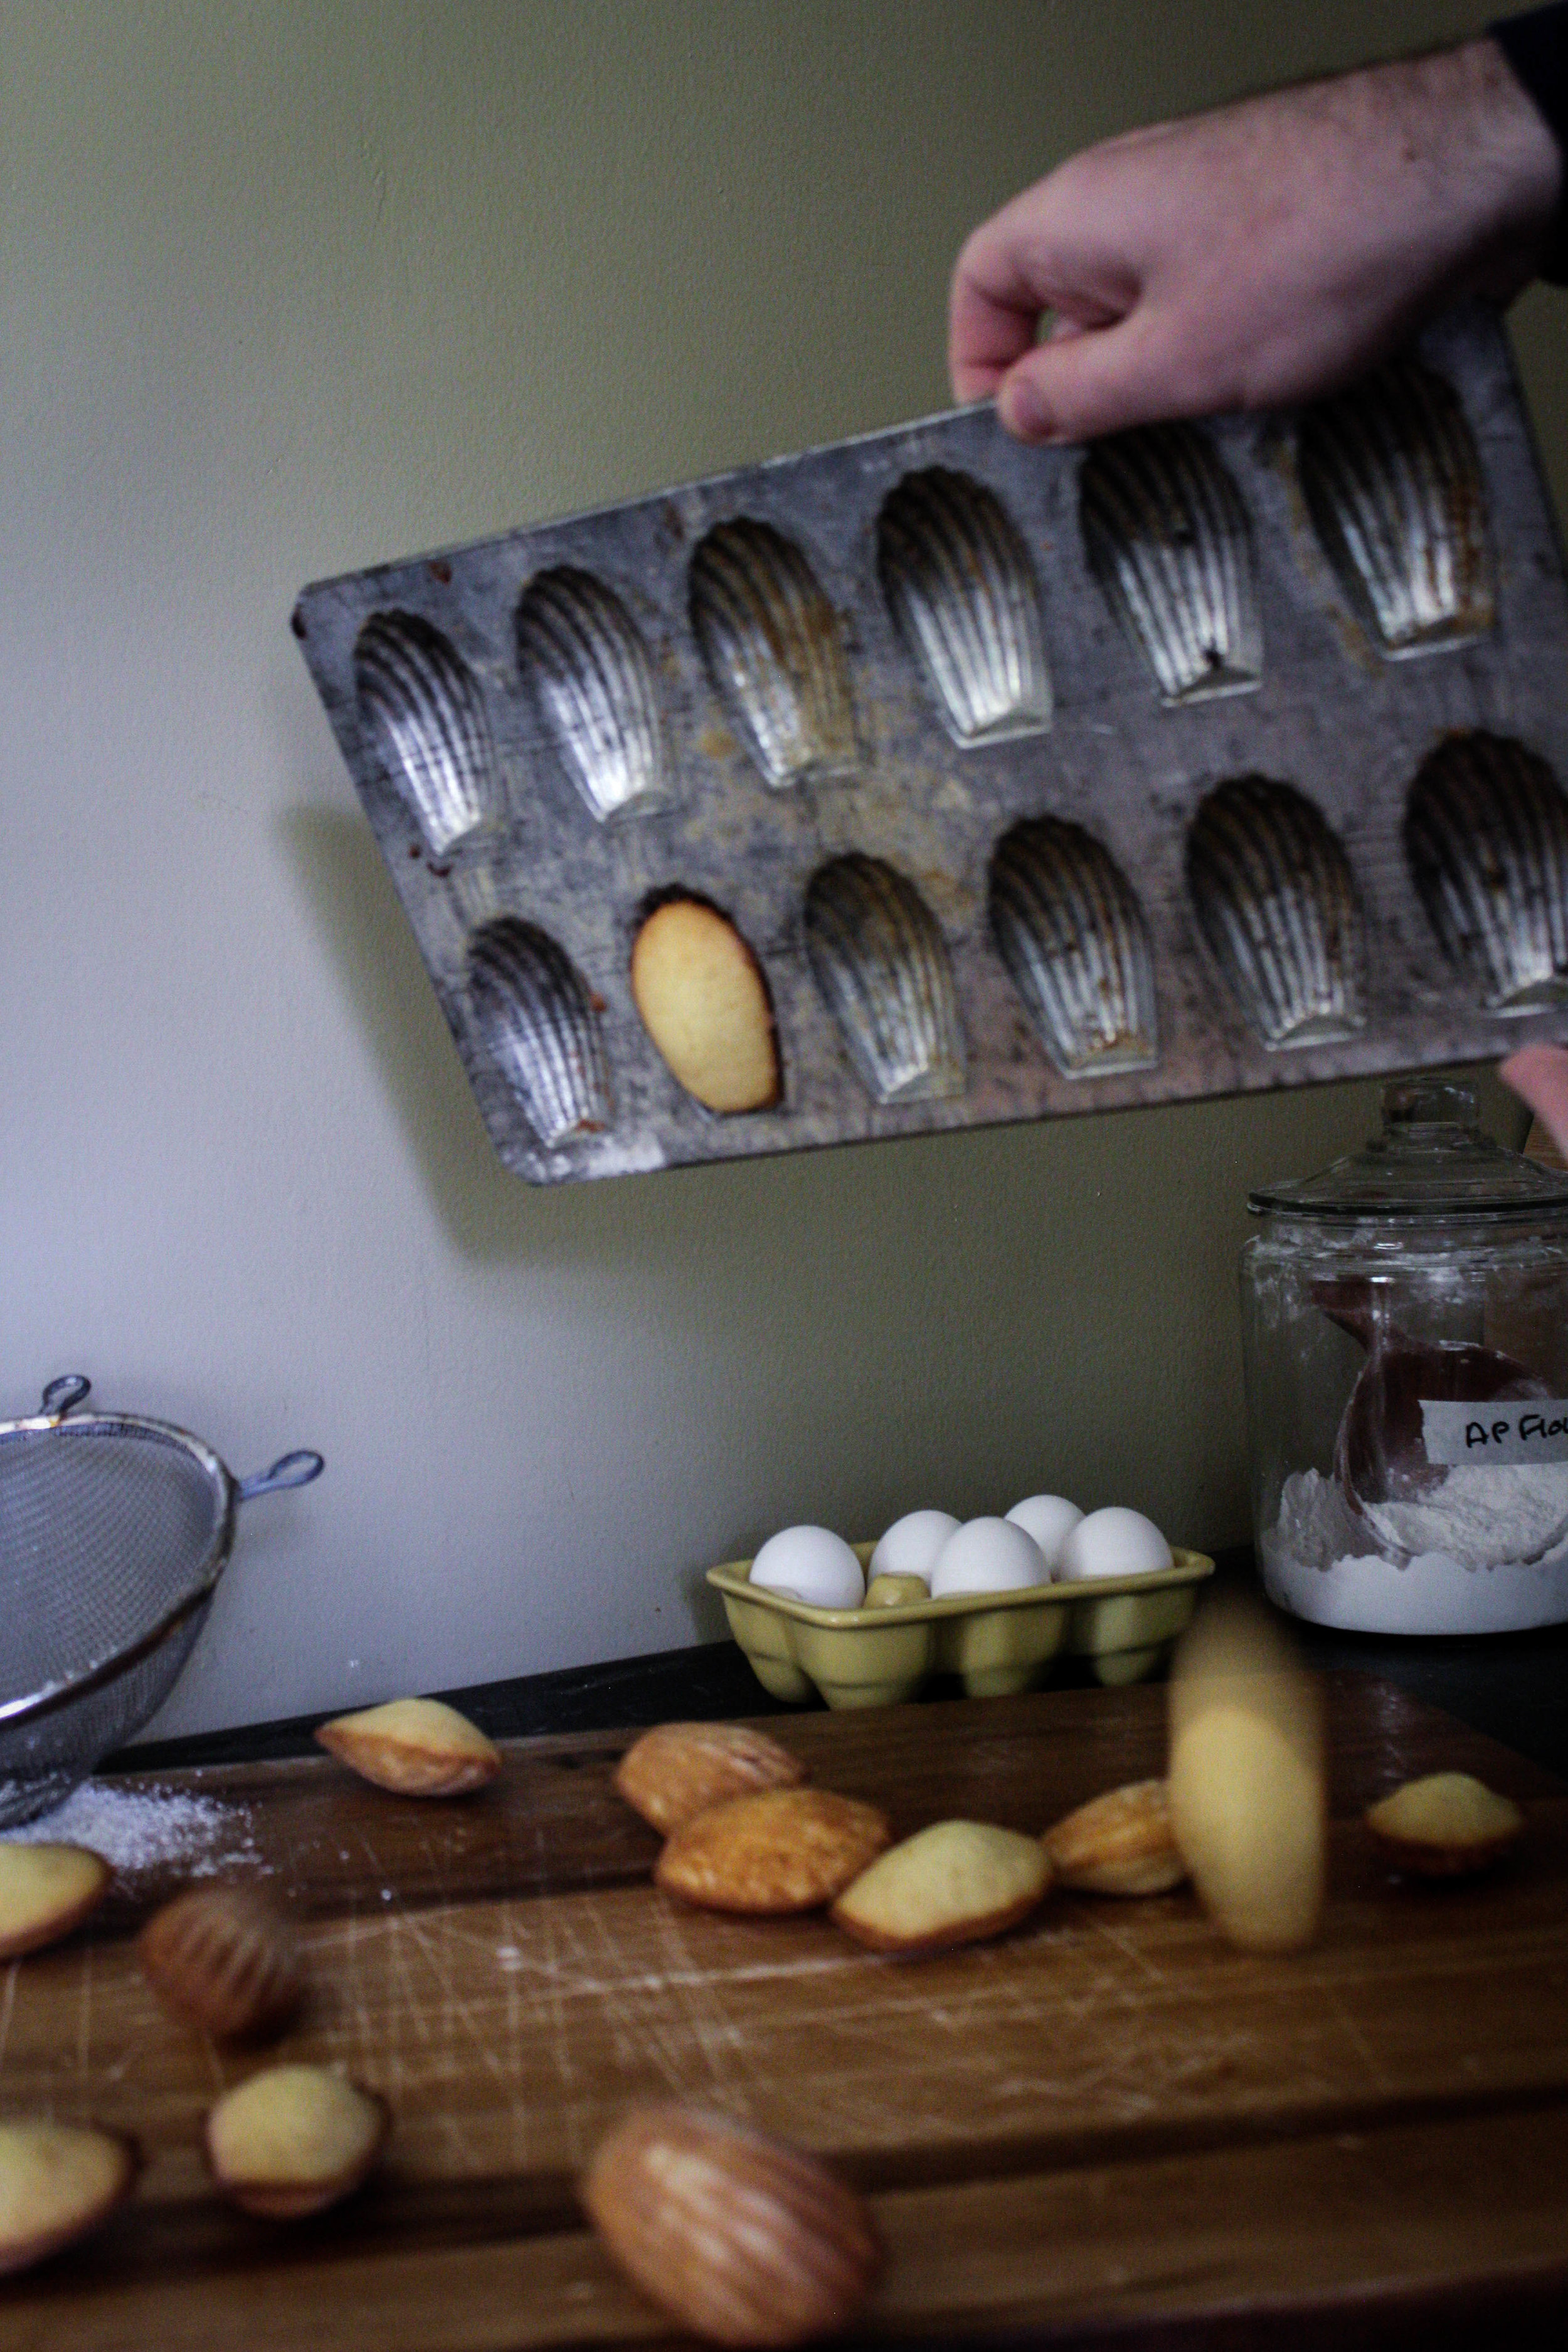
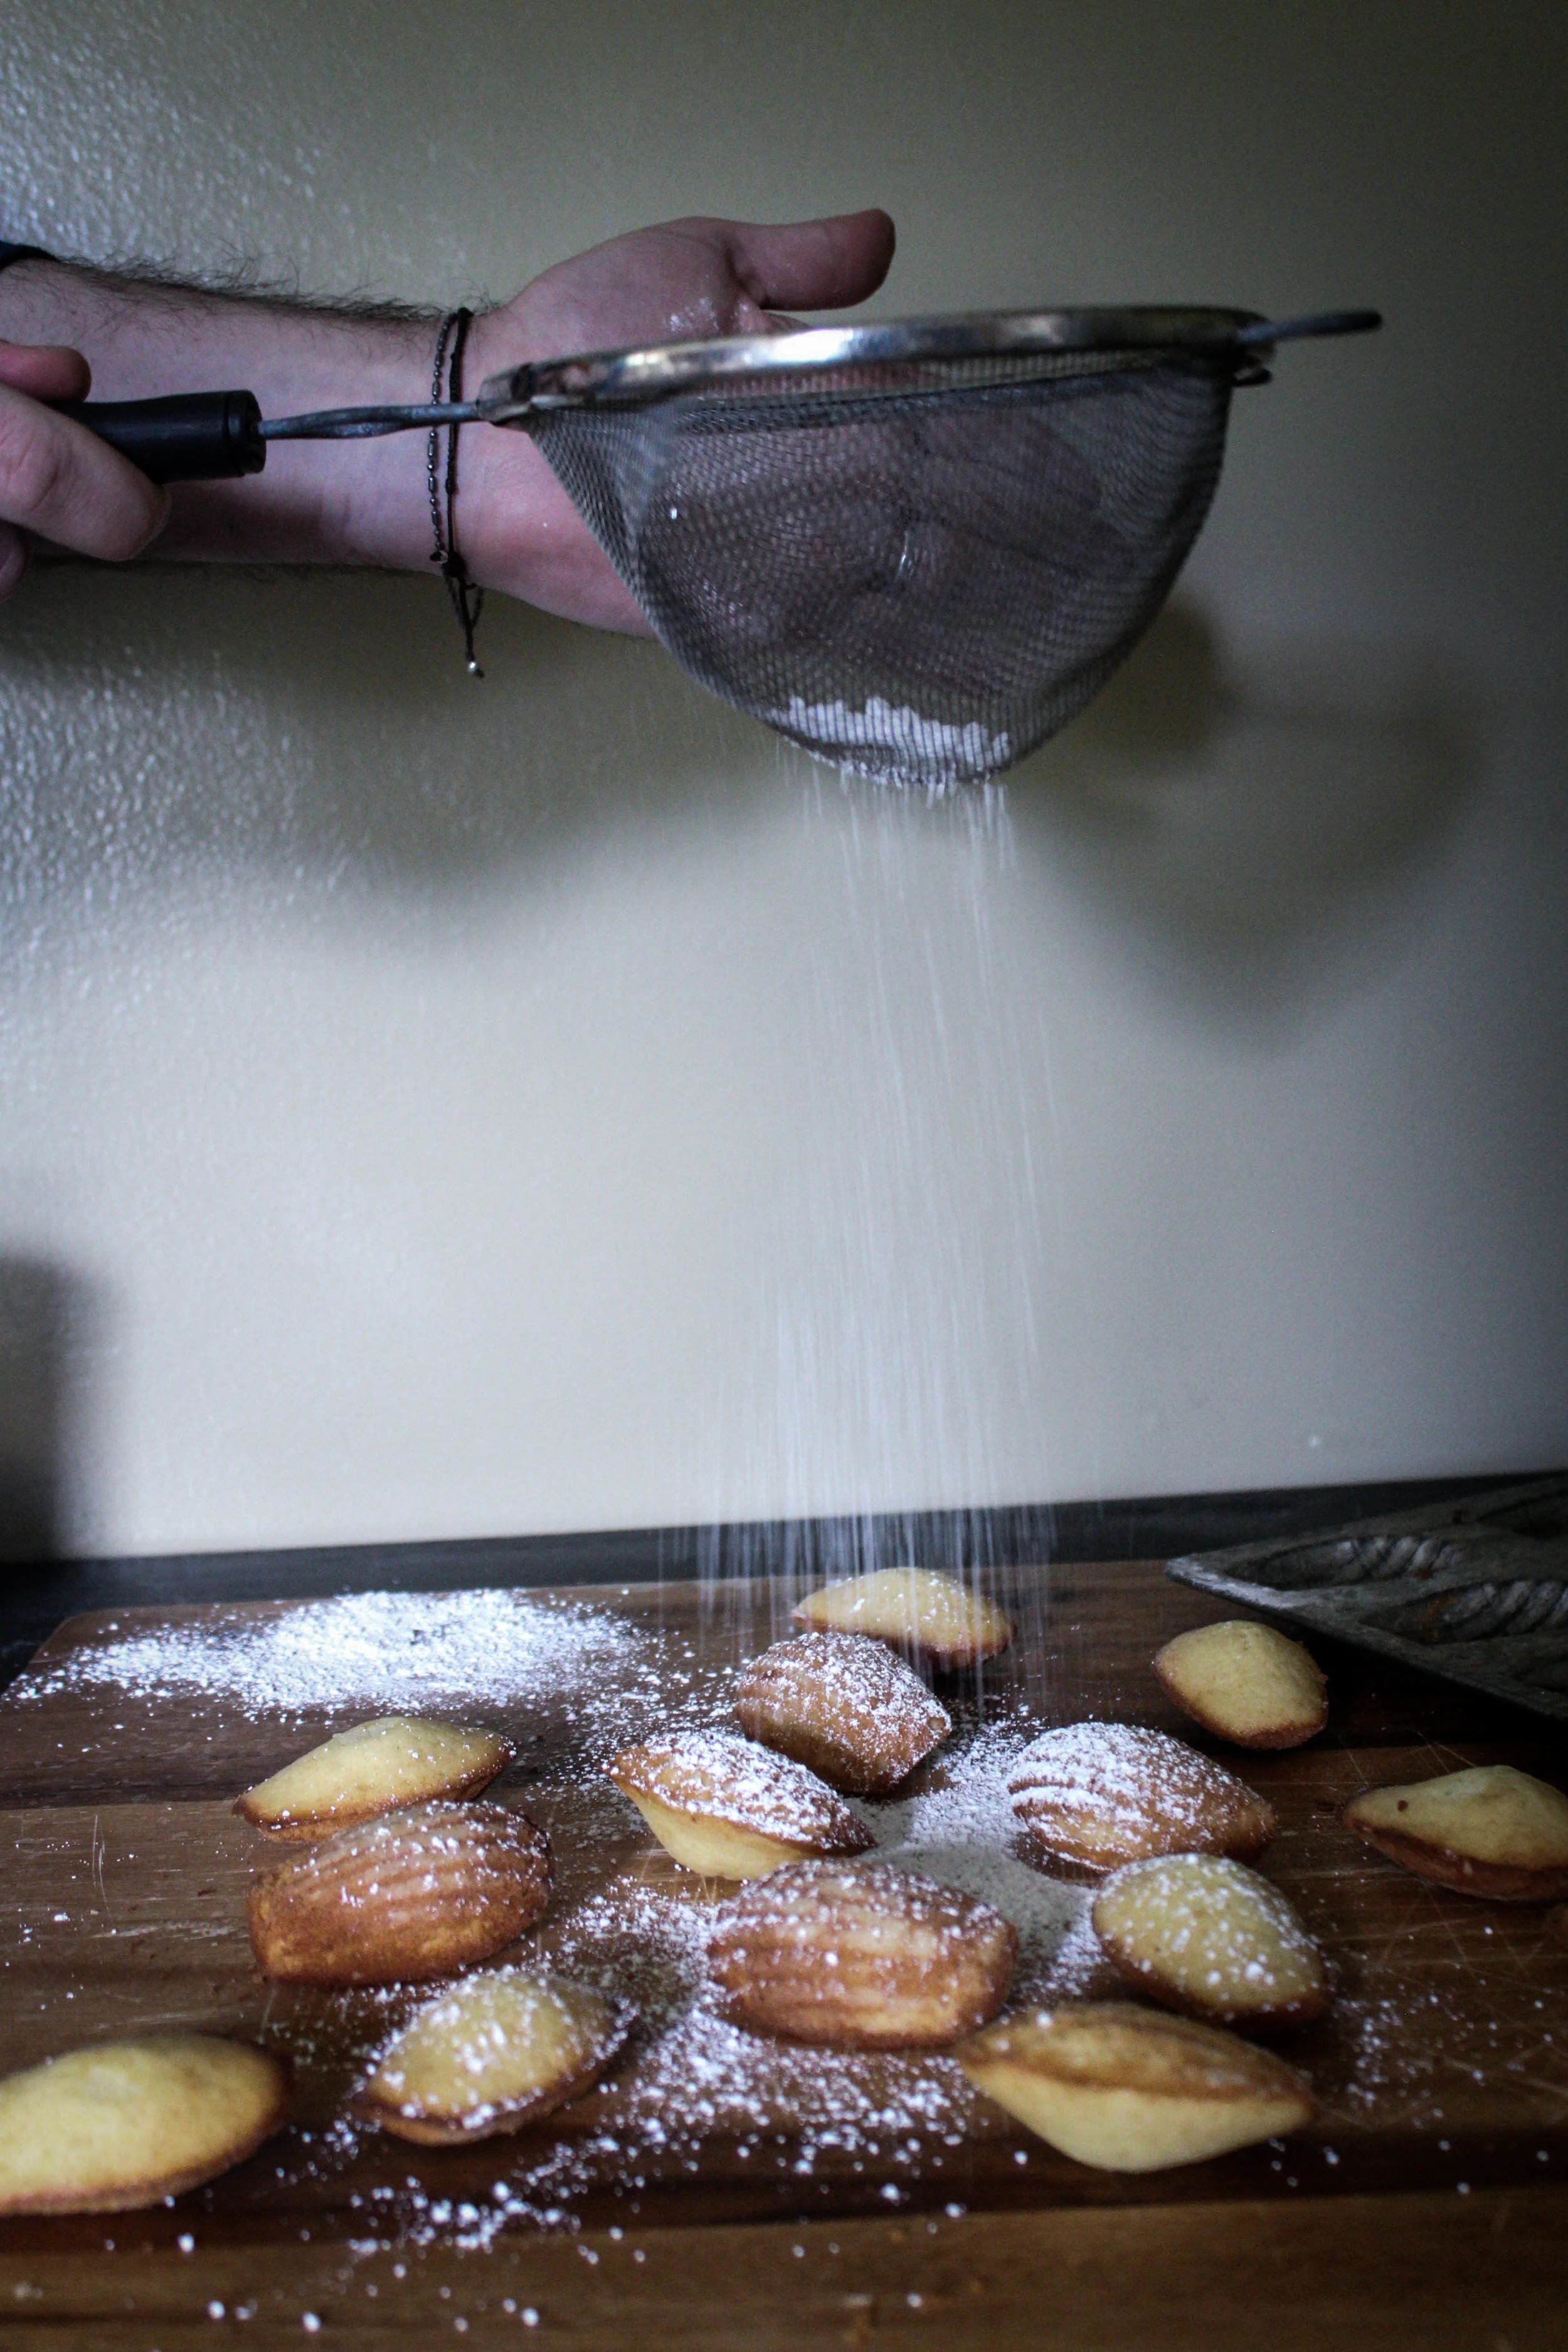
Madeleines!


I know I've been baking more French desserts lately -- but can you blame me? There's just an inherent romance, for me, when I think of French desserts. Even the simplest ones (and, let's be honest, that's all I'm producing these days) hold unique, delicate shapes and flavors and are somehow so memorable at the same time.
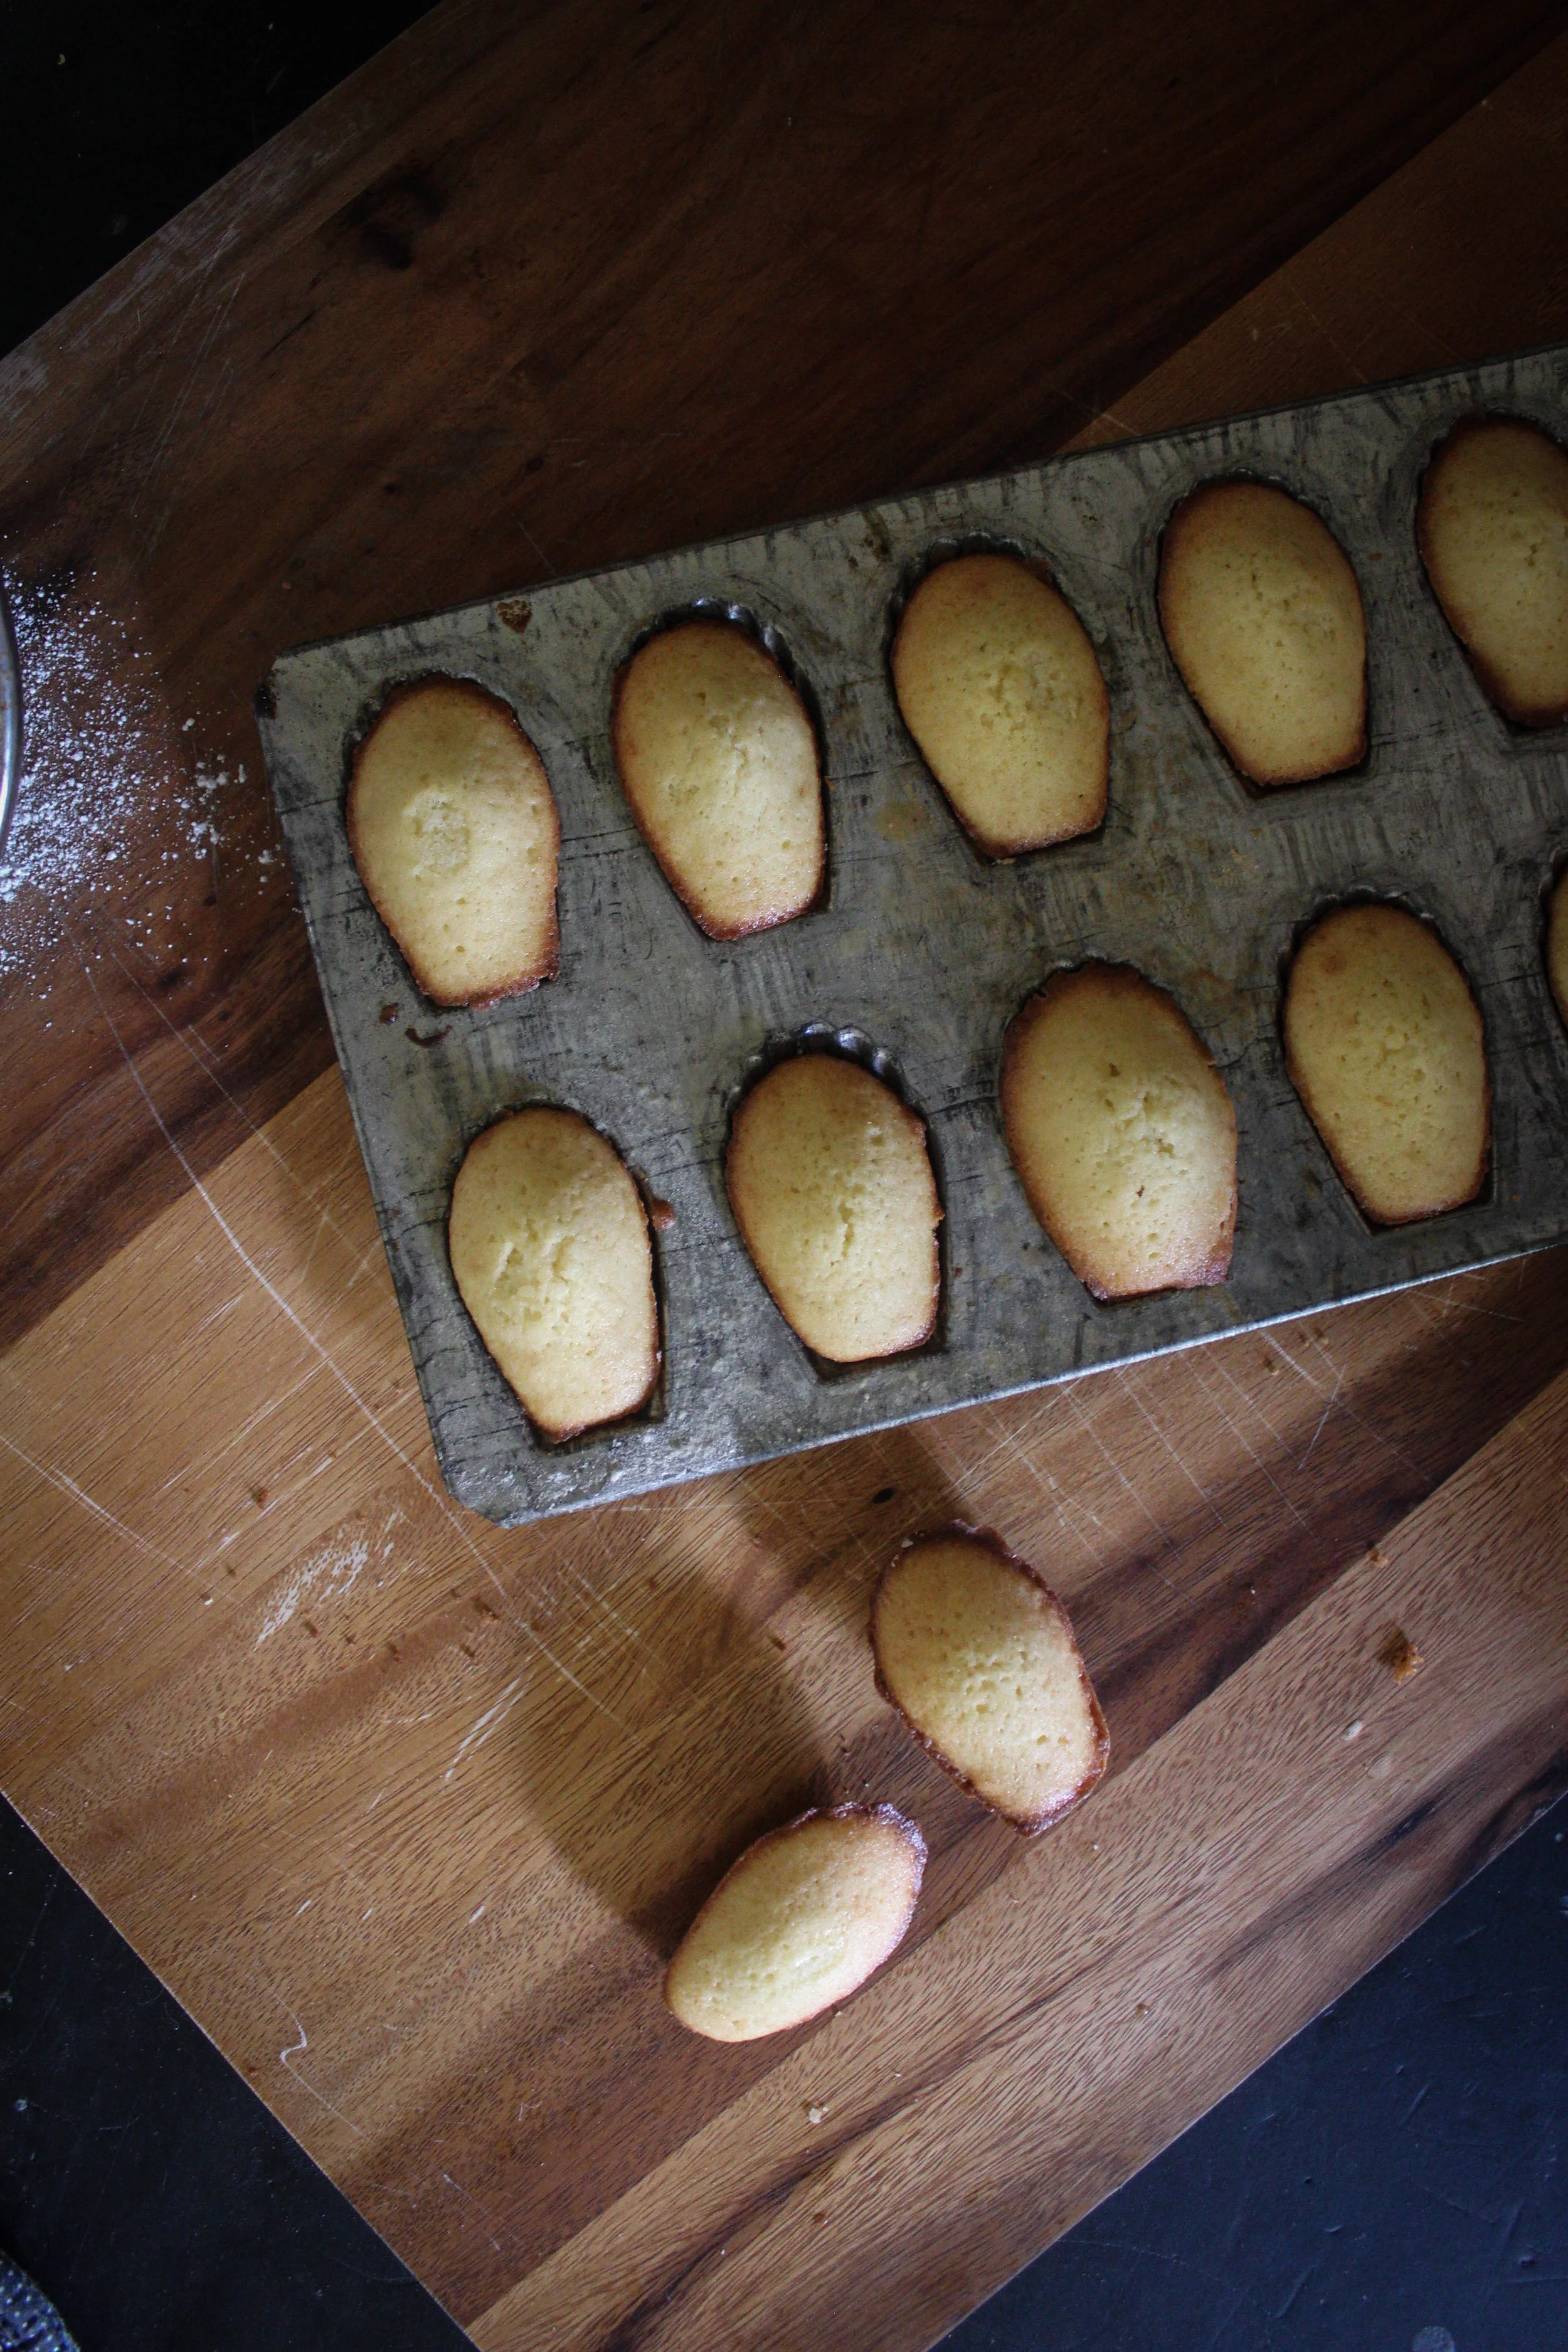
For me, madeleines are the original macaron. A distinct shape, a subtle flavor and a joy to make. We ate the whole lot in 2 days (the dogs occasionally got a bite, too), and always with coffee or tea. Warm and subtle and enigmatic in its own right. I would love to digress about my love of France and the poeticism of these little cakes, but I'll save that for others who have done a much better job at it than me.
So I'll leave it there, take these petits cakes for what they are--an easy, delicious classic that everyone should make at least once. The recipe I provided for this post is directly from Ruby Tandoh's book Crumb (with the addition of vanilla), which I found to be a strong, consistent batter, having made these multiple times through this week.
Honey Madeleines

For this recipe, I used a regular-sized madeleine tin, but you are more than welcome to use a muffin tin! This recipe came from Tandoh's Crumb, with the directions modified slightly.
Ingredients:
1/2 c + 1 TB unsalted butter
3/4 c AP flour
1/2 teaspoon baking powder
1/3 c sugar
2 TB honey
2 large eggs
1 teaspoon pure vanilla extract
Directions:
- Brown butter in a light-bottomed sauce pan and remove from heat. Use 2 TB of that butter to grease your pans
- Place pan in fridge to stay cool
- In a mixing bowl, sift together flour and baking powder
- In a separate bowl, whisk together sugar, honey, eggs, and vanilla vigorously until foamy
- Add egg mix to flour and stir
- Fold in remaining browned butter until a batter forms. Allow to rest in fridge for 20 minutes
- Preheat oven to 400*F while you are wait
- Fill each tin about 3/4 of the way up the madeleine groove and bake for 8-9 minutes
- Remove, re-grease and refrigerate pan, and bake off remaining batter
Modification notes: If using a muffin tin, fill only 1/3 of the way up the side of the tin and bake for around 10-12 minutes.


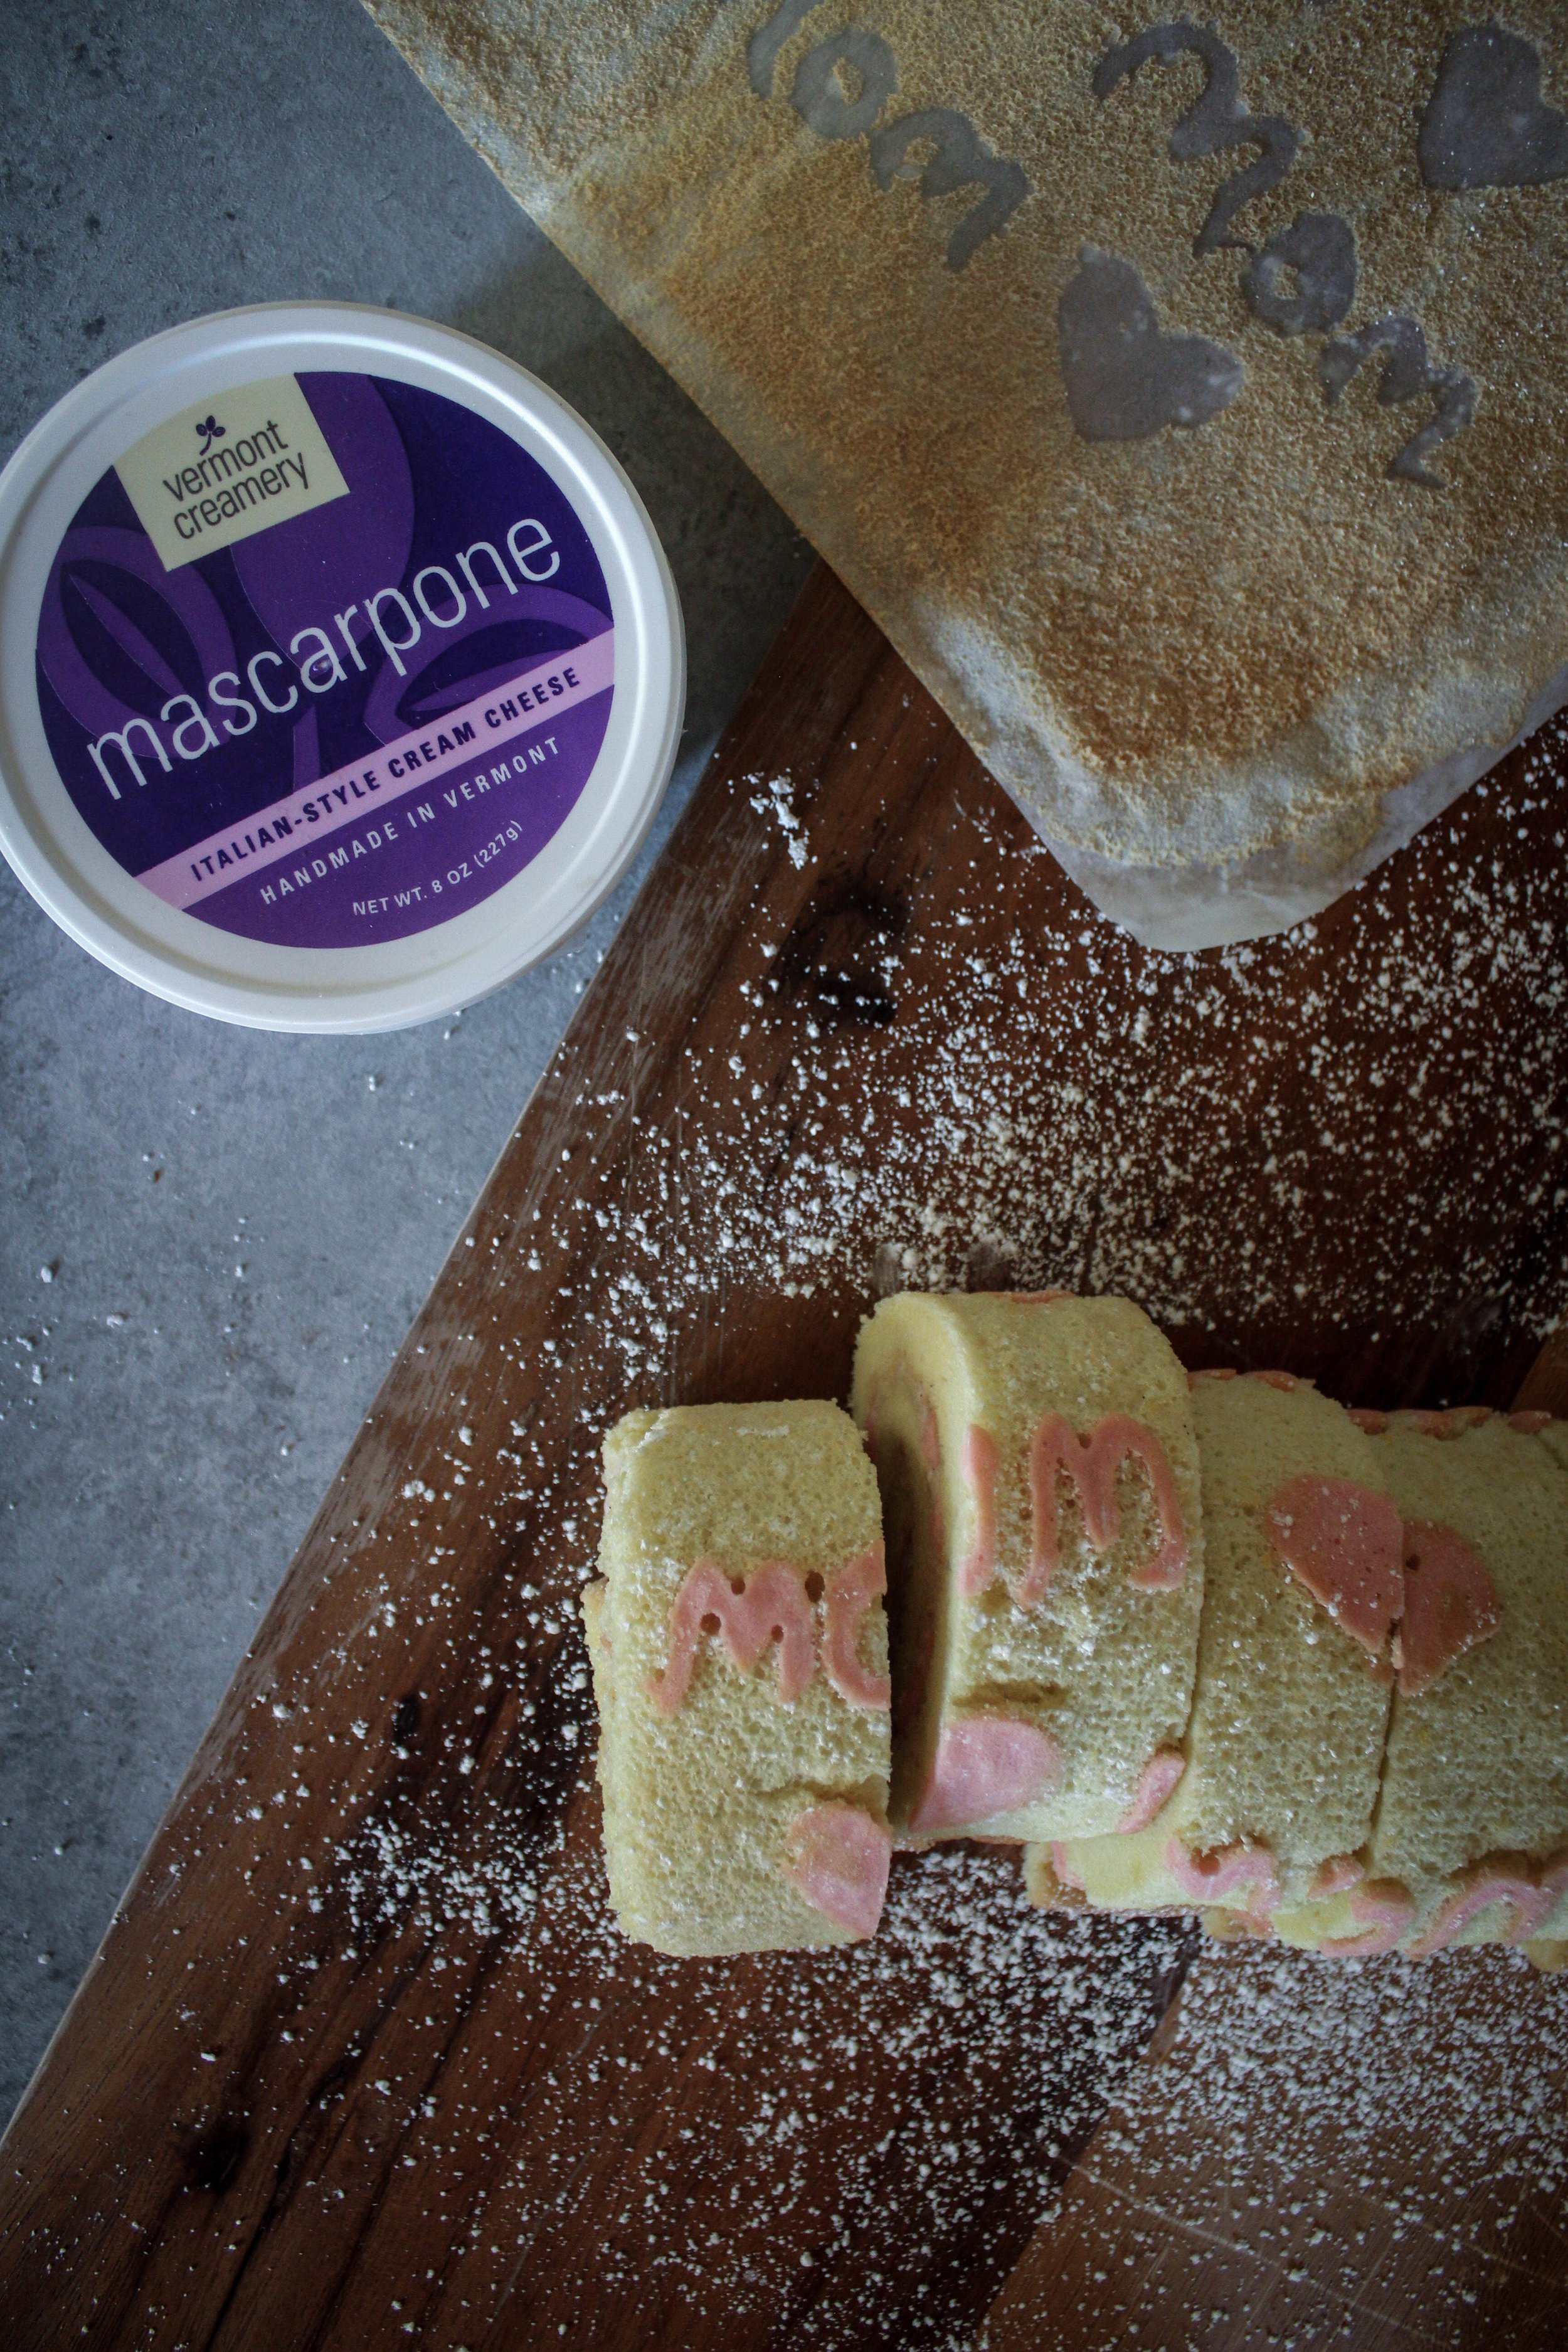
Mother's Day! Tattooed Swiss Roll with Vermont Creamery Filling!

Mother's Day is tomorrow and my mother is down at my parents' vacation home in North Carolina, having offered to babysit my nephew down there. Over the last year, I have seen more of my mother than I did in the whole of years since graduation. I learned to appreciate her more, but in that balance was frustrated by her all the same. Quick witted, quick tempered, and so much like me.
I wouldn't trade her for the world, this mother of mine. I used to resent her for all the mistakes she made when we were growing up, but that stuff doesn't matter much now. I'm learning to understand that love is hardly ever about the end result, but about the thousands of attempts we make to make another person happy. Sometimes we fail, sometimes we don't. But it's the effort that's supposed to matter, and I never realized that until I stood away from her and began to know her as a stranger would, having been gone for seven years when I moved back to Pennsylvania last January.
I will not see my mother this year to celebrate her, but I will see her in June and that is a long enough wait for me. In the meantime, I made this cake as my own attempt. As my own way of showing her my love. I have bad penmanship and even worse decorative skills, but it tastes good and you'll do fine if you have nothing else to give her tomorrow.
Mother's Day Decorated Swiss Roll

Ingredients for Pattern Icing:
- 1 egg white
- 1/3 cup AP flour
- 2 TB sugar
- 2 TB melted butter, cooled
- 1 or 2 drops of gel coloring (best quality)
Ingredients for Swiss Roll cake:
- 3/4 cup AP flour
- 5 large eggs, separated
- 1/3 cup white sugar
- 1/2 cup confectioner's sugar + extra for covering a tea towel
- 3 tablespoons oil
- ½ teaspoon baking powder
- ⅛ teaspoon salt
- 1 teaspoon vanilla extract
- 1/4 cup water
Ingredients for Filling:
- 6 oz strawberry jam
- 8 oz mascarpone (I am very loyal to Vermont Creamery's mascarpone--it's the best)
- 1/2 TB vanilla
- 3 TB confectioner's sugar
Directions for Pattern Icing:
- With a fork, mix all ingredients in a bowl until you have a smooth consistency
- Transfer into your piping bag
- Lay out a sheet of parchment paper on an 18x13" baking sheet and free-hand write your desired pattern (I did MOM surrounded by hearts, but you can do anything!*)
- Allow to sit in fridge for 30 minutes or so to cool and harden
Directions for Swiss Roll cake:
- Preheat oven to 400*F
- Take out three bowls: One medium bowl for sifting your dry ingredients, one large bowl for mixing your batter, and one bowl that fits into your stand mixer for the egg whites
- Sift together AP flour, salt, and baking soda
- In your largest bowl, mix together egg yolks, white sugar, oil, vanilla, and water. Whisk this for a couple minutes until full incorporated and a very pale yellow
- In your stand mixer, whisk egg whites on high until soft peaks form (will take a few minutes), add confectioner's sugar and mix for an additional minute or two, just to incorporate the sugar
- Now, alternate in thirds between adding the flour mixture and the egg whites to the yolk mixture, folding gently but ensuring all batter is fully mixed properly
- Take pan out of oven and pour batter directly on top of designs and parchment paper, flattening out to edges with a rubber spatula
- Bake for about 8-10 minutes or until just golden and bouncy in the center
- While this is baking, cover a tea towel with confectioner's sugar and lay flat on your work surface
- Remove from oven and immediately flip onto the tea towel
- Turn over, covering other side with confectioner's sugar in doing so, and position cake directly in middle of towel
- Roll up into a tight swiss roll, with the towel being in the middle -- this will act as a sort of "muscle memory" for the cake when you roll it back out
- Allow to rest for a half hour or until cool to add your filling
Directions for Filling:
- Mix all ingredients together until you have a pale pink, slightly sweet creamy filling
- You may need to adjust flavors if you so desire
- To fill--unravel your swiss roll, removing the tea towel
- Using a rubber spatula, spread a thin layer on the cake
- Now, gently fold the cake as you go. While not ideal, cracks are inevitable and just take your time on these
- Place on a tray and refrigerate for an hour or so before slicing into it
- When ready to serve, sprinkle confectioner's sugar and enjoy!
*A couple notes - When piping, be aware that the image you want will be a mirror on the actual cake! And also, don't get too close to the edges with your design, in case you have to cut a little to even it out


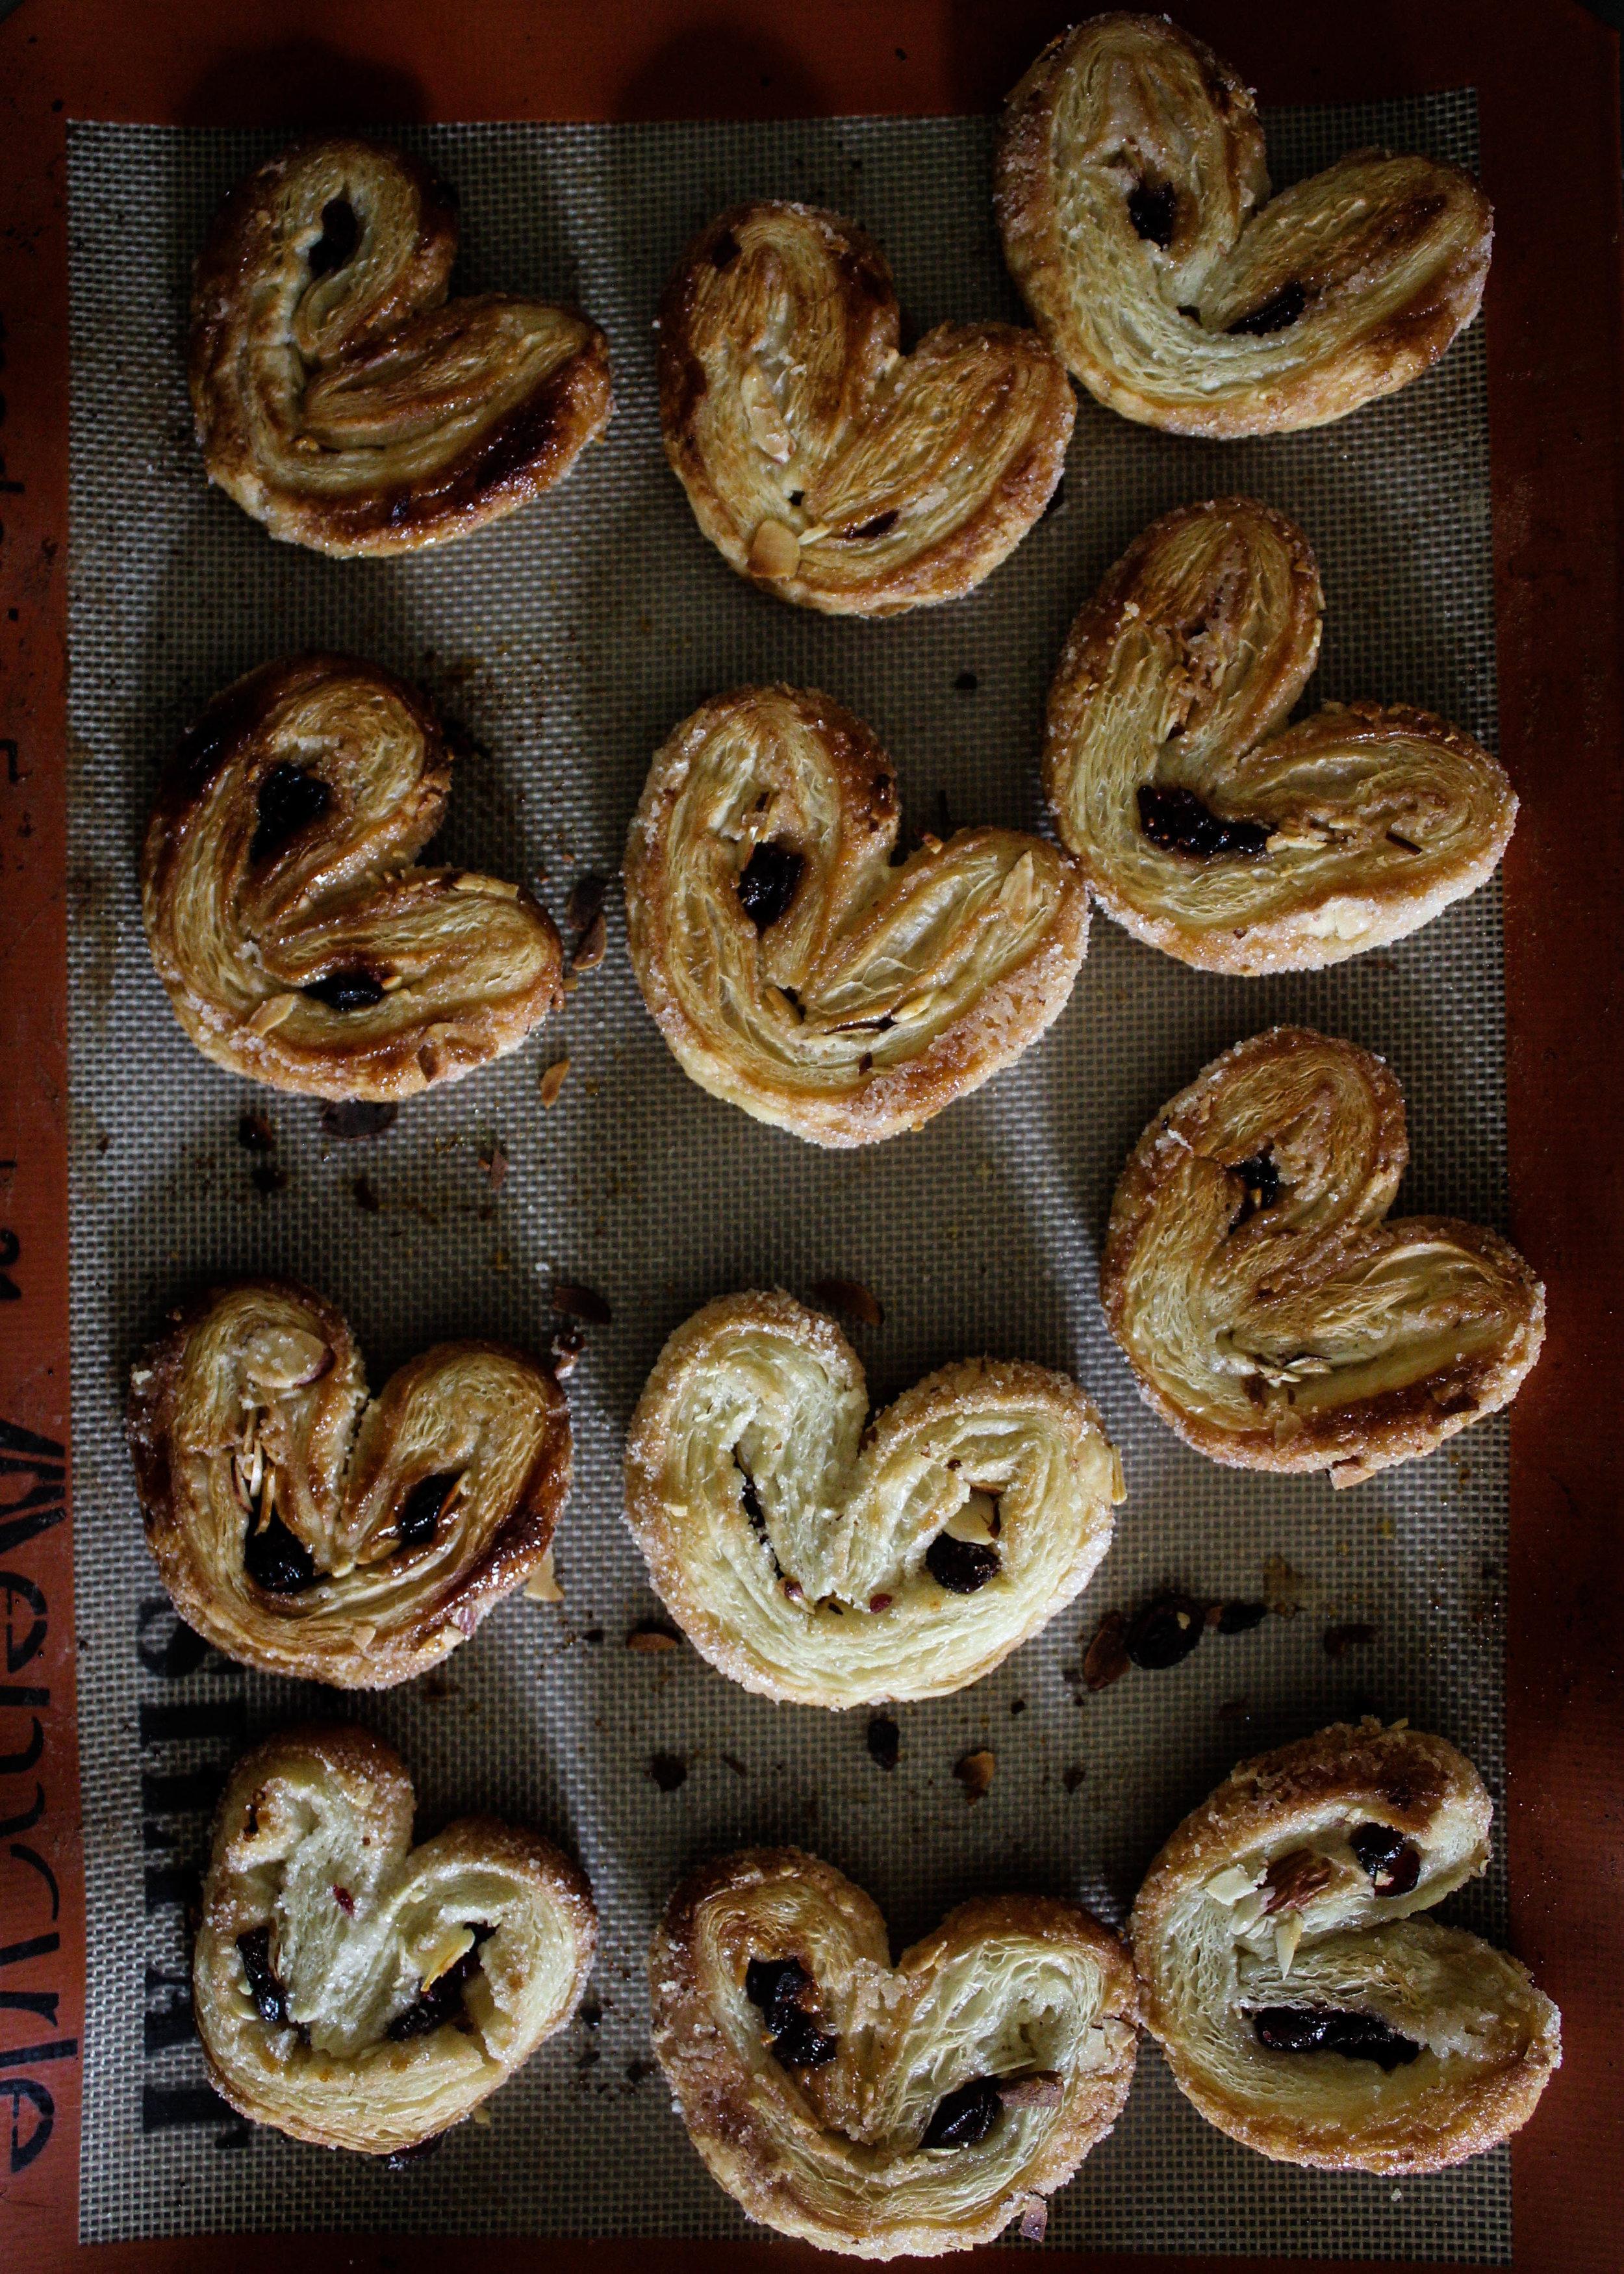
Almond and Cherry Palmiers
Last year for my 25th birthday, Nolan took me to Paris. A month later we began looking for a house to start over. I don't think I fully appreciated either of those two thing--no, in fact, I know I did not. I think it was too hard to look ahead. Too easy to look behind at California and the mistakes we chose to make as two separate people. I took the easy way out; keeping a grudge close to my breast like an ingot that warms with my body heat.
I don't want to be like that anymore.
We moved into our house in January and I am in silence for the majority of the day. I have a full-time job; working remote requires conference calls, but I choose to stay on mute. I keep the TV off and the dogs bark when the mailman comes and sleep in the sunlight the rest of the day. Because of this, my mind gets to wander.
Because of this, I think about escaping with Nolan again for a week. Getting lost in the archipelago of streetlamps that pain broken sidewalks in shades of yellow light. We talk about going to London this year, but we have a wedding to plan. We talk about going to Iceland and Spain and Mexico again. We do a lot of talking and planning and it's not a quiet house when he comes home.
I made these palmiers as a relic. A promise. A souvenir. An assurance of times to come. We'll be back in France and may spend our honeymoon in Lisbon. It's all up in the air, but I'm excited to see how the lots cast themselves when it all comes back down to earth.
Almond and Cherry Palmiers
Ingredients:
- 1 1/2 cup white sugar, divided
- 1/2 cup sliced almonds
- 1 sheet of puff pastry, thawed
- 1/4 cup dried cherries
Directions:
- Preheat oven to 400* and line a baking sheet with a silicon mat or parchment paper
- On a work surface, pour out a cup of sugar and your almonds, mix with hands to evenly distribute almonds
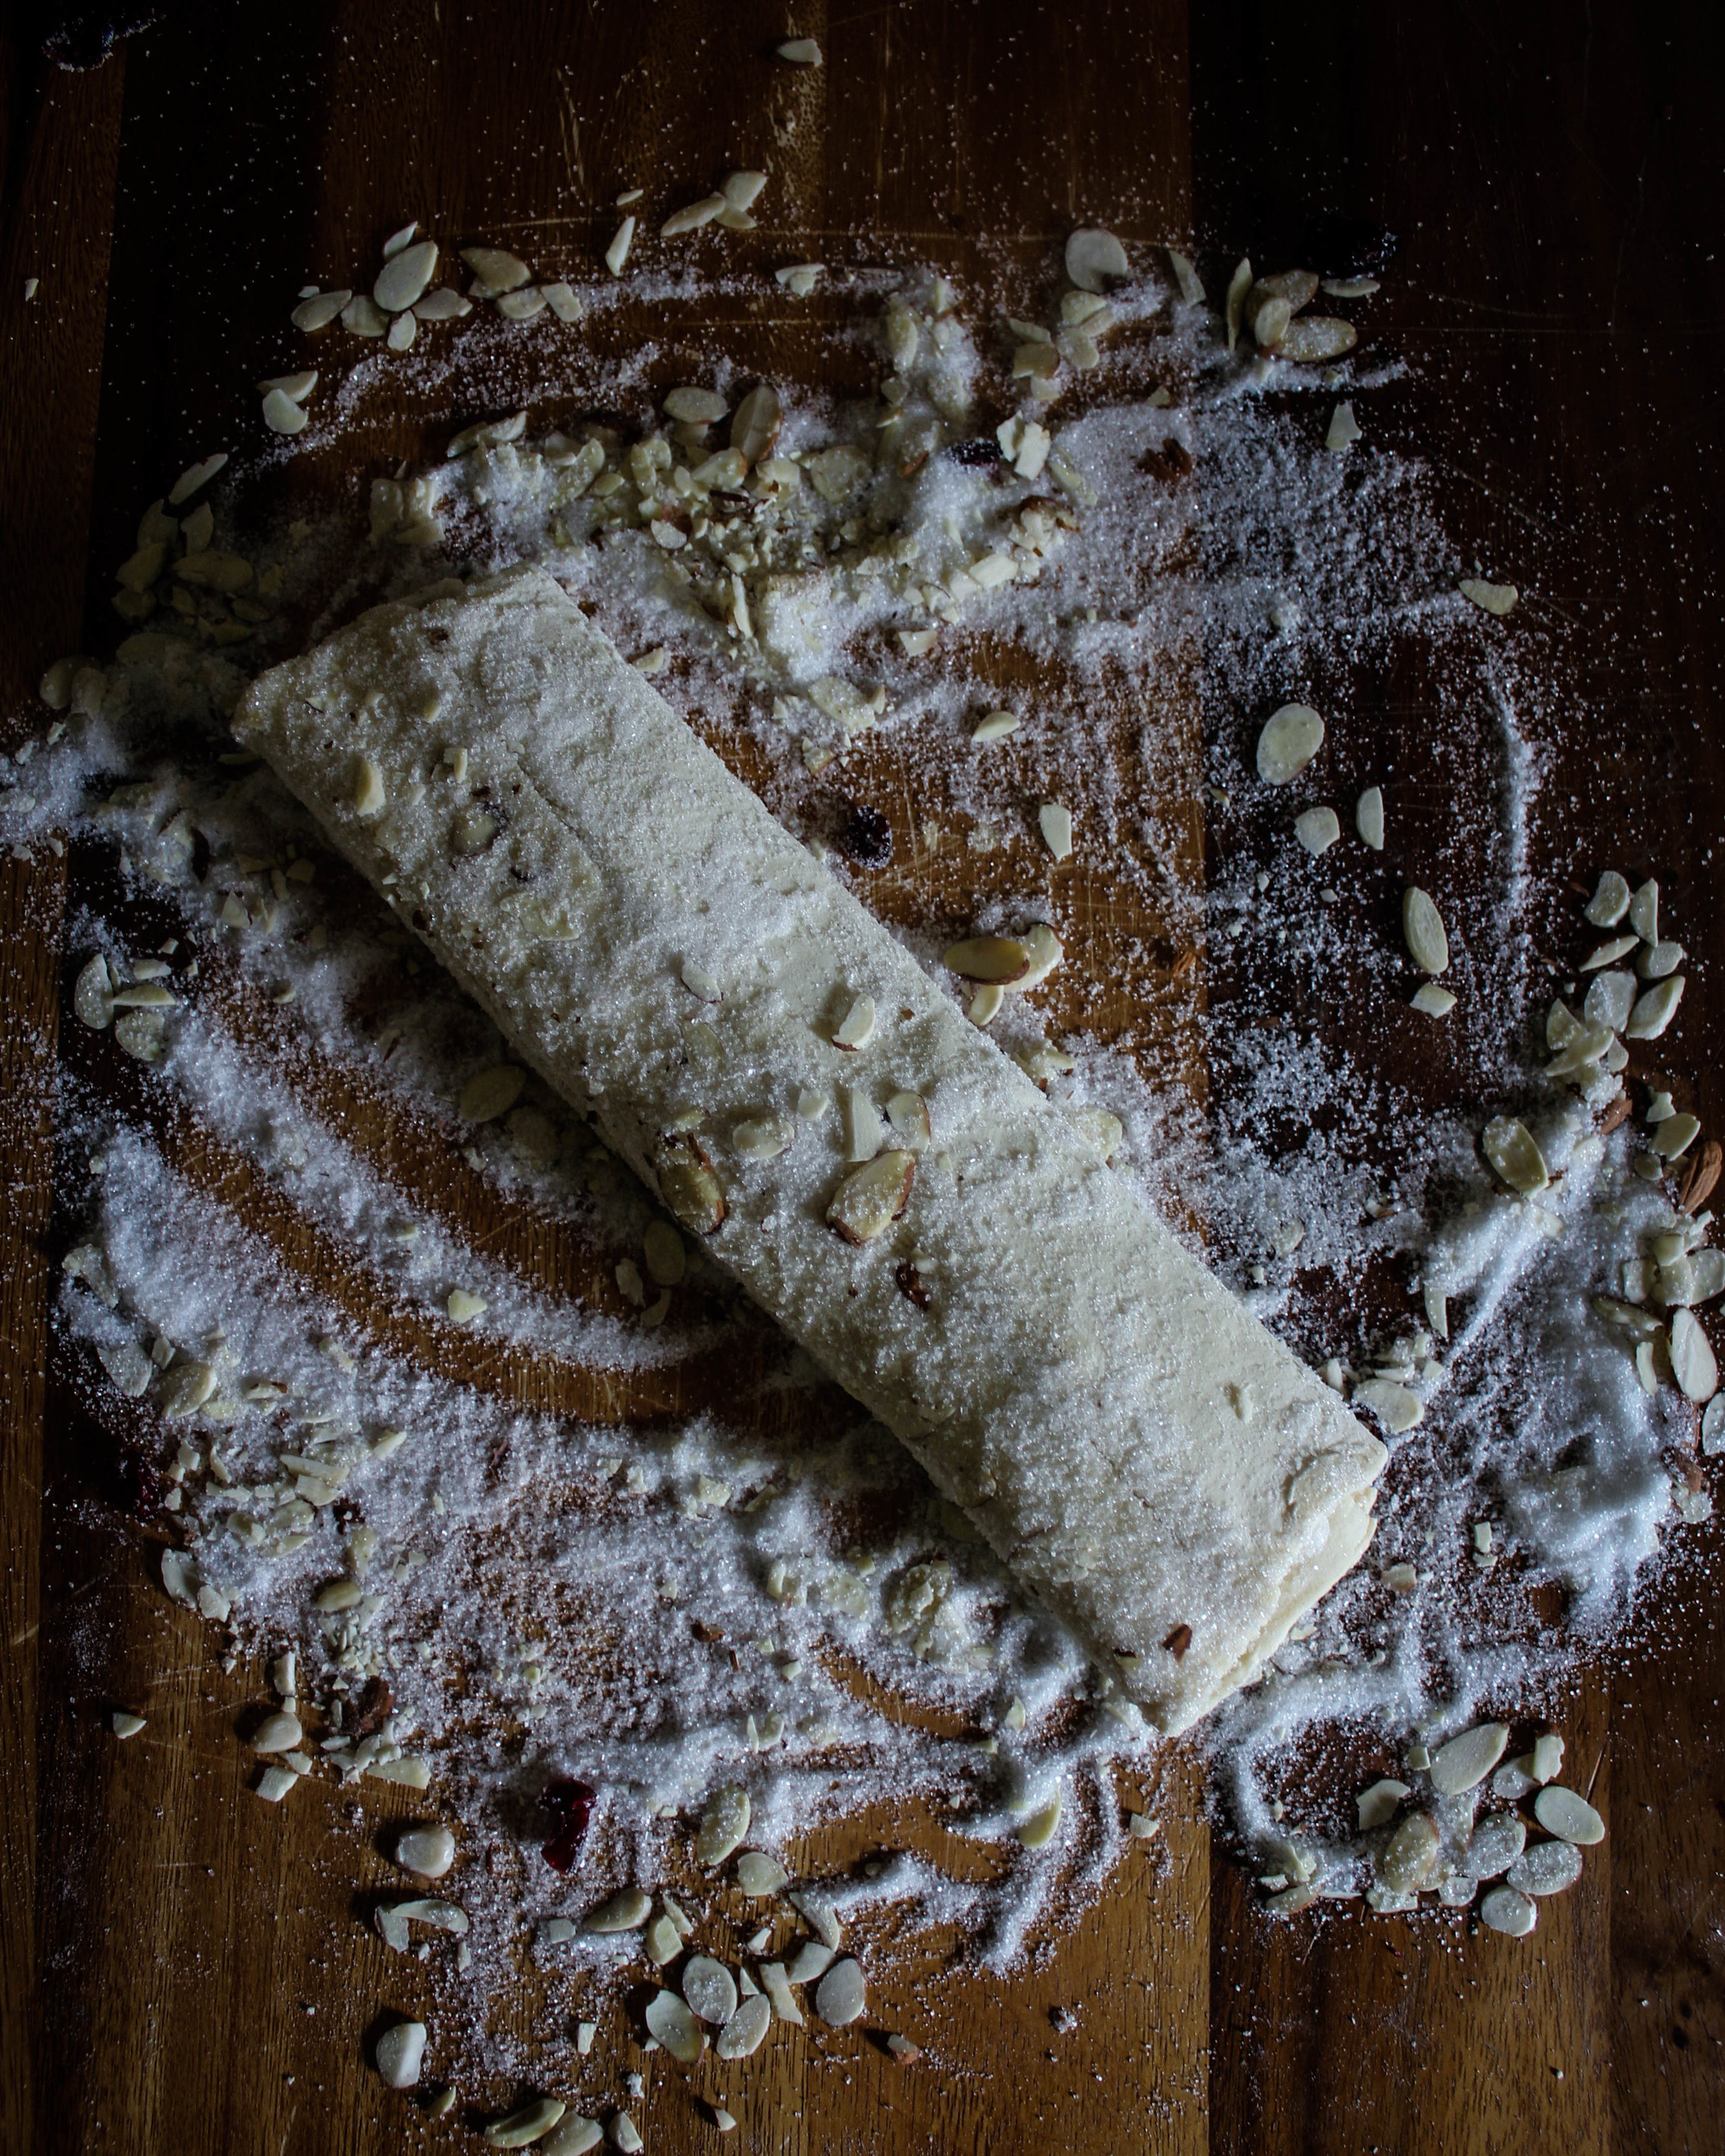
- Press pastry on top of this and roll out until pastry is about an even 12" x 12" square (or as close as you can get)
- Rub remaining sugar and cherries on top of the pastry
- Take one side of your pastry and fold to the middle. Do with remaining side
- Fold one half on top of the other
- Cut into one-inch slices
- Place and press slices onto baking sheet
- Bake for 8 minutes or until edges are golden, turn over and bake an additional six minutes
- Allow to cool and keep in an airtight container for up to three days (though the high butter content means these dry out quickly!)


Lily Wrote a Cookbook! #KaleandCaramelCookbook!
Lily is a talent, an inspiration. Lily is a soulful presence, so recognizable by her thoughtful weaving of story and description. She's a teacher. There's wisdom in her recipes. Her photos are light, airy. There's a sense of comedy and self-effacement when she writes. She's created a craft and a light that her stories and photos and recipes all possess that are so uniquely hers, all wrapped under the eponym of Kale & Caramel.
To me, both the blog and the person behind it, act as a pantheon. At once, Lily is the goddess of hearth and the goddess of the seasons. She listens to the plants, to the world around her. A goddess of art and magic and wisdom. Of loss and rebirth and tenderness.
And did this book spring from her head? I do not know, but there's a mysticism and ease in its prose that says it may just have.
Lily wrote a cookbook, and I was lucky enough to get a copy. And from the beautiful pages, full of crisp white borders and shocks of color, you get a sense of who she is and what she can create. And, in turn, what you can create from her work. I wanted to give you a taste of what this book has to offer its reader, so I am sharing her Citrus Sage Tonic recipe with you below.
To learn more about The Kale & Caramel Cookbook, click here. It's out today so buy a copy (or two! or three!) and let me know how much you love it!
Citrus Sage Tonic

Ingredients:
- 3 fresh sage leaves
- 1 to 2 tablespoons agave nectar, depending on the sweetness of the grapefruit
- 1 large grapefruits, juiced (about 2 cups)
- 1 lime, juiced (about 2 tablespoons)
- 1 large lemon, juiced (about 1/2 cup)
- Sea salt, to taste
- Ice cubes, for serving
Directions:
- Use a muddler or a wooden spoon to crush the sage into the agave nectar at the bottom of a cocktail shaker.
- Add the grapefruit, lime, and lemon juices, and a few pinches of salt
- Shake vigorously, then strain out over ice
- (Lily suggests making this a cocktail with tequila, mezcal, gin, or vodka!)
This recipe is Copyright © 2017 by Lily Diamond from KALE & CARAMEL: Recipes for Body, Heart, and Table published by Atria Books, a division of Simon & Schuster, Inc. Photos copyright © 2017, Lily Diamond


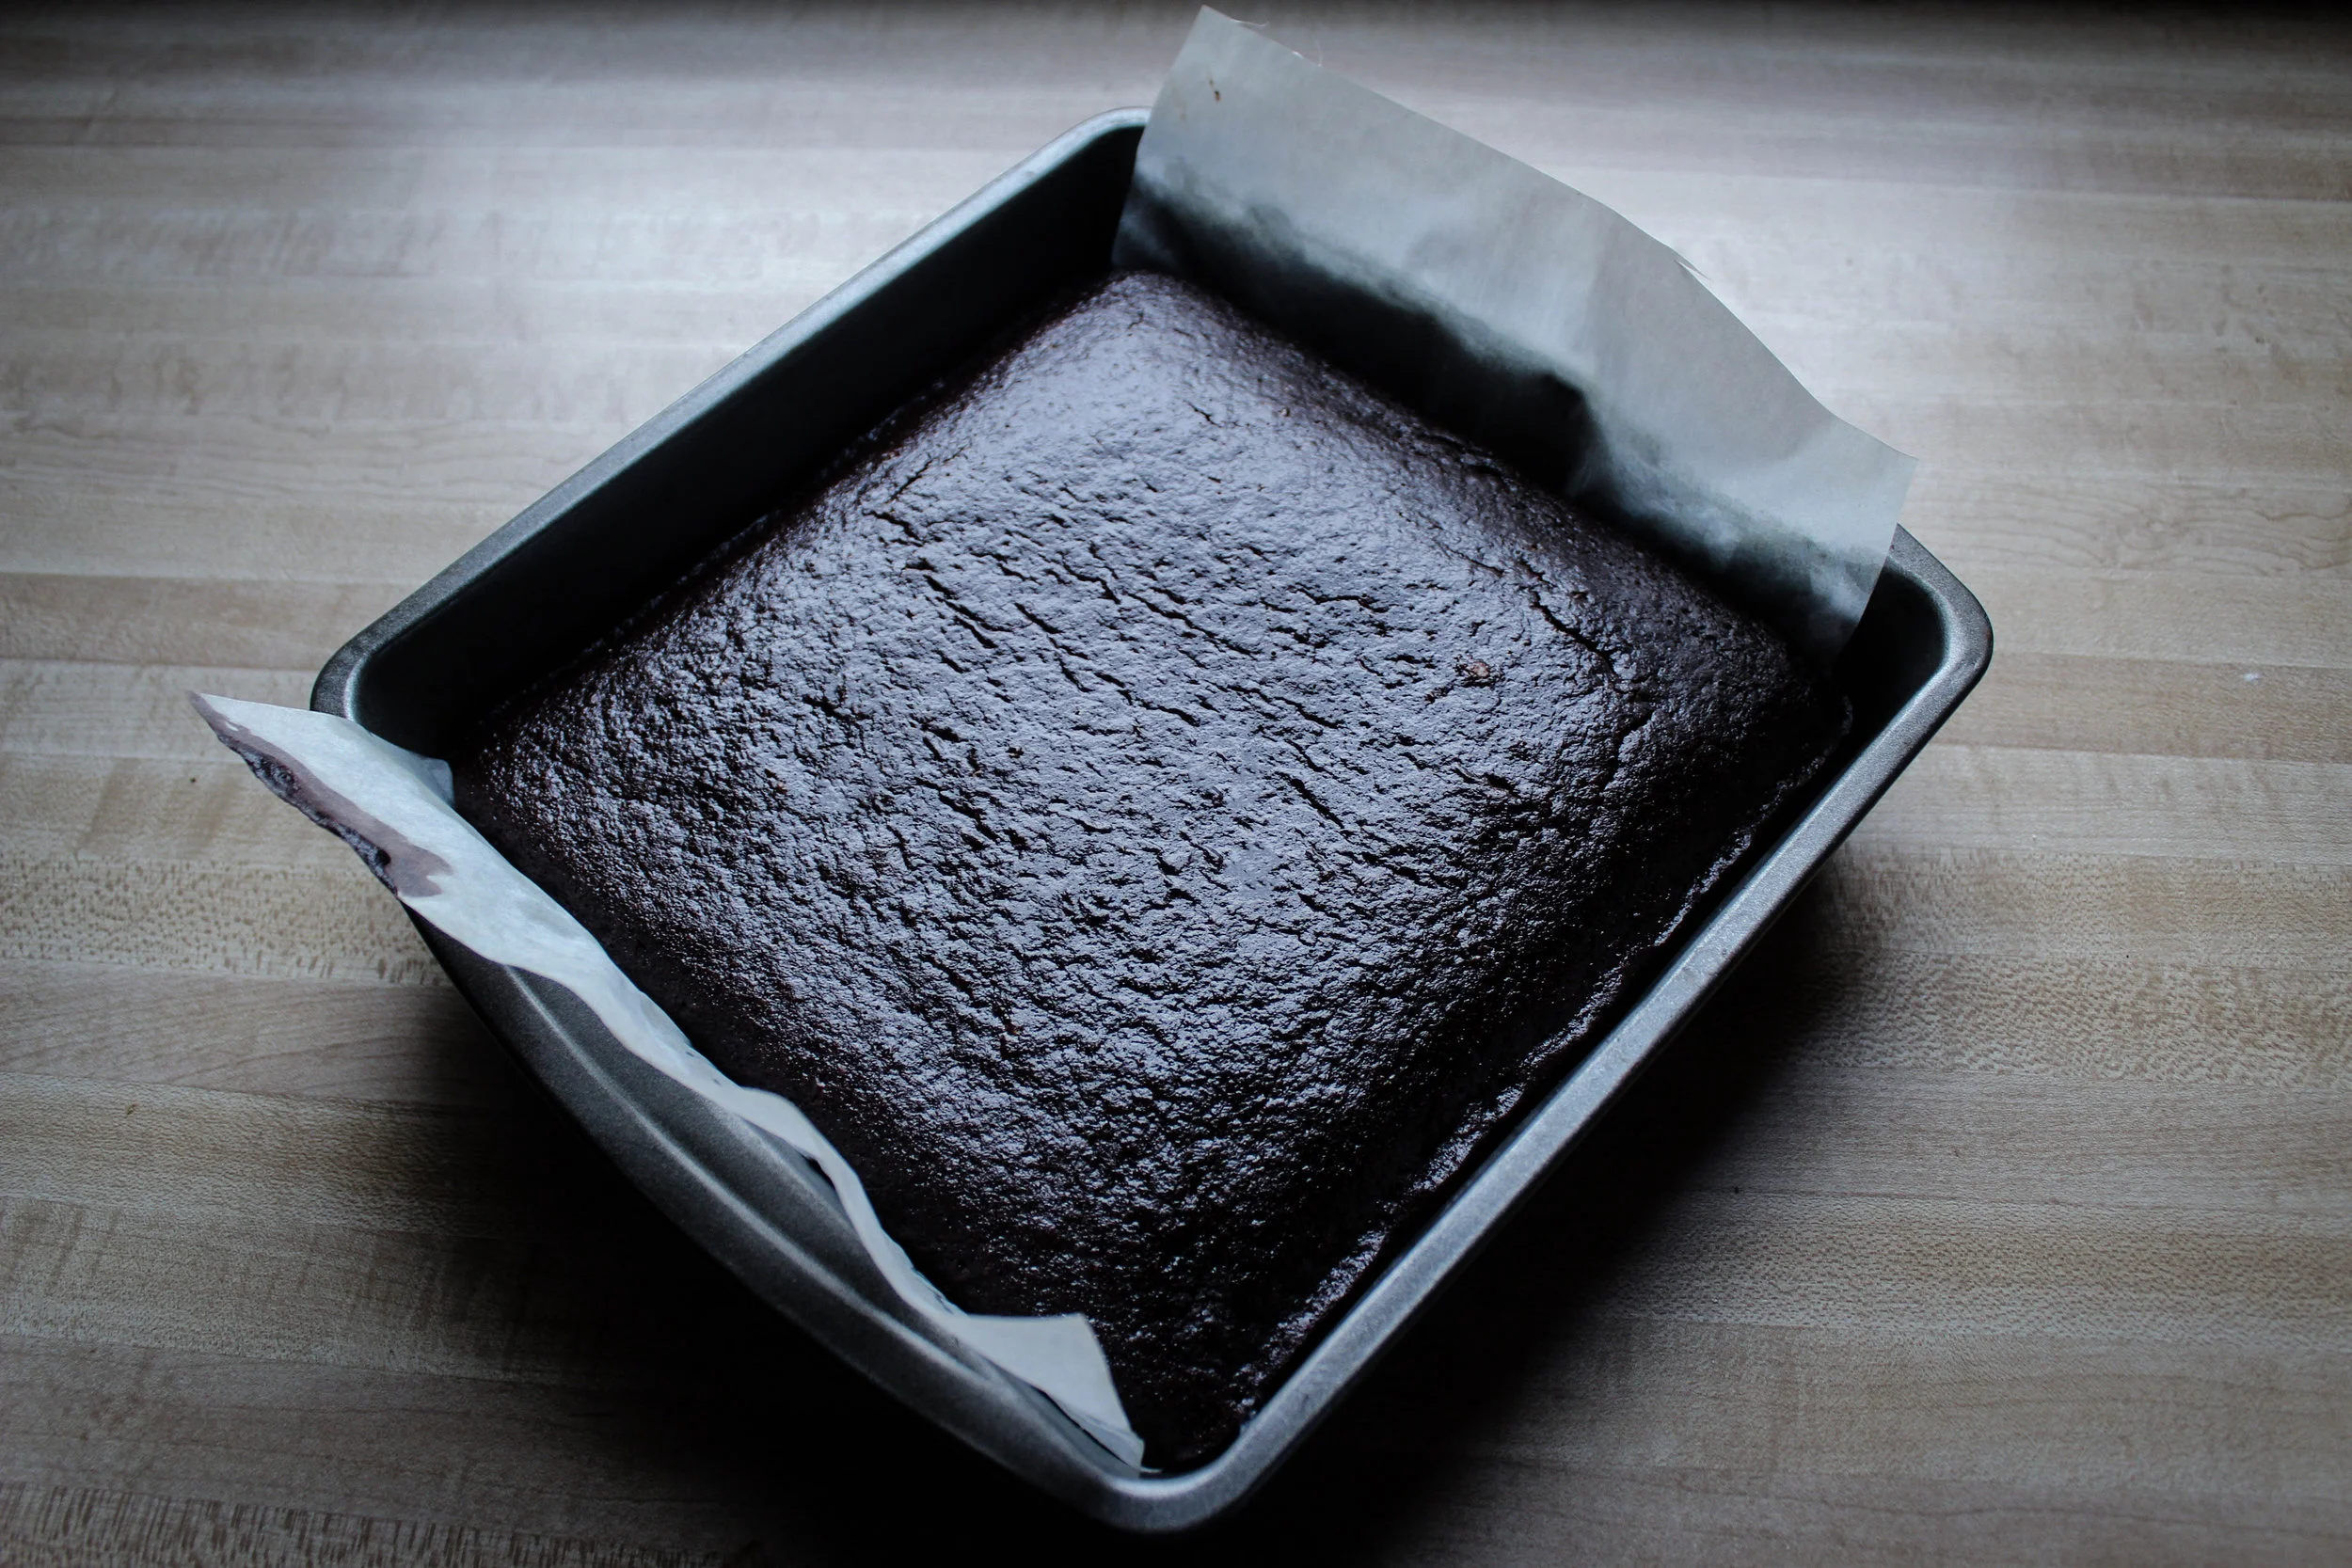
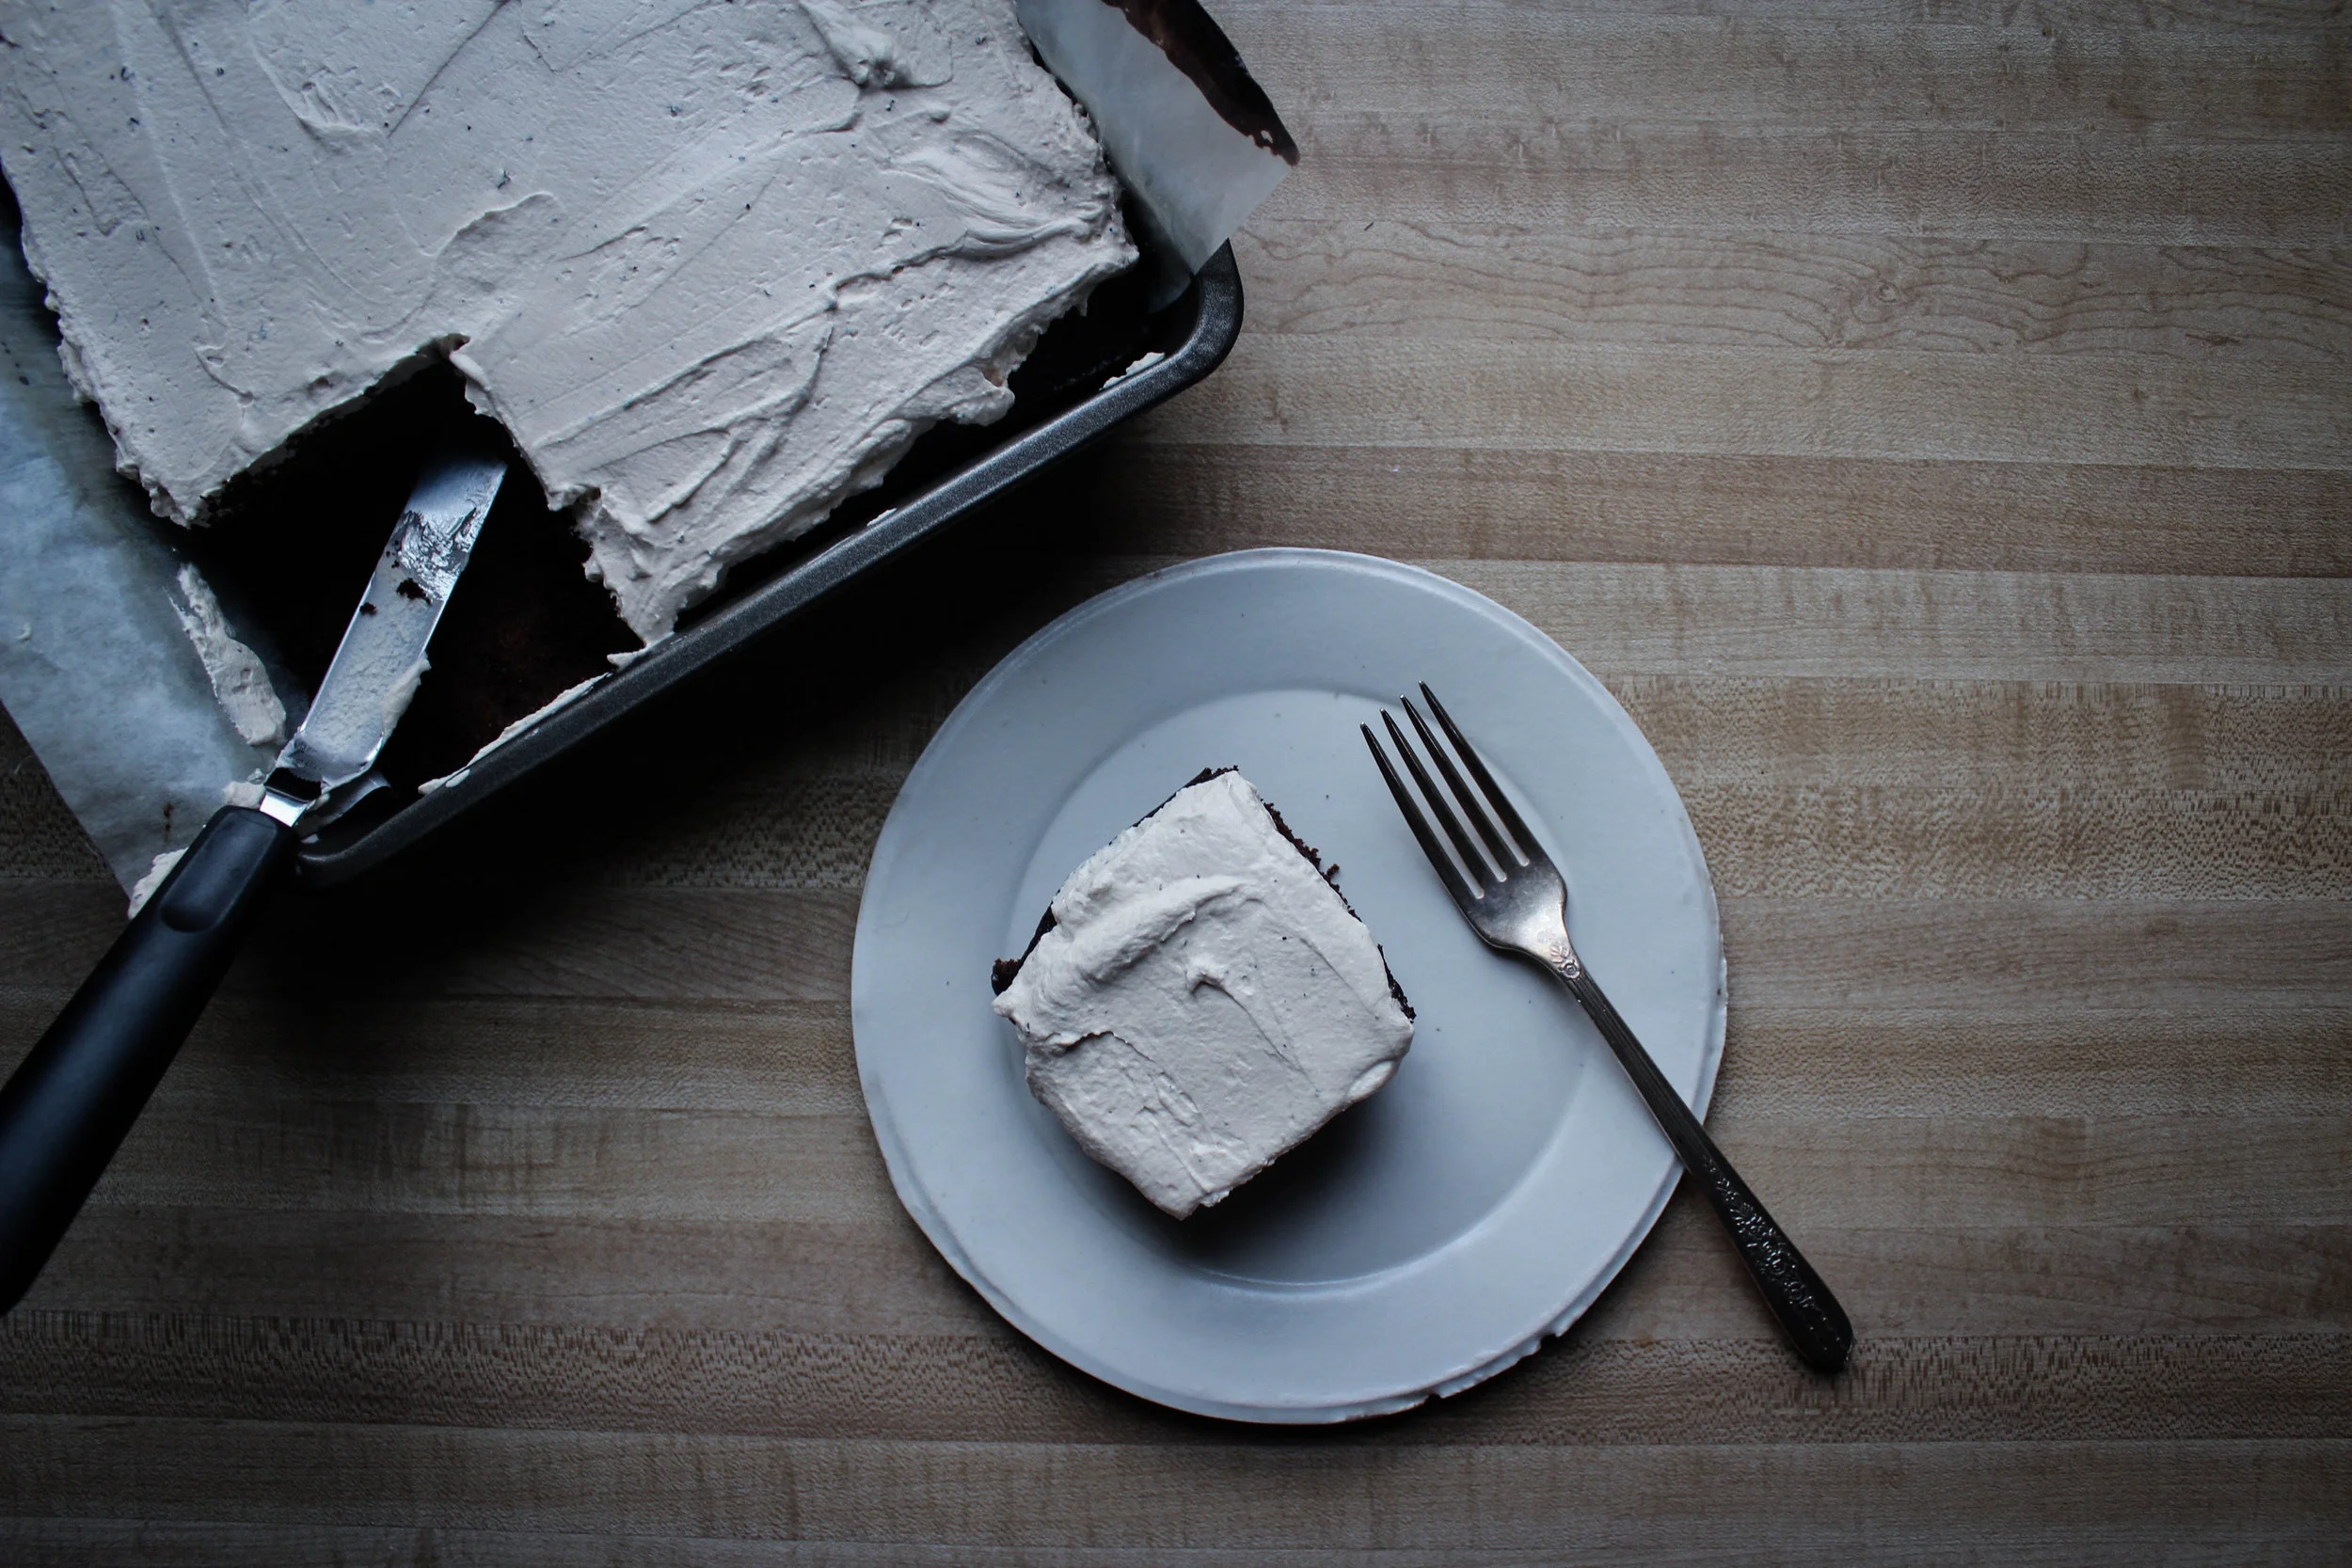
Chocolate Cake with Earl Grey Whipped Cream

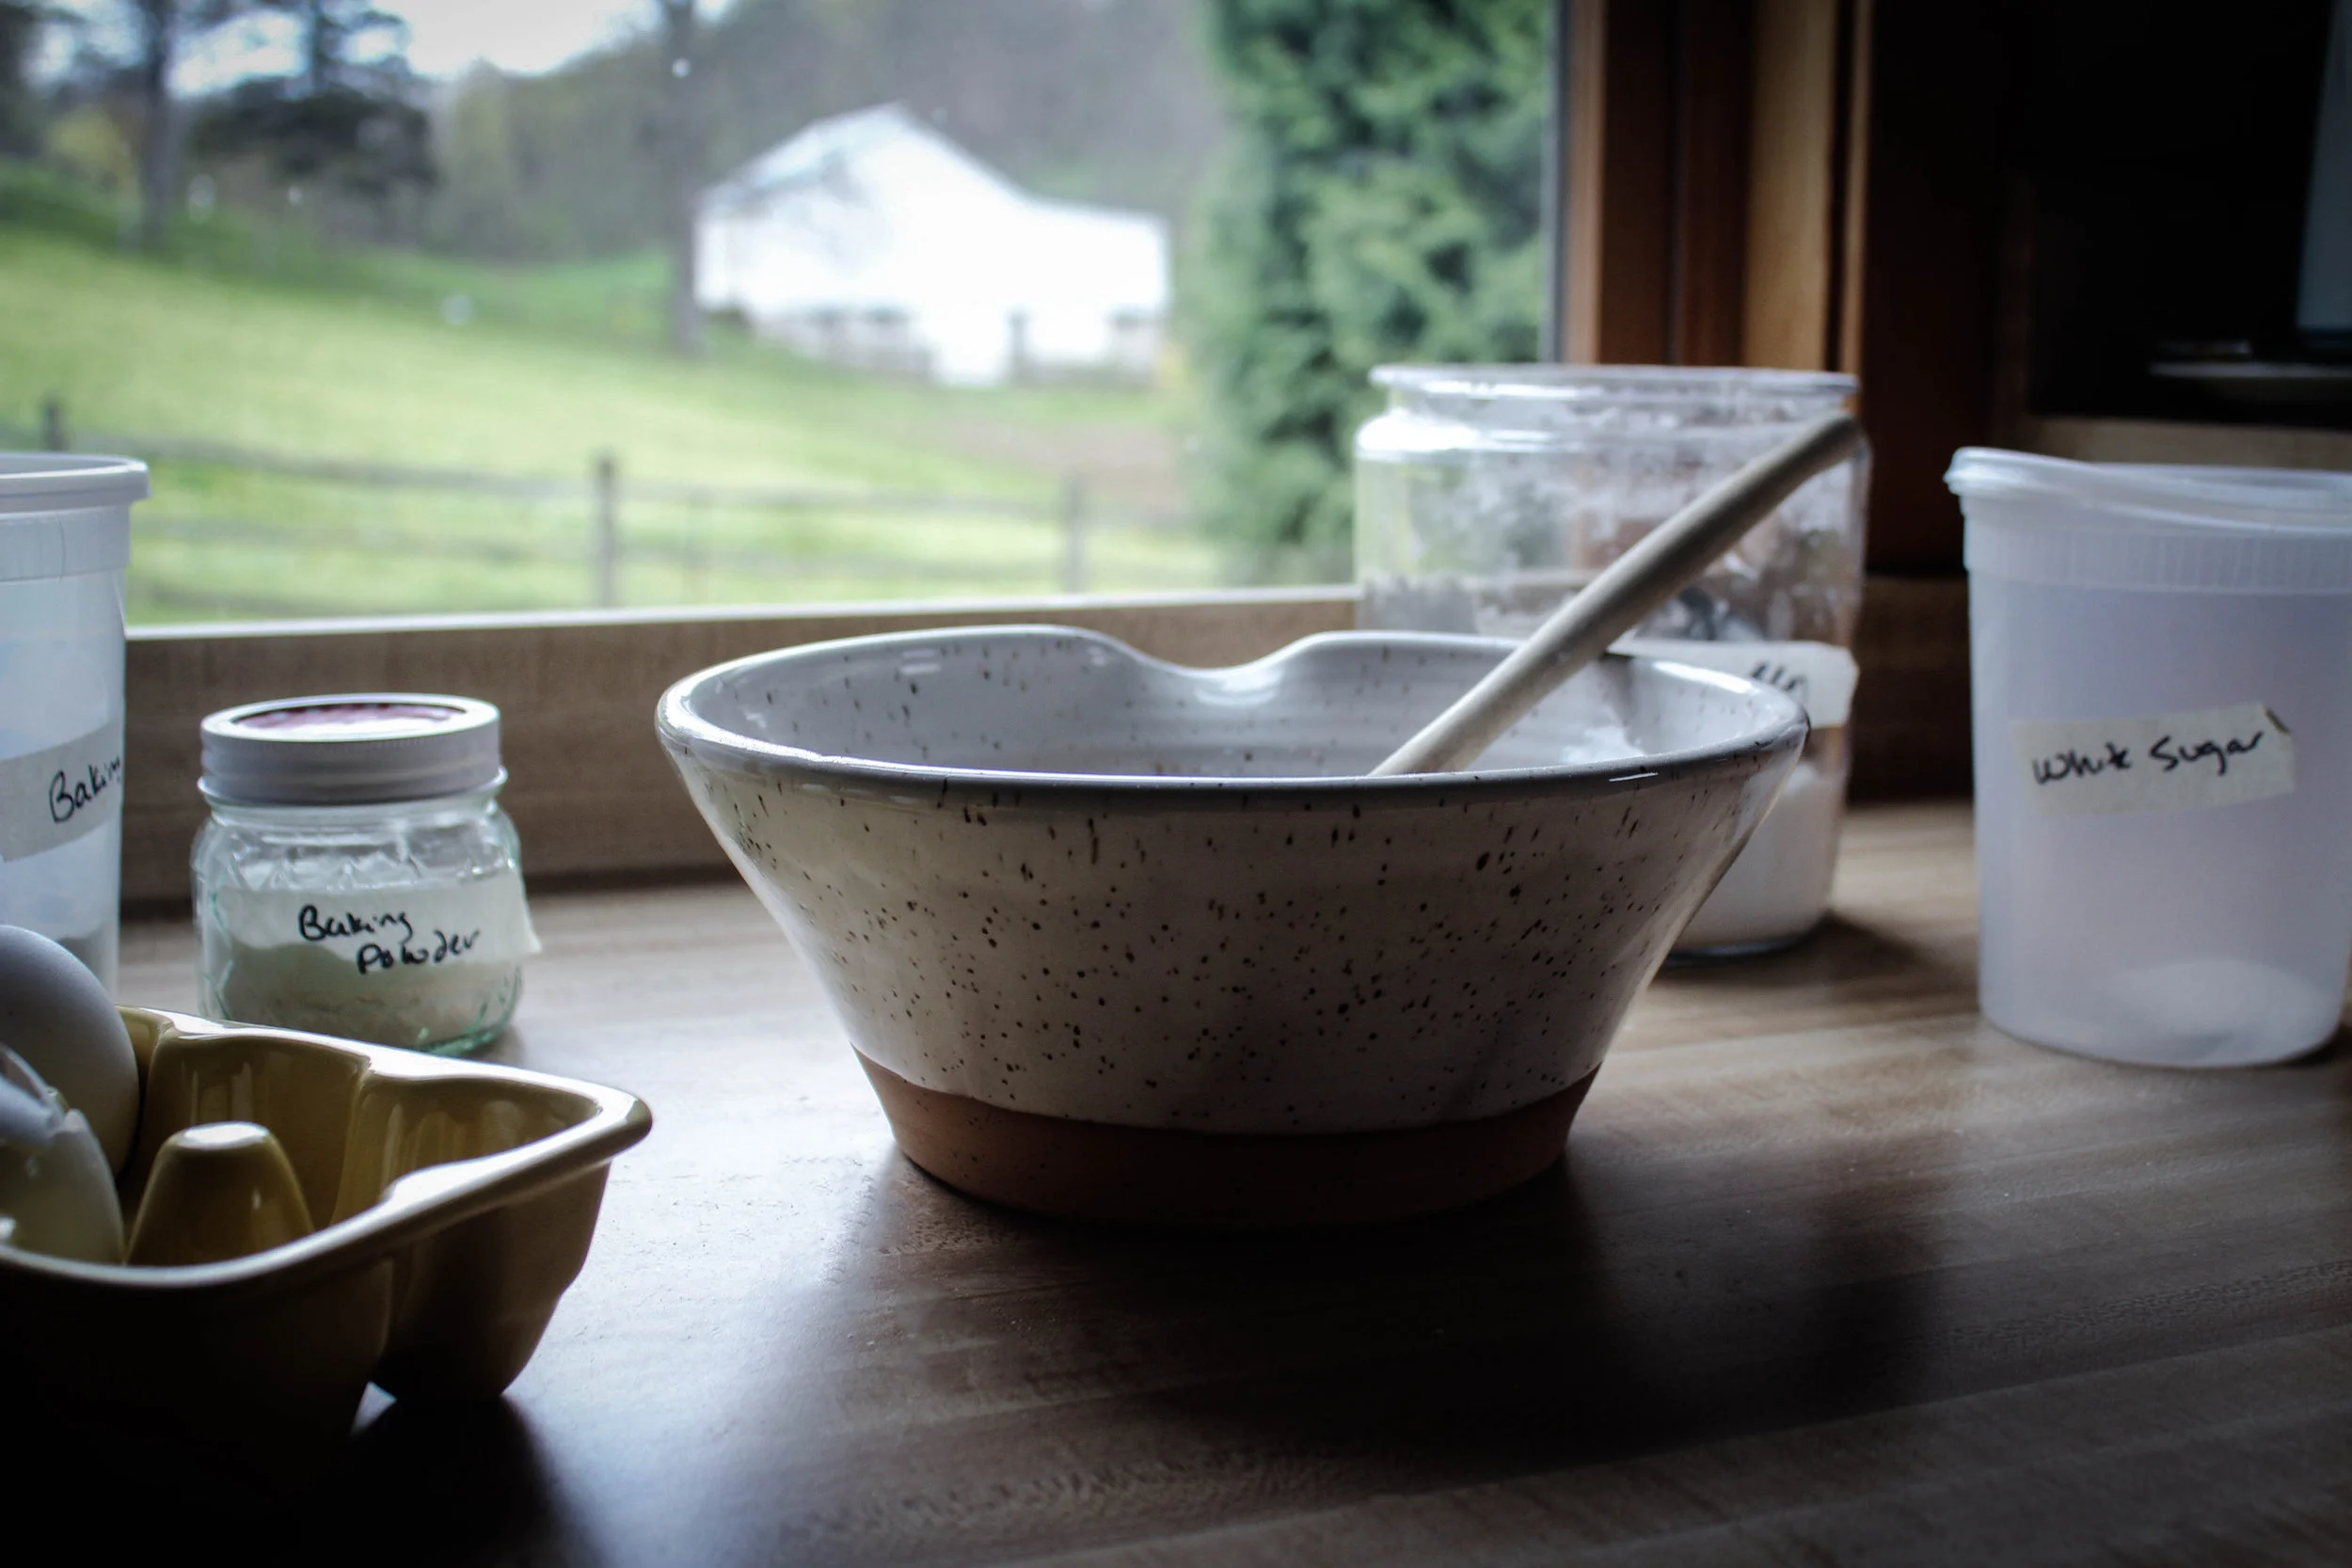
The light rolls in the morning and the kitchen stays grey all morning. The coffee steam, the puppy yawns, the crocheted blanket that scratches my arms. The murky water in the flower vase and the cilantro that's growing fast in the windowsill. The dogwood whose petals fall and the mud-caked floor near the doorway. The candy dish that is empty and the freezer that is full. The dog toys that scatter on the carpet and the sleepy eyes of Nolan as he gets ready for work. The moths that find their way to the light by the bed. The uneven tablecloth and the shaggy field up on the hill.
This is our house.
This is our home.
We're growing with this home. Long spurts and short, lazy inching toward a goal. An ebb and flow, but at least its a kinetic feeling in this house. And that's what Spring has become--energy. Movement. Growth. Things I have not known for the better part of my time since high school. And I am reveling in the potential we've always had in us to create this home of ours.
And here is a cake, simple and unique in that it's finished with boiling water. It's a taste of home, a bit rich and calmed on the palate. I gave it to my beautiful friends who have made this home so much easier to ease into.
Chocolate Cake with Earl Grey Whipped Cream
This recipe was adapted from I am Baker.
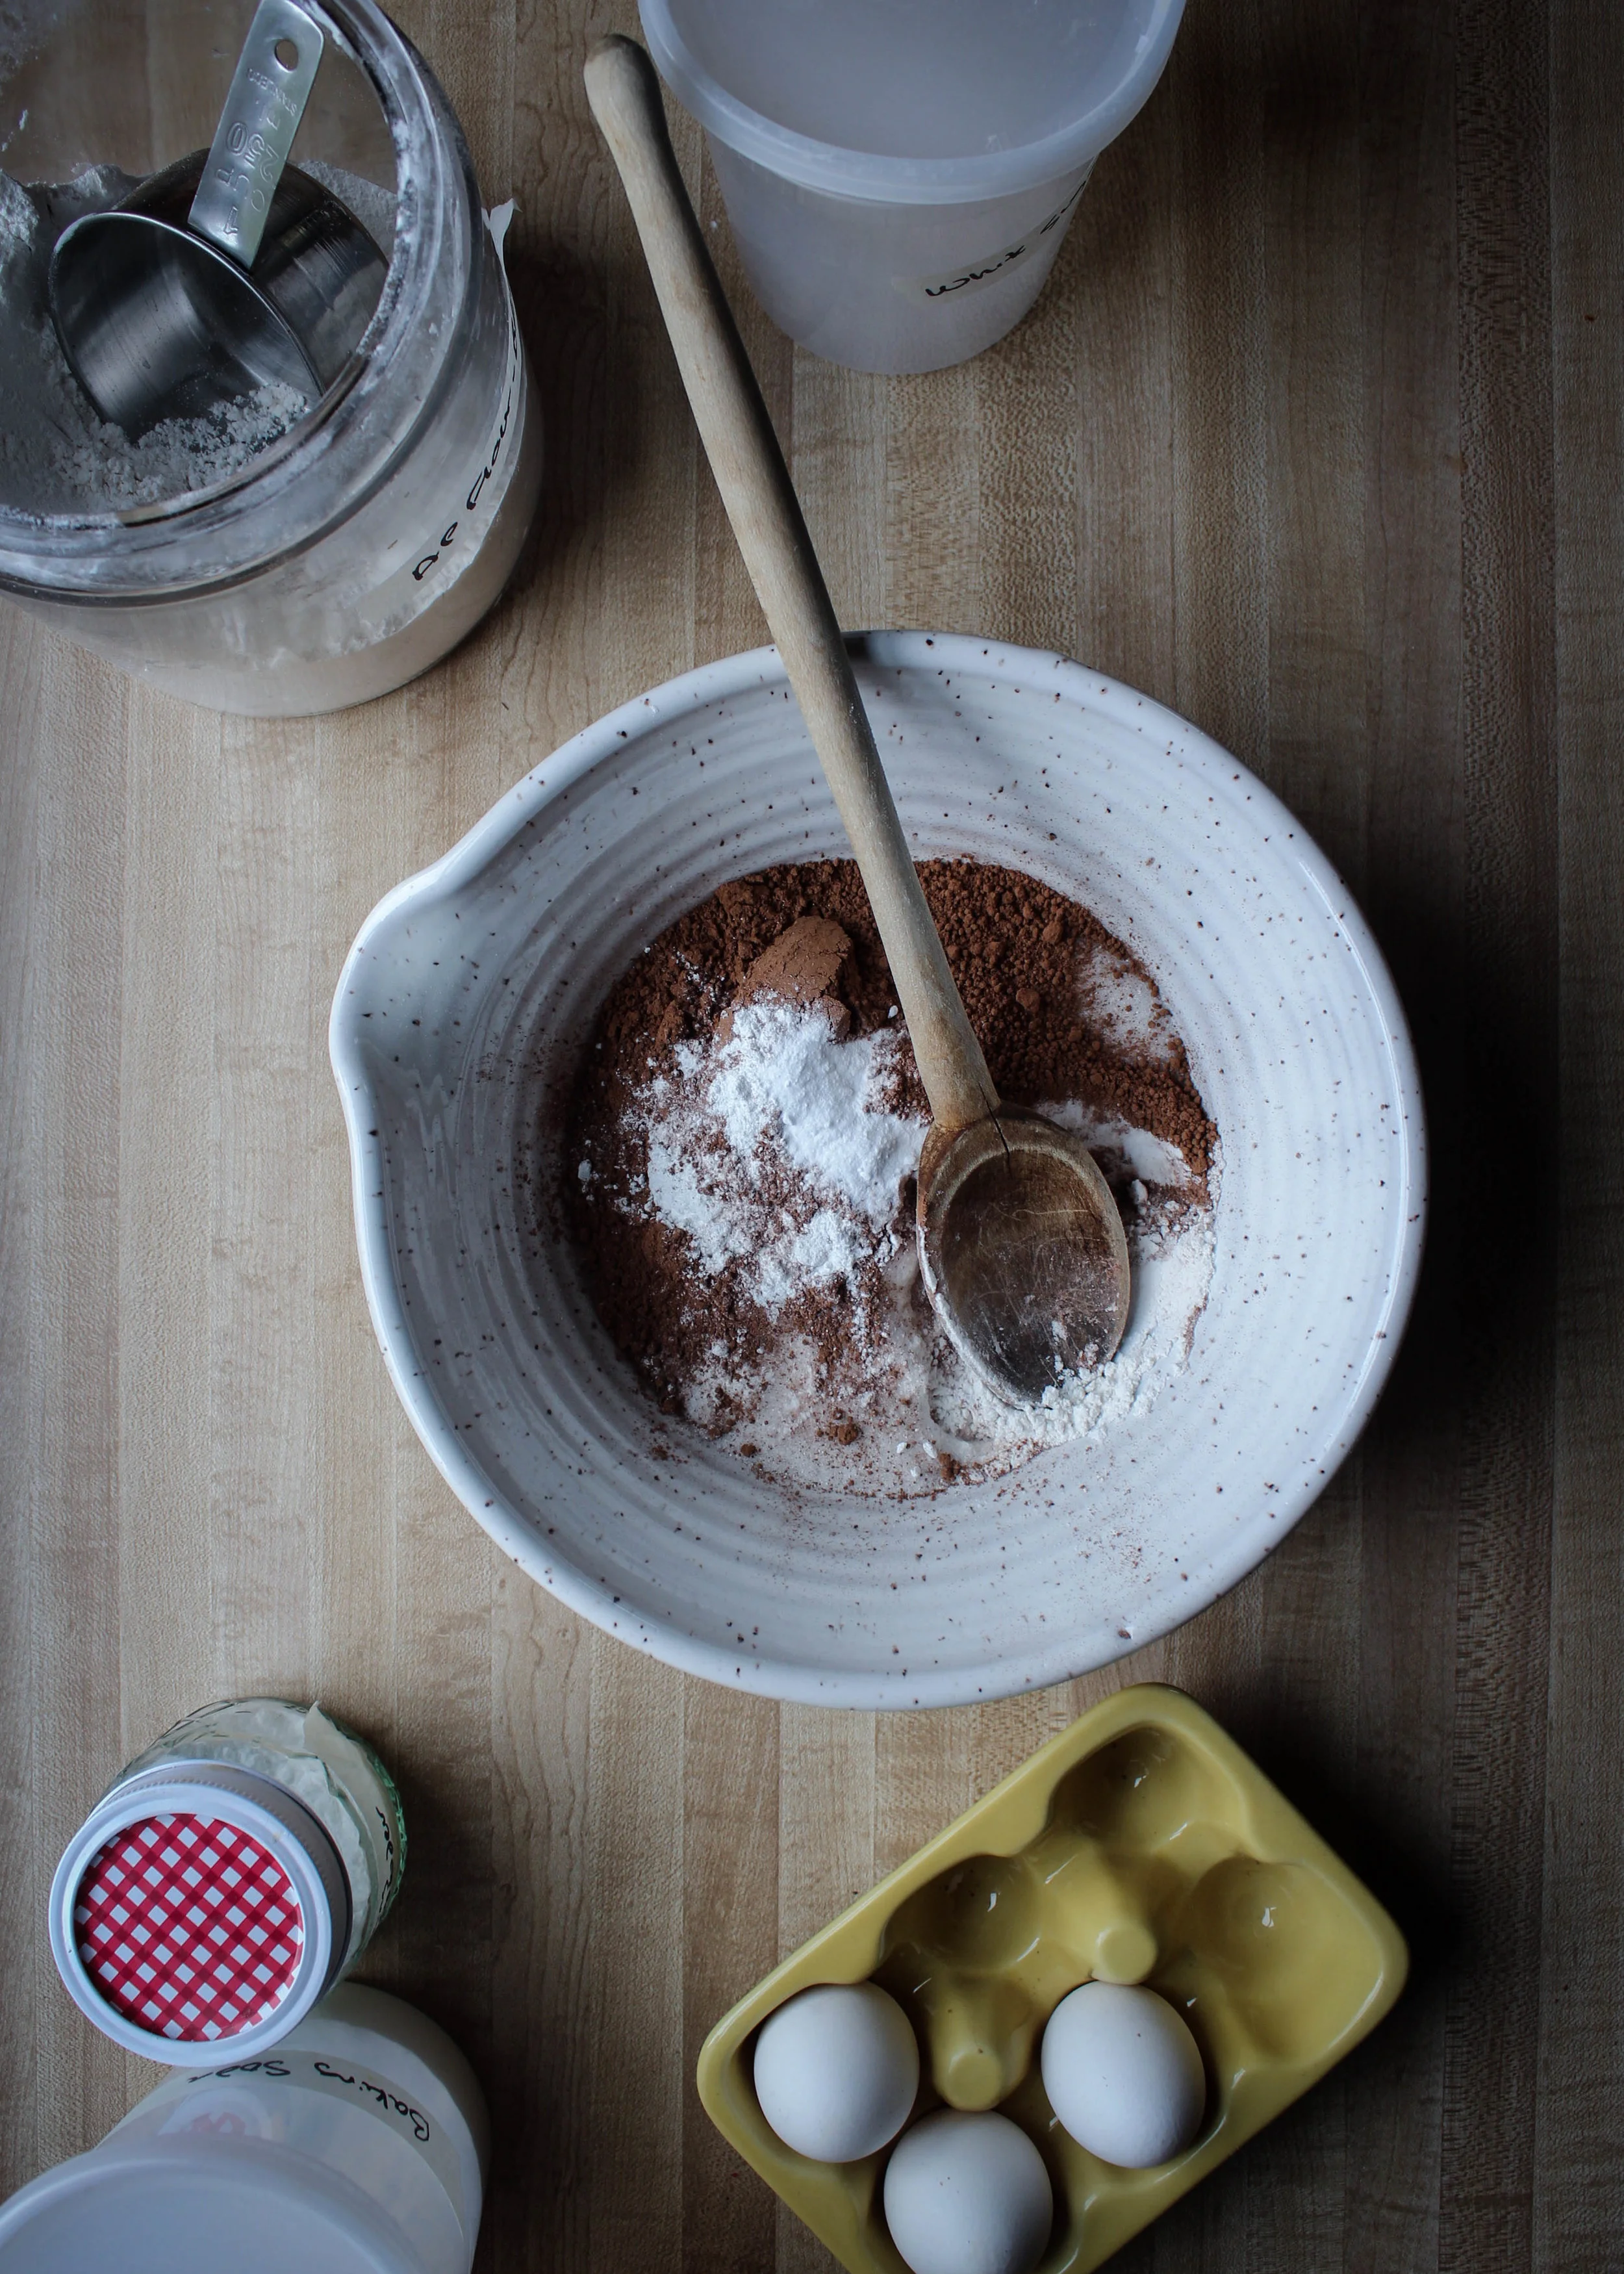
Ingredients:
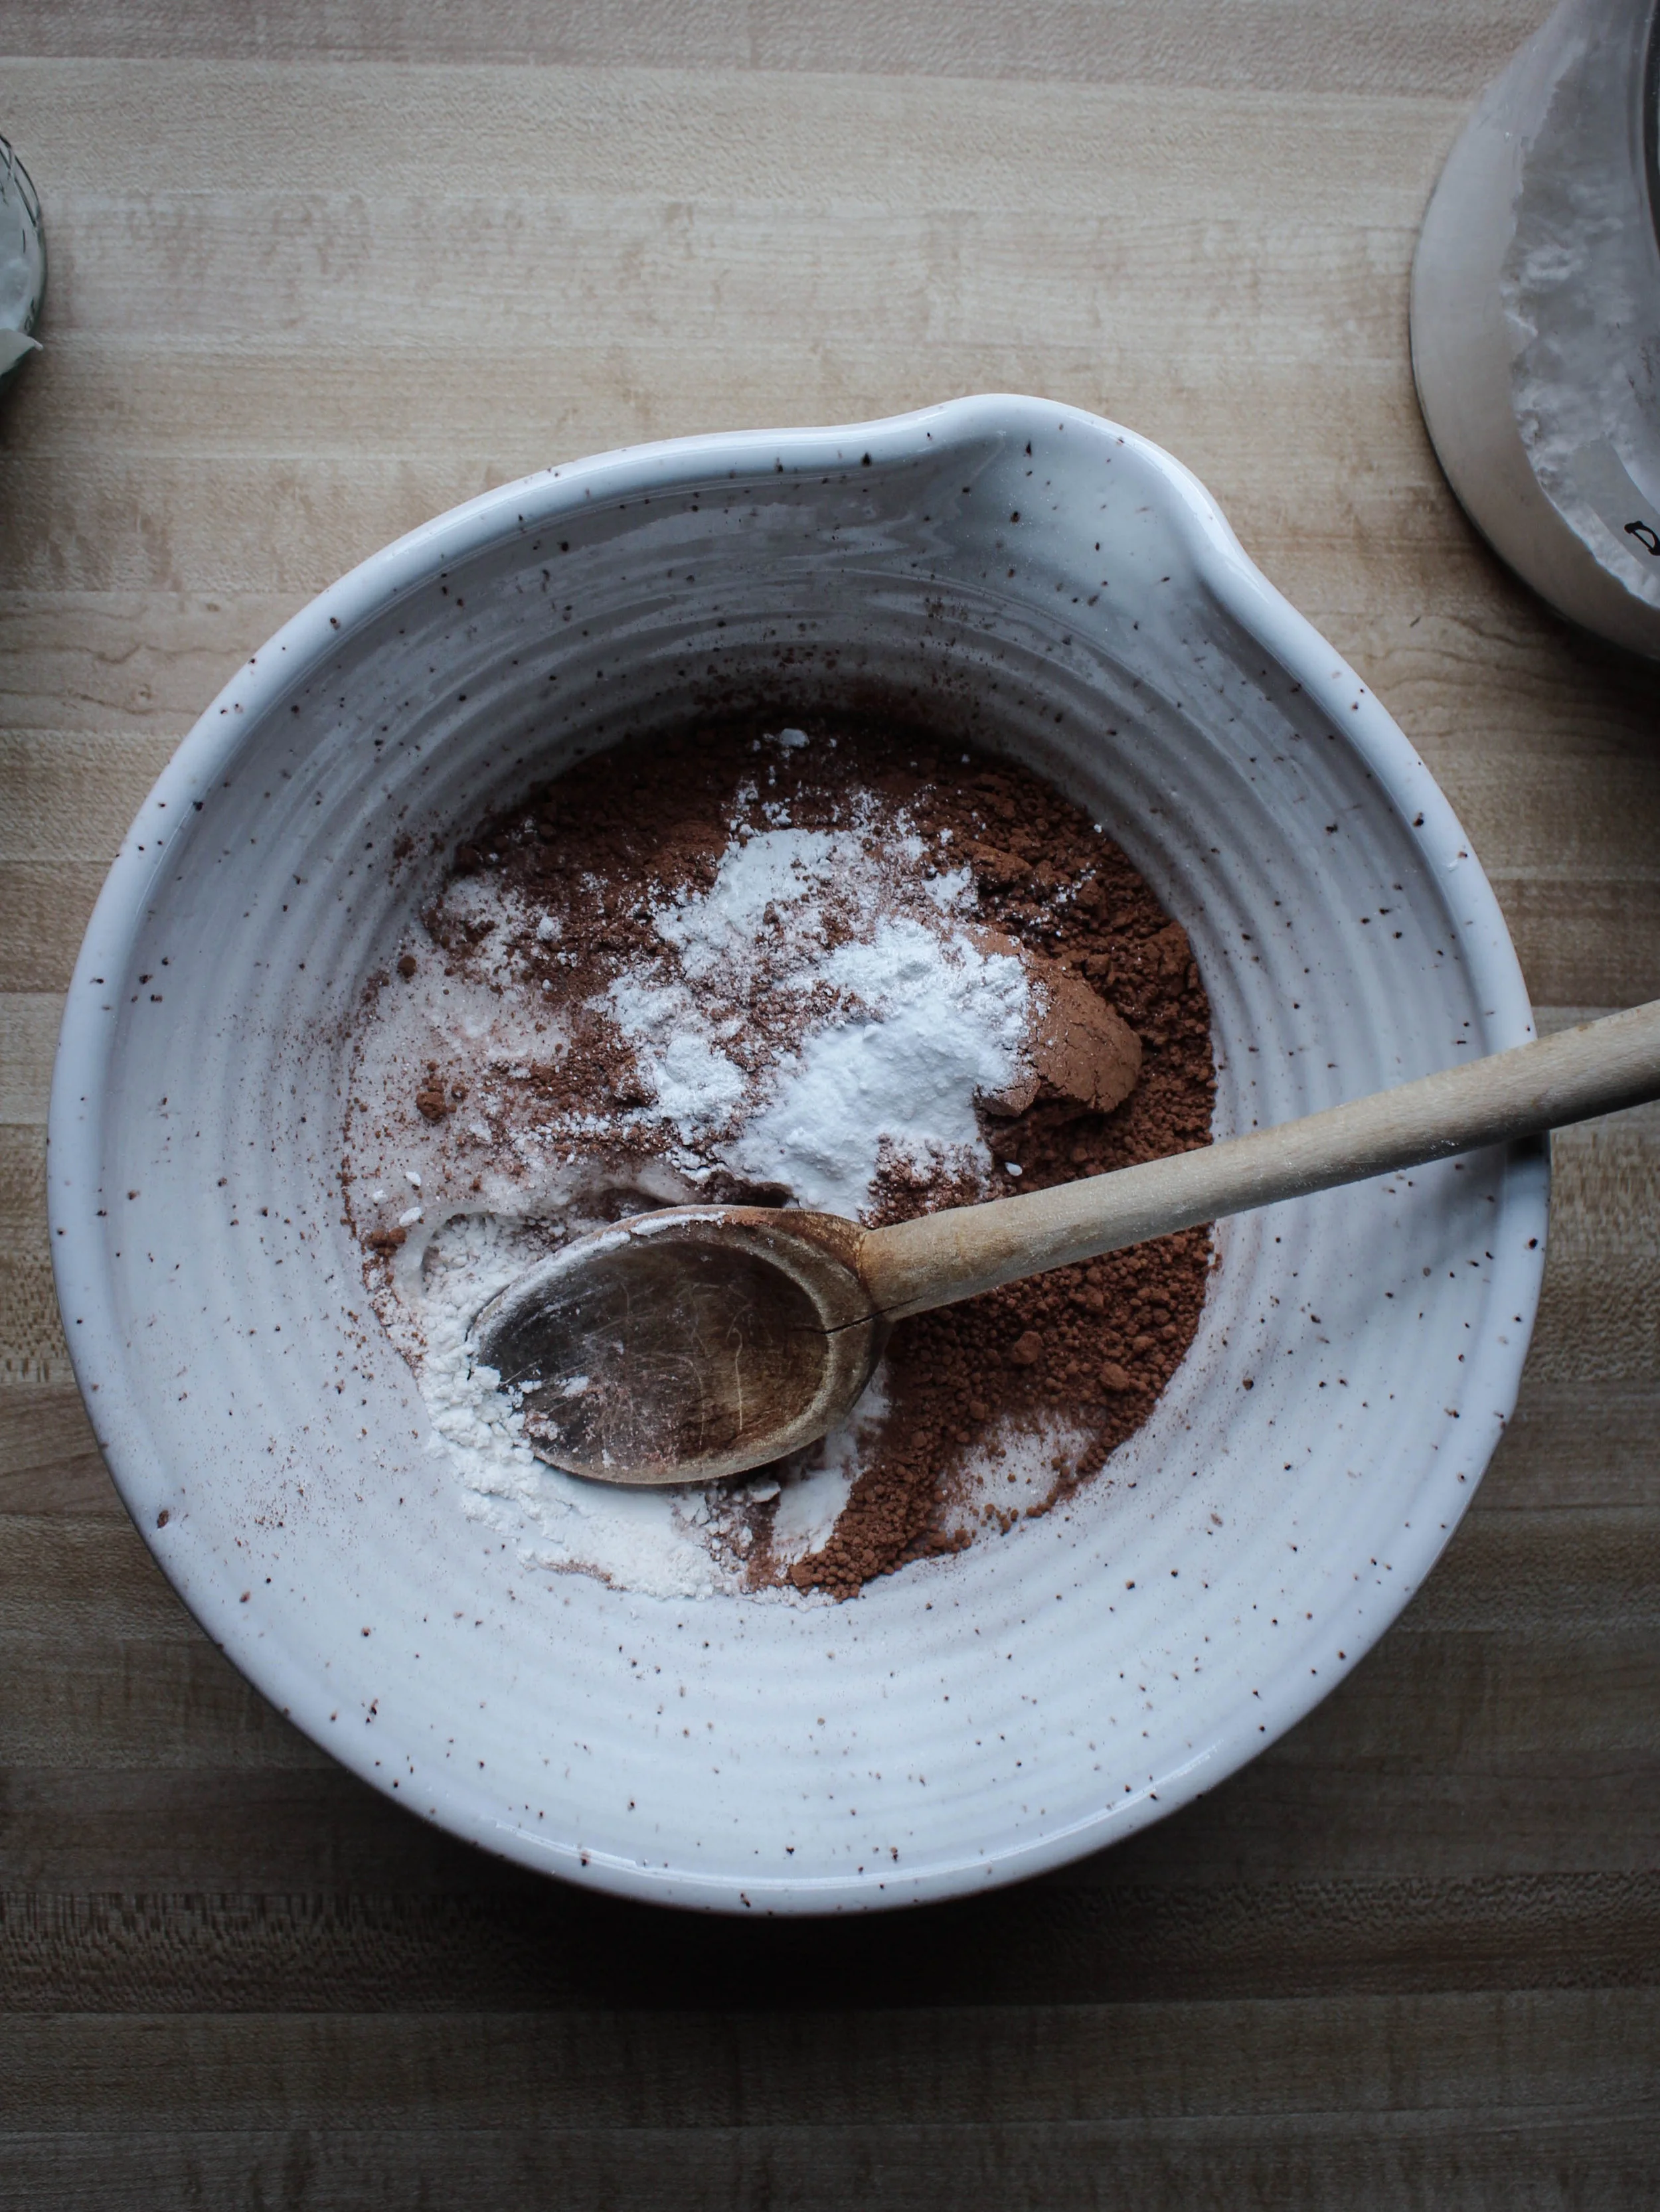
- 1 cup AP flour
- 1 cup white sugar
- 1/2 cup cocoa powder
- 3/4 teaspoon baking soda
- 3/4 teaspoon baking powder
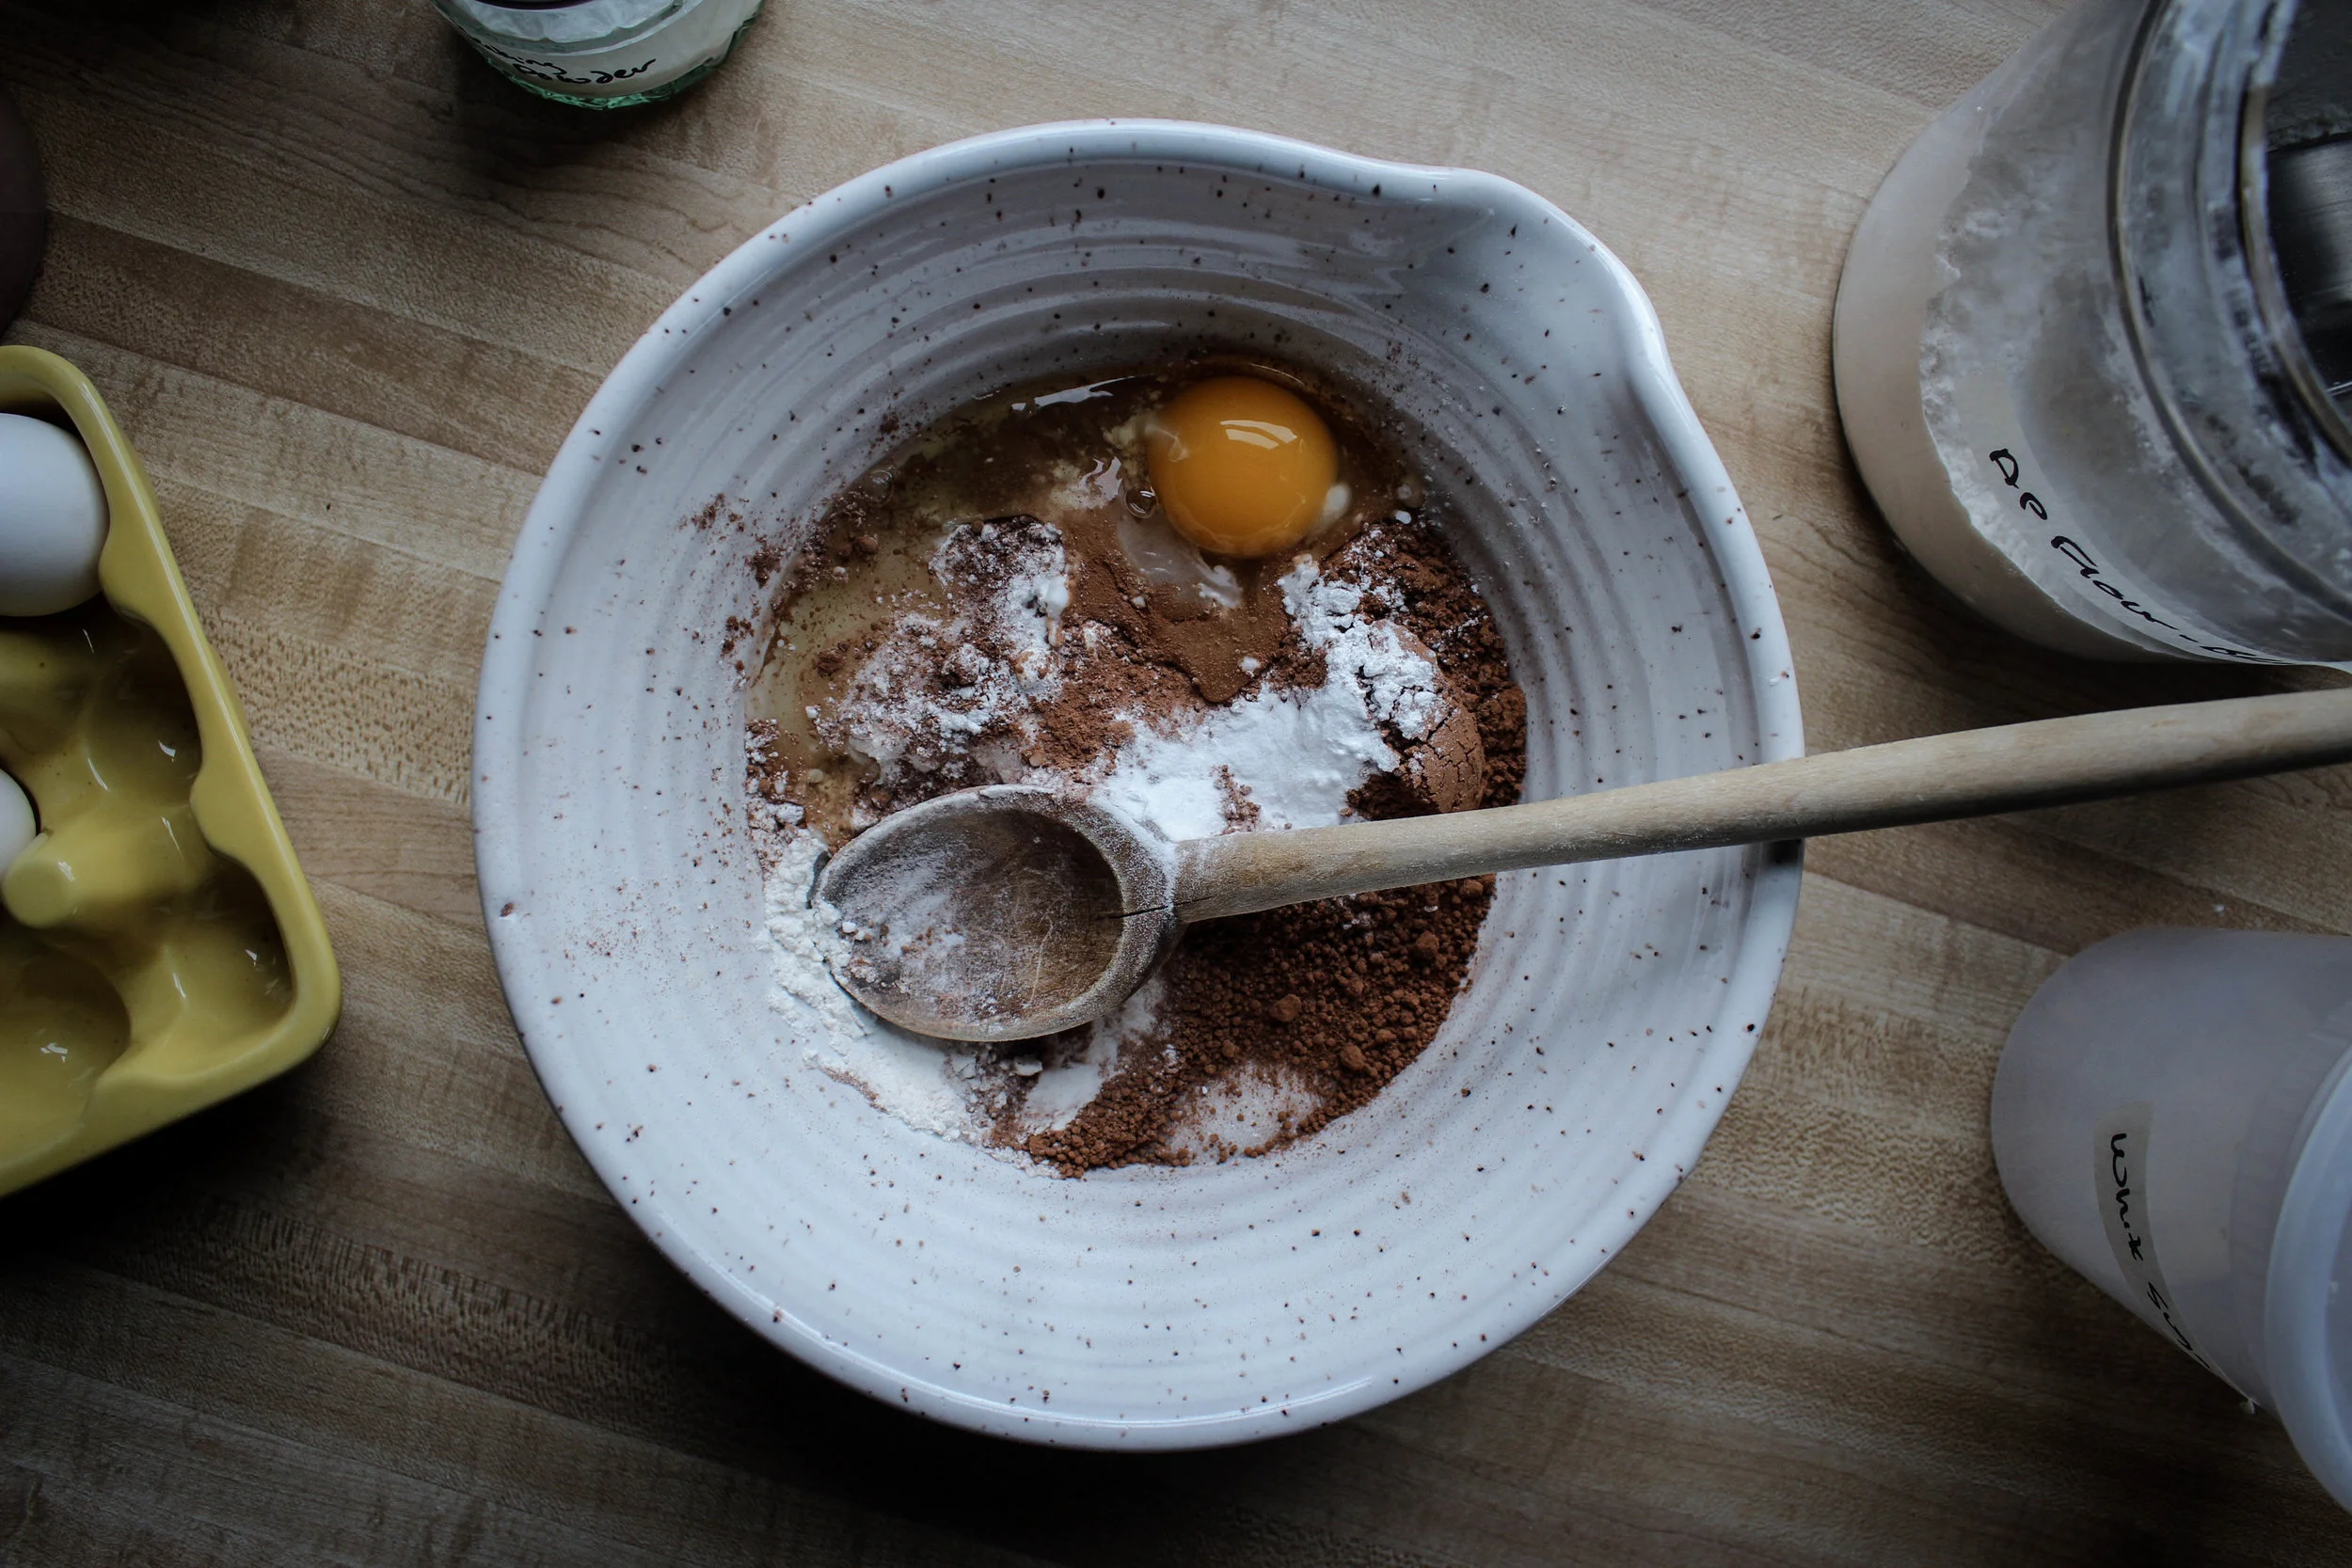
- 1 egg
- 1/2 cup whole milk
- 1/4 cup tahini
- 2 TB olive oil
- 1/2 tablespoon pure vanilla extract
- 1/4 teaspoon salt
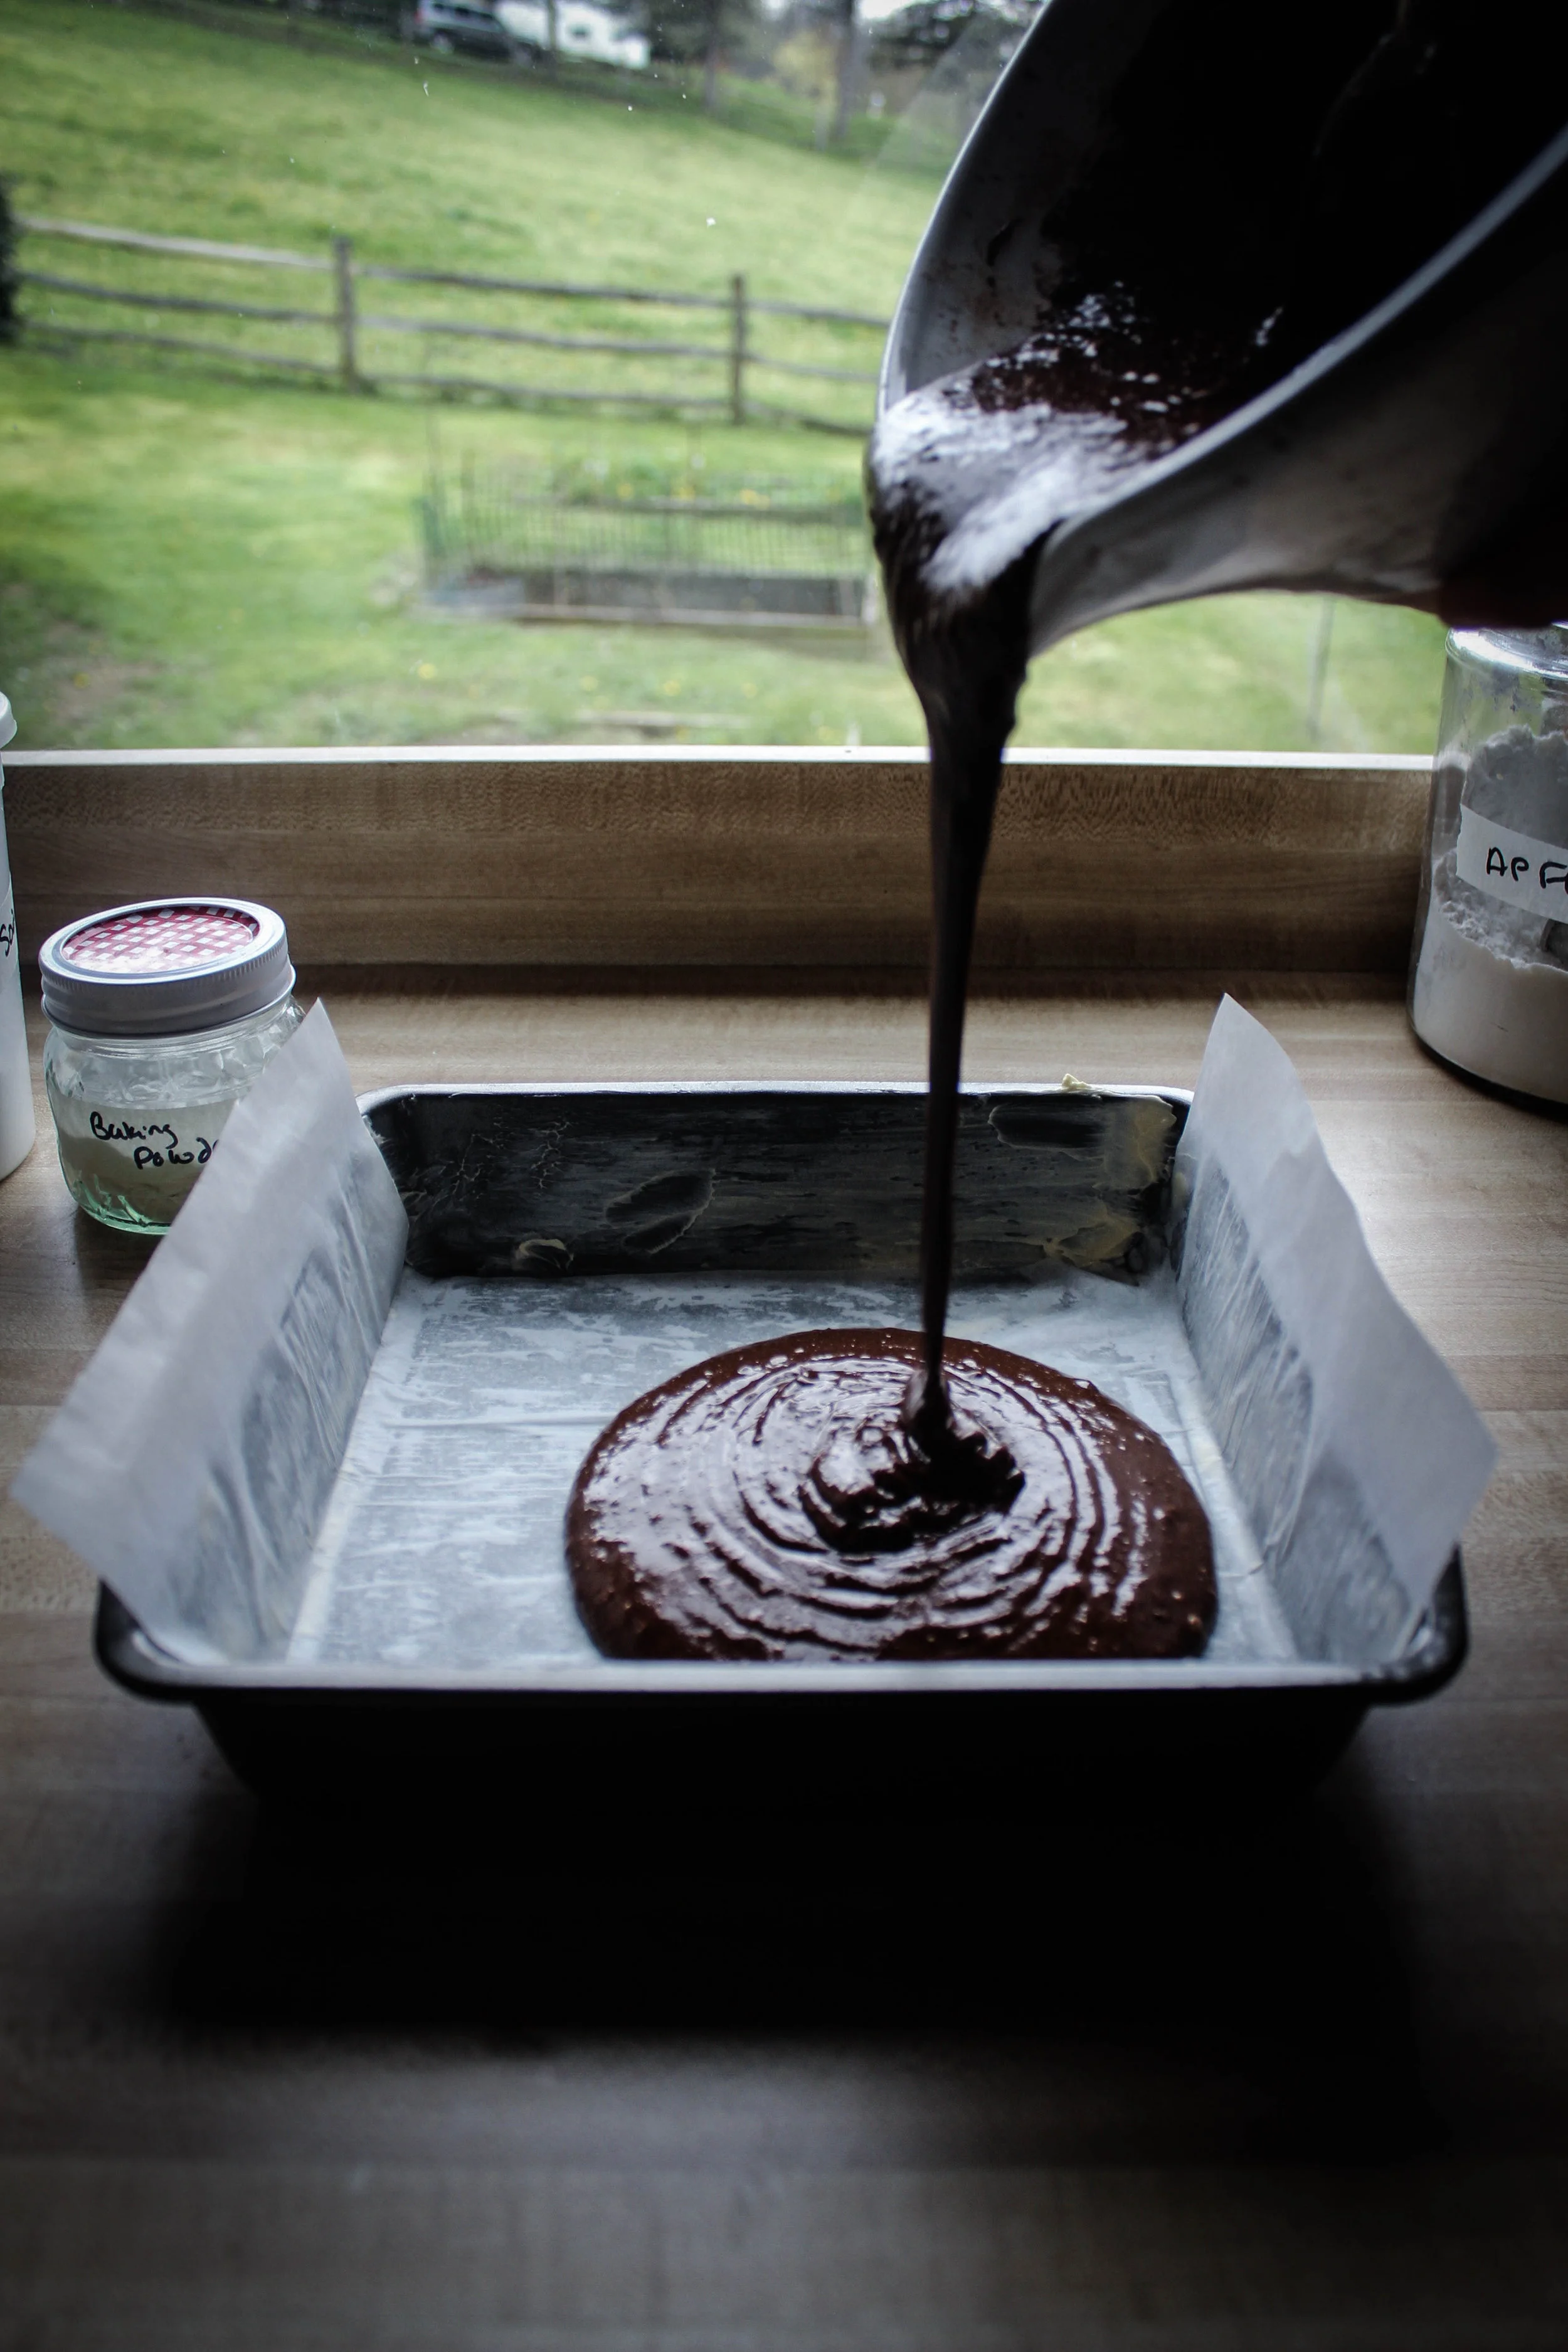
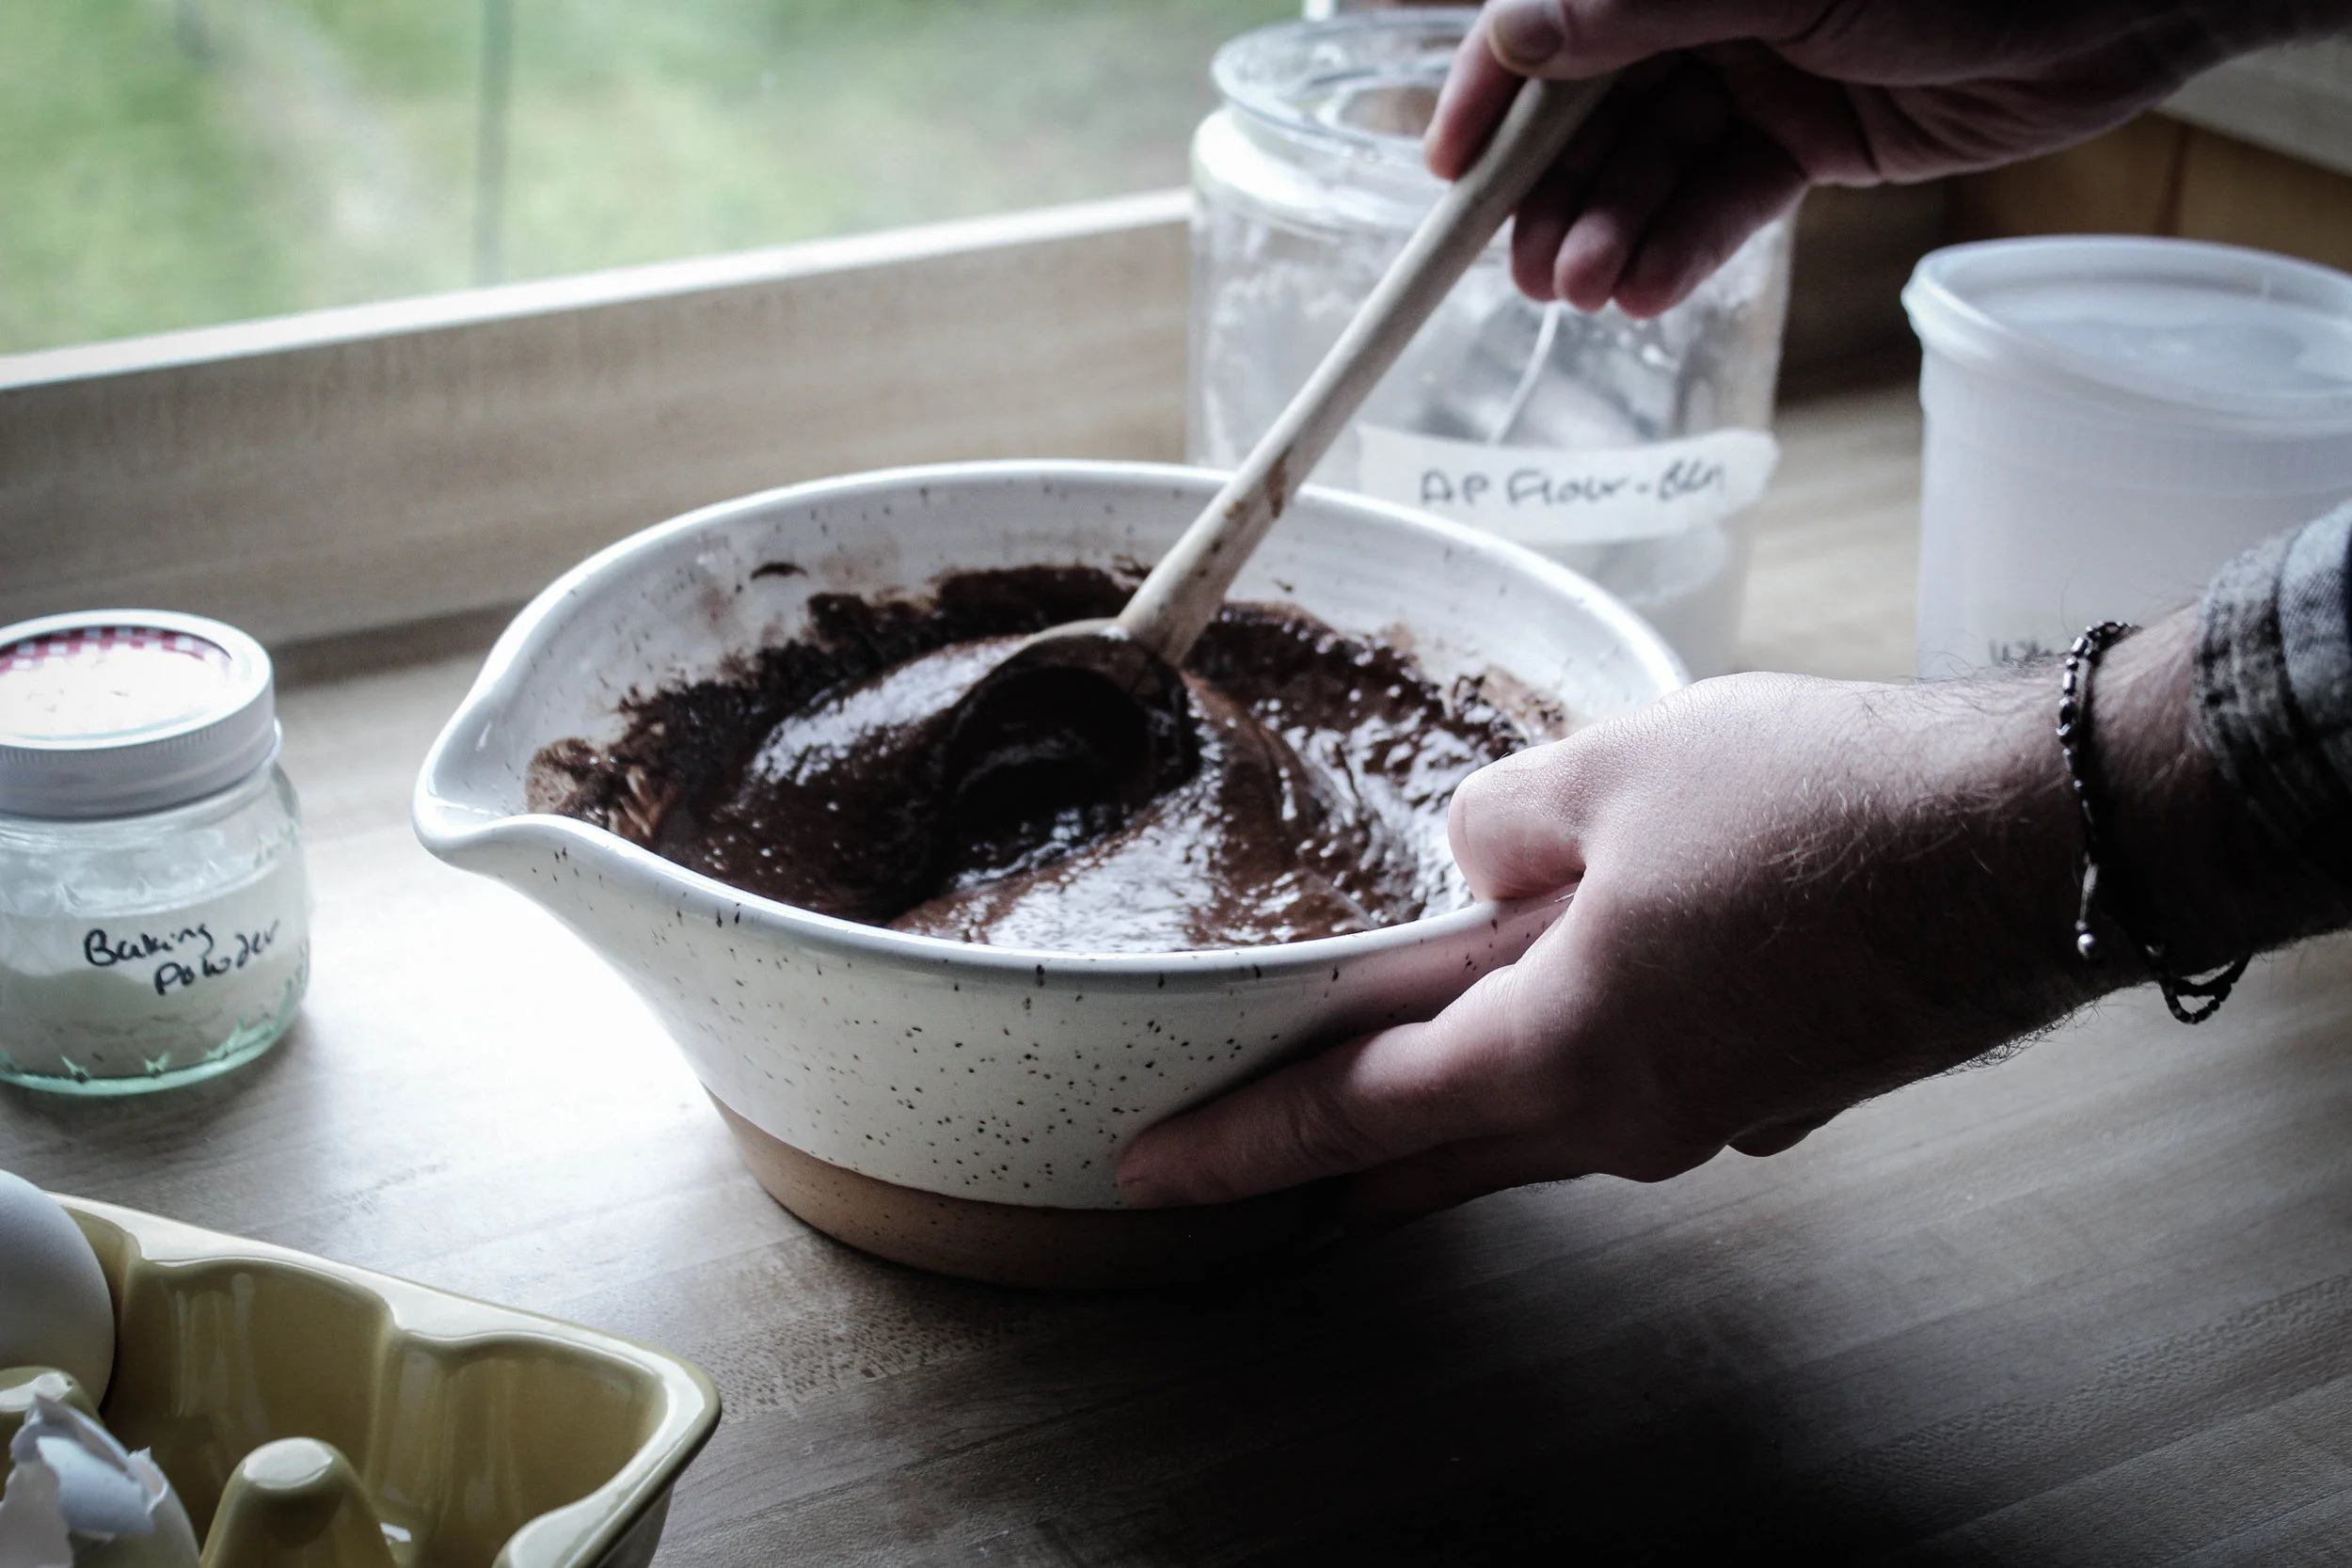
- 1/2 cup boiling water
Directions:
- Preheat oven to 350*F and prepare an 8-inch square cake pan
- In a large mixing bowl, mix all ingredients together in the order the ingredients are risen
- Pour into your cake pan and bake for 30-35 minutes or until top is puffed and bouncy
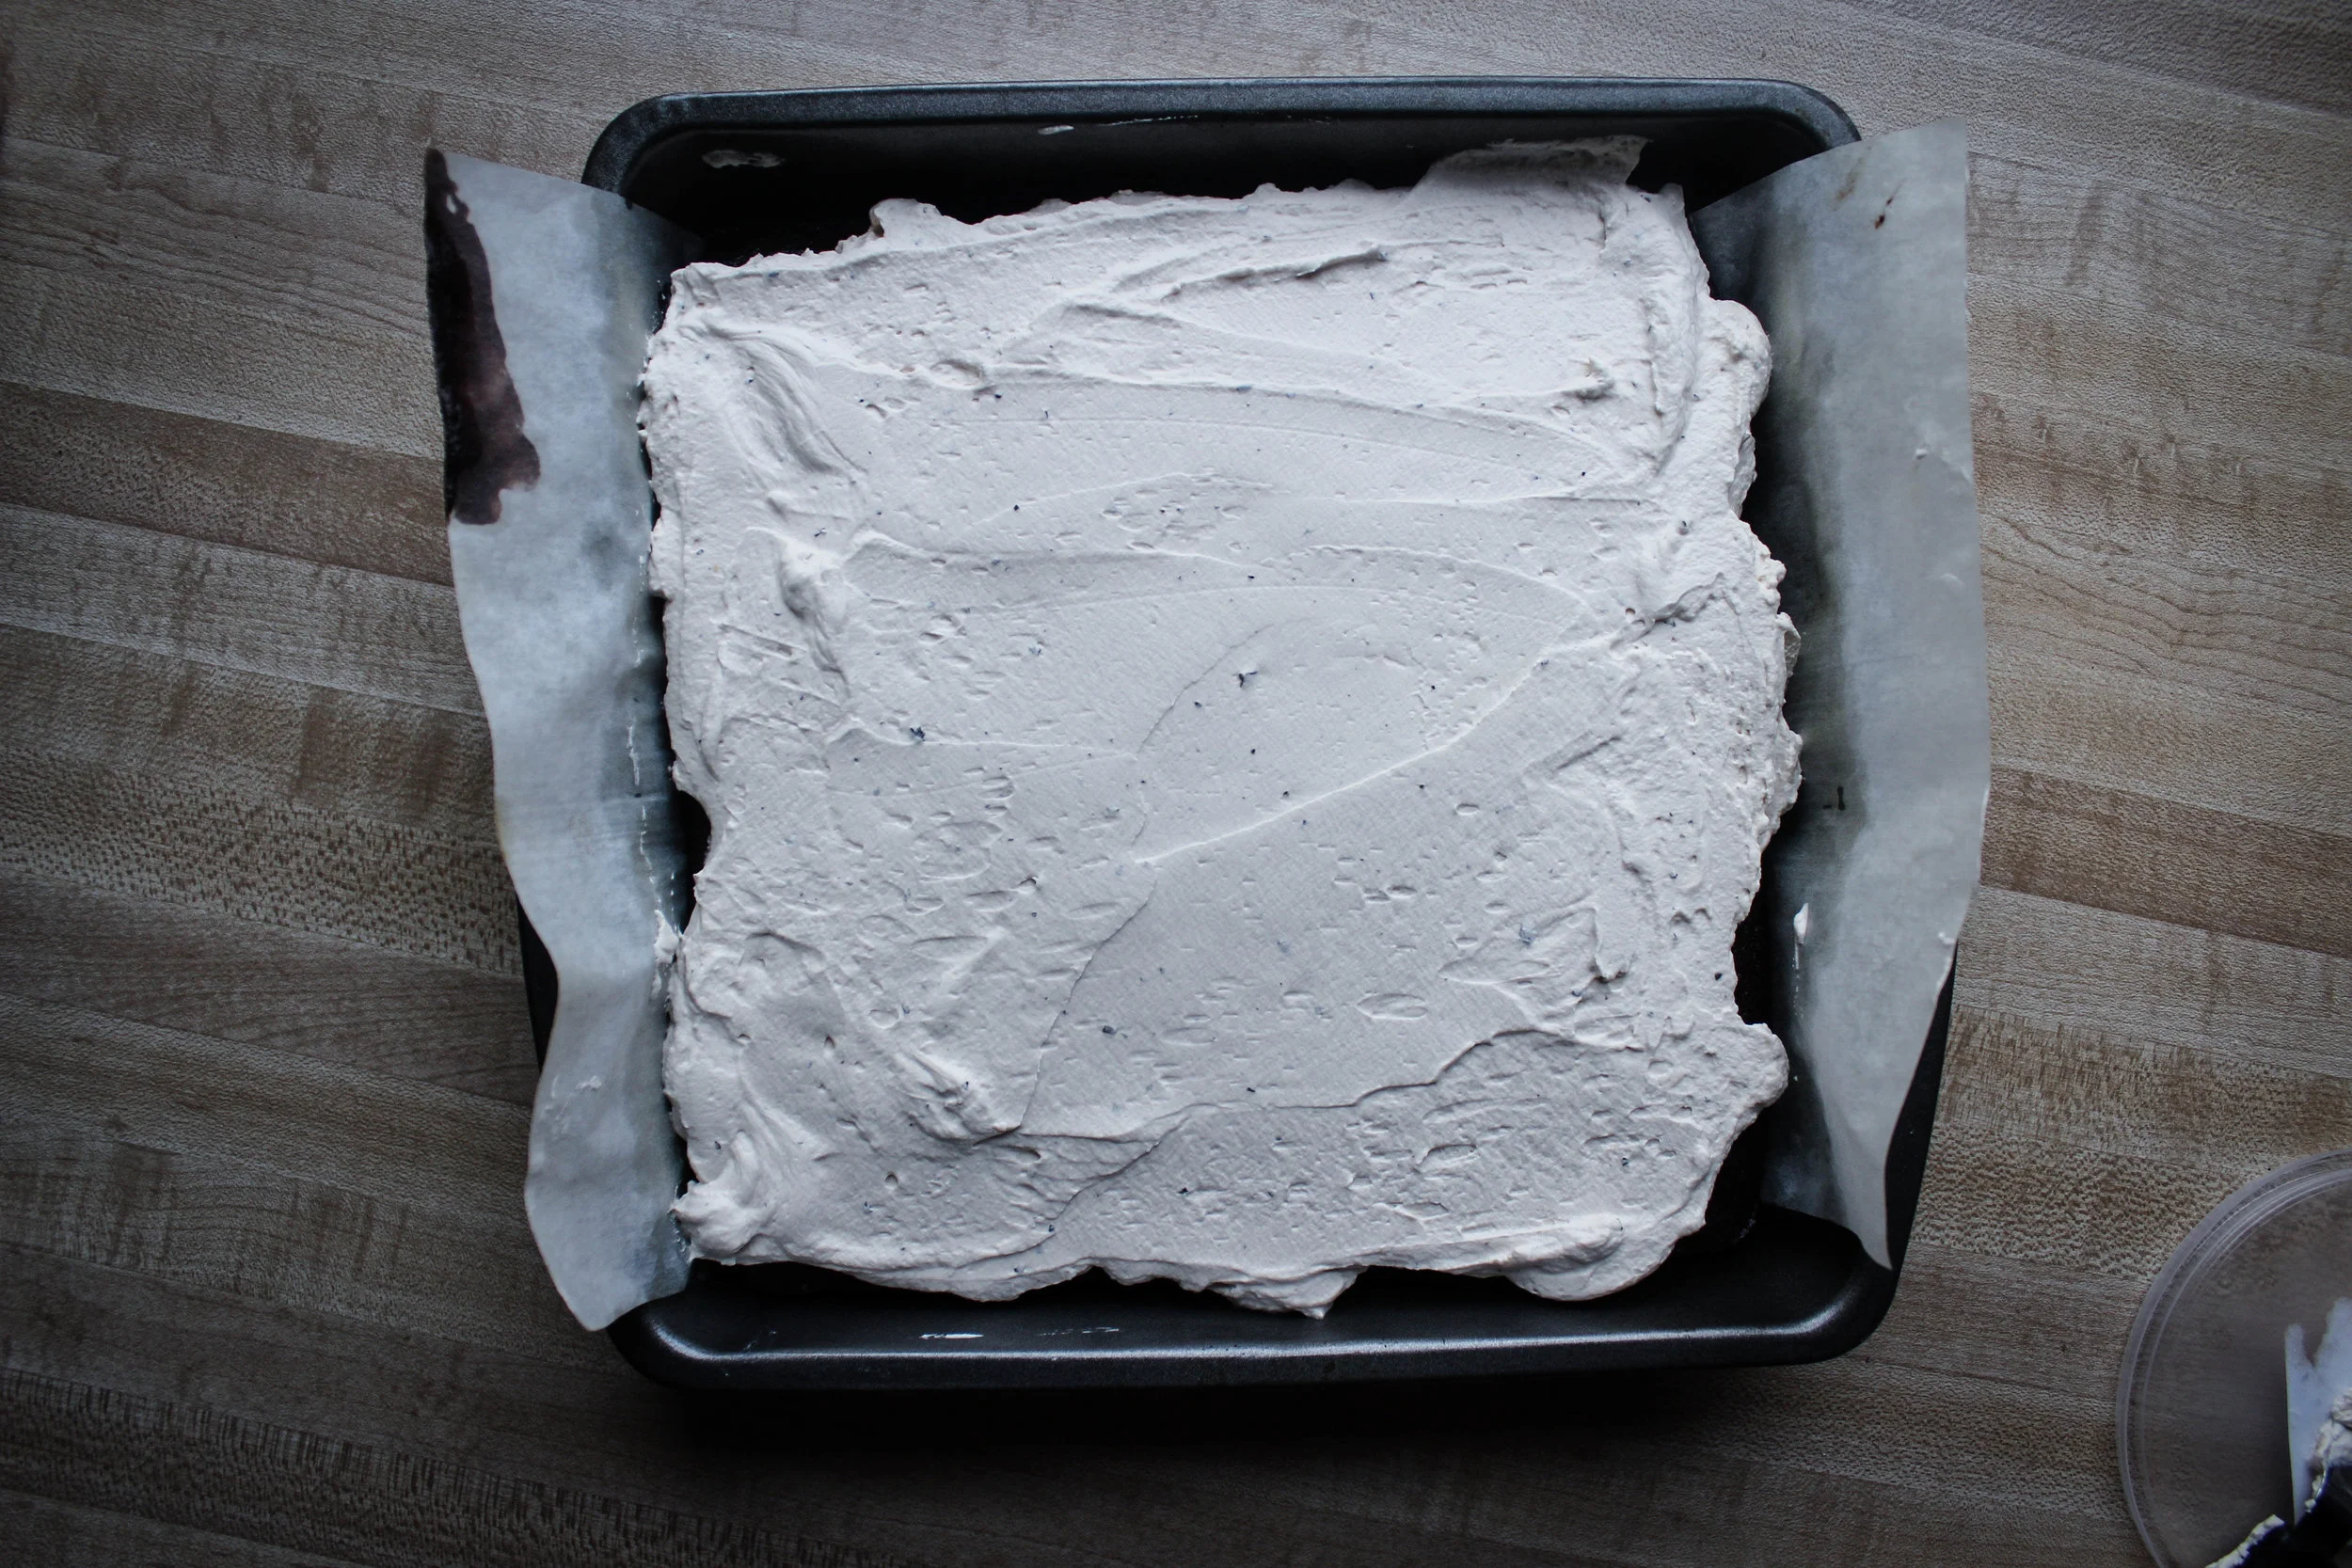
- Let cool before adding whipped cream
Earl Grey Whipped Cream: In a saucepan, heat 1 1/2 cup heavy whipping cream on medium-high until bubbles just begin to form. Take off of heat, add 3 teaspoons of Earl Grey looseleaf. Put lid on and let steep for one hour. Sieve to remove most of the tea. Place in fridge to cool, at least 2 hours. When cooled, whip on high in the bowl of a stand mixer fitted with a whisk attachment. Add 1/2 cup confectioners sugar and a teaspoon of vanilla when peaks begin to form. Continue to beat until stiff and glossy.